
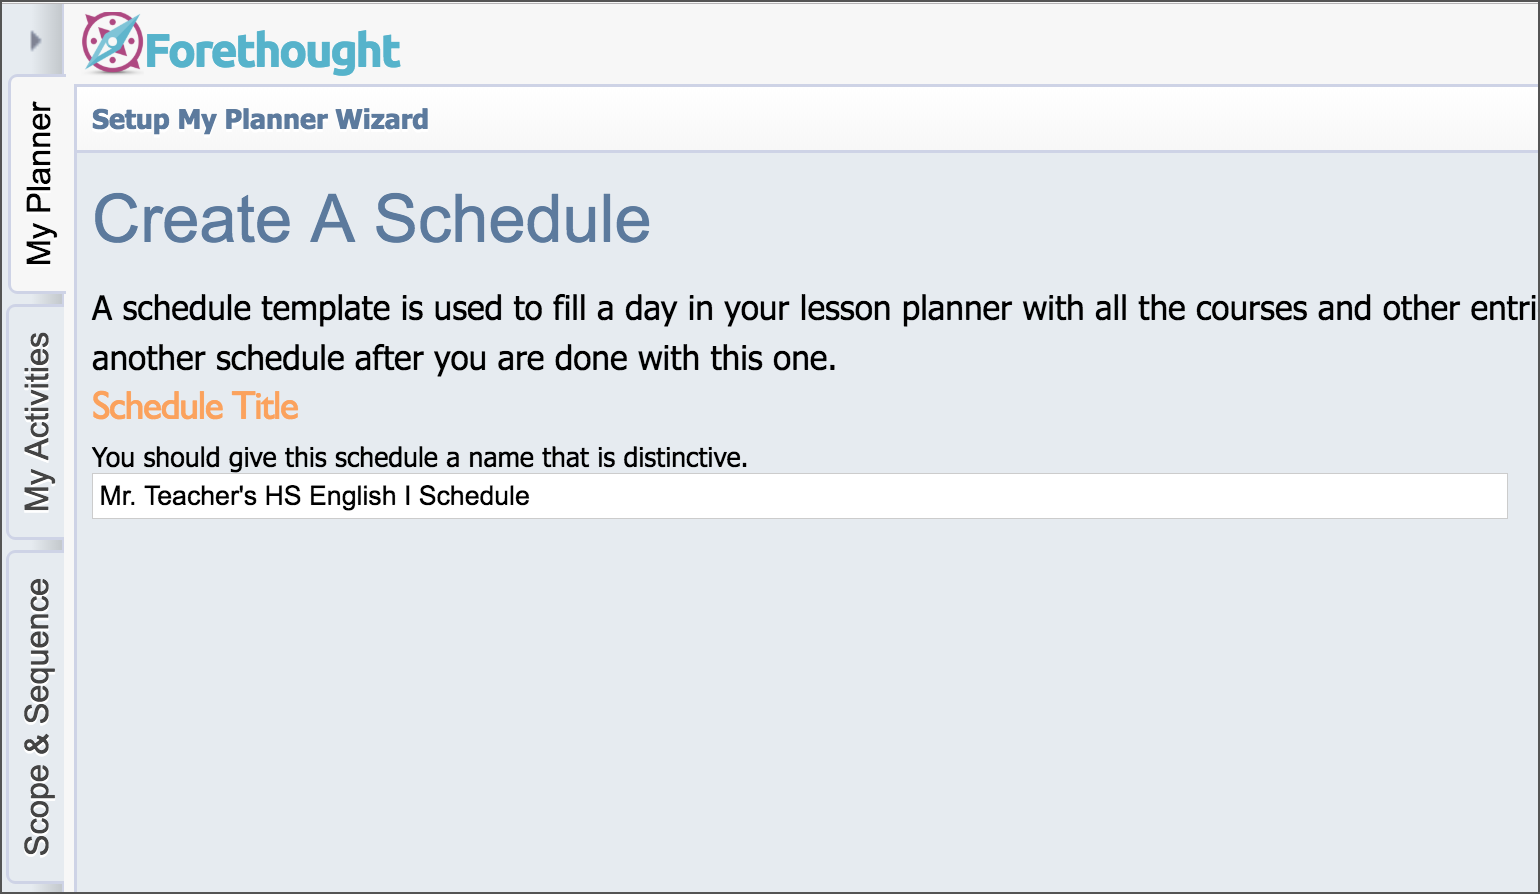
Creating a Schedule
Start by naming your schedule. Common names include:
-
Normal Day
-
A Day
-
B Day
-
Special Campus Day
Tip: It's recommended to use one schedule if possible.
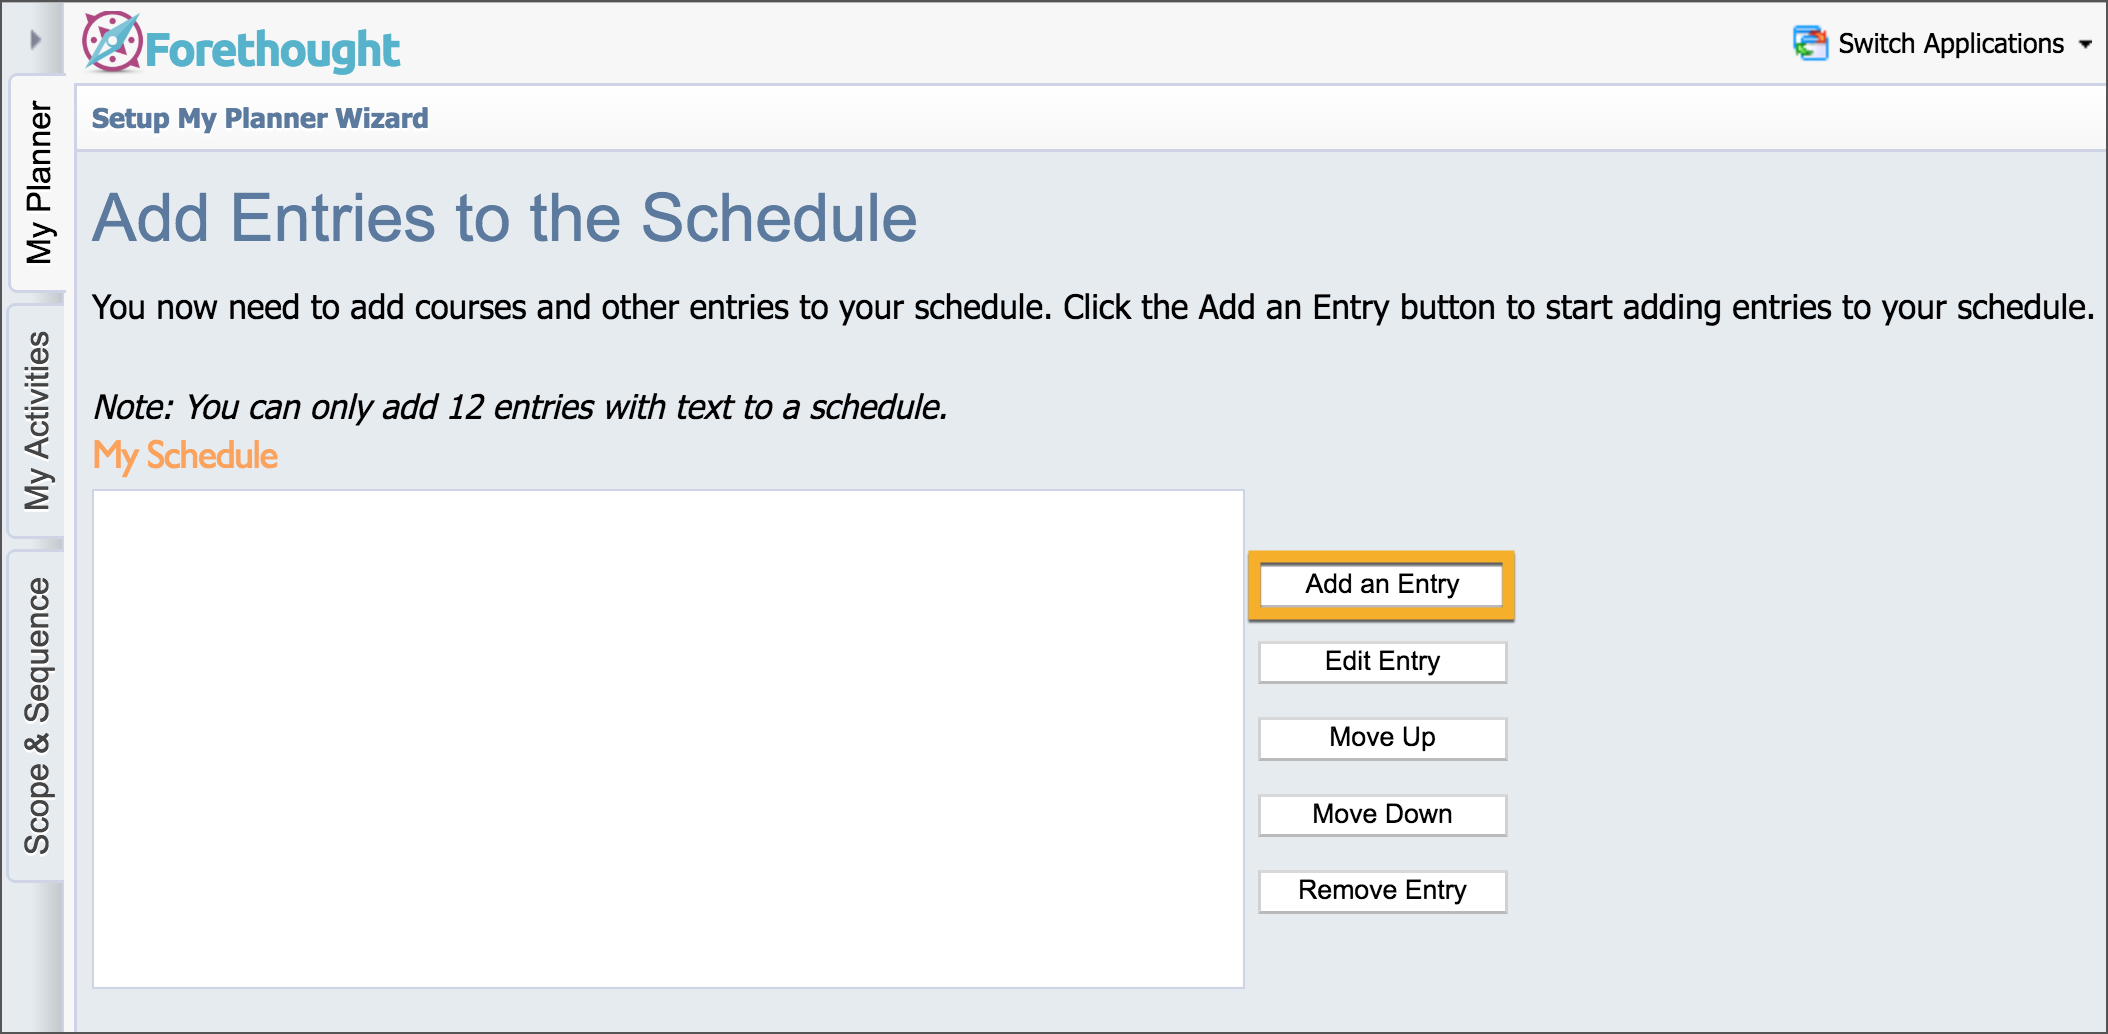
Add Entries to the Schedule
This screen lets you add, edit, and organize entries in your schedule.
-
Add an Entry: Create a course, mirrored course, or special entry.
-
Edit Entry: Modify details of an existing entry.
-
Move Up/Move Down: Rearrange the order of entries.
-
Remove Entry: Delete a course without affecting lesson plans.
Note: Removing an entry doesn’t delete lesson plans—it only removes the course from your schedule.\
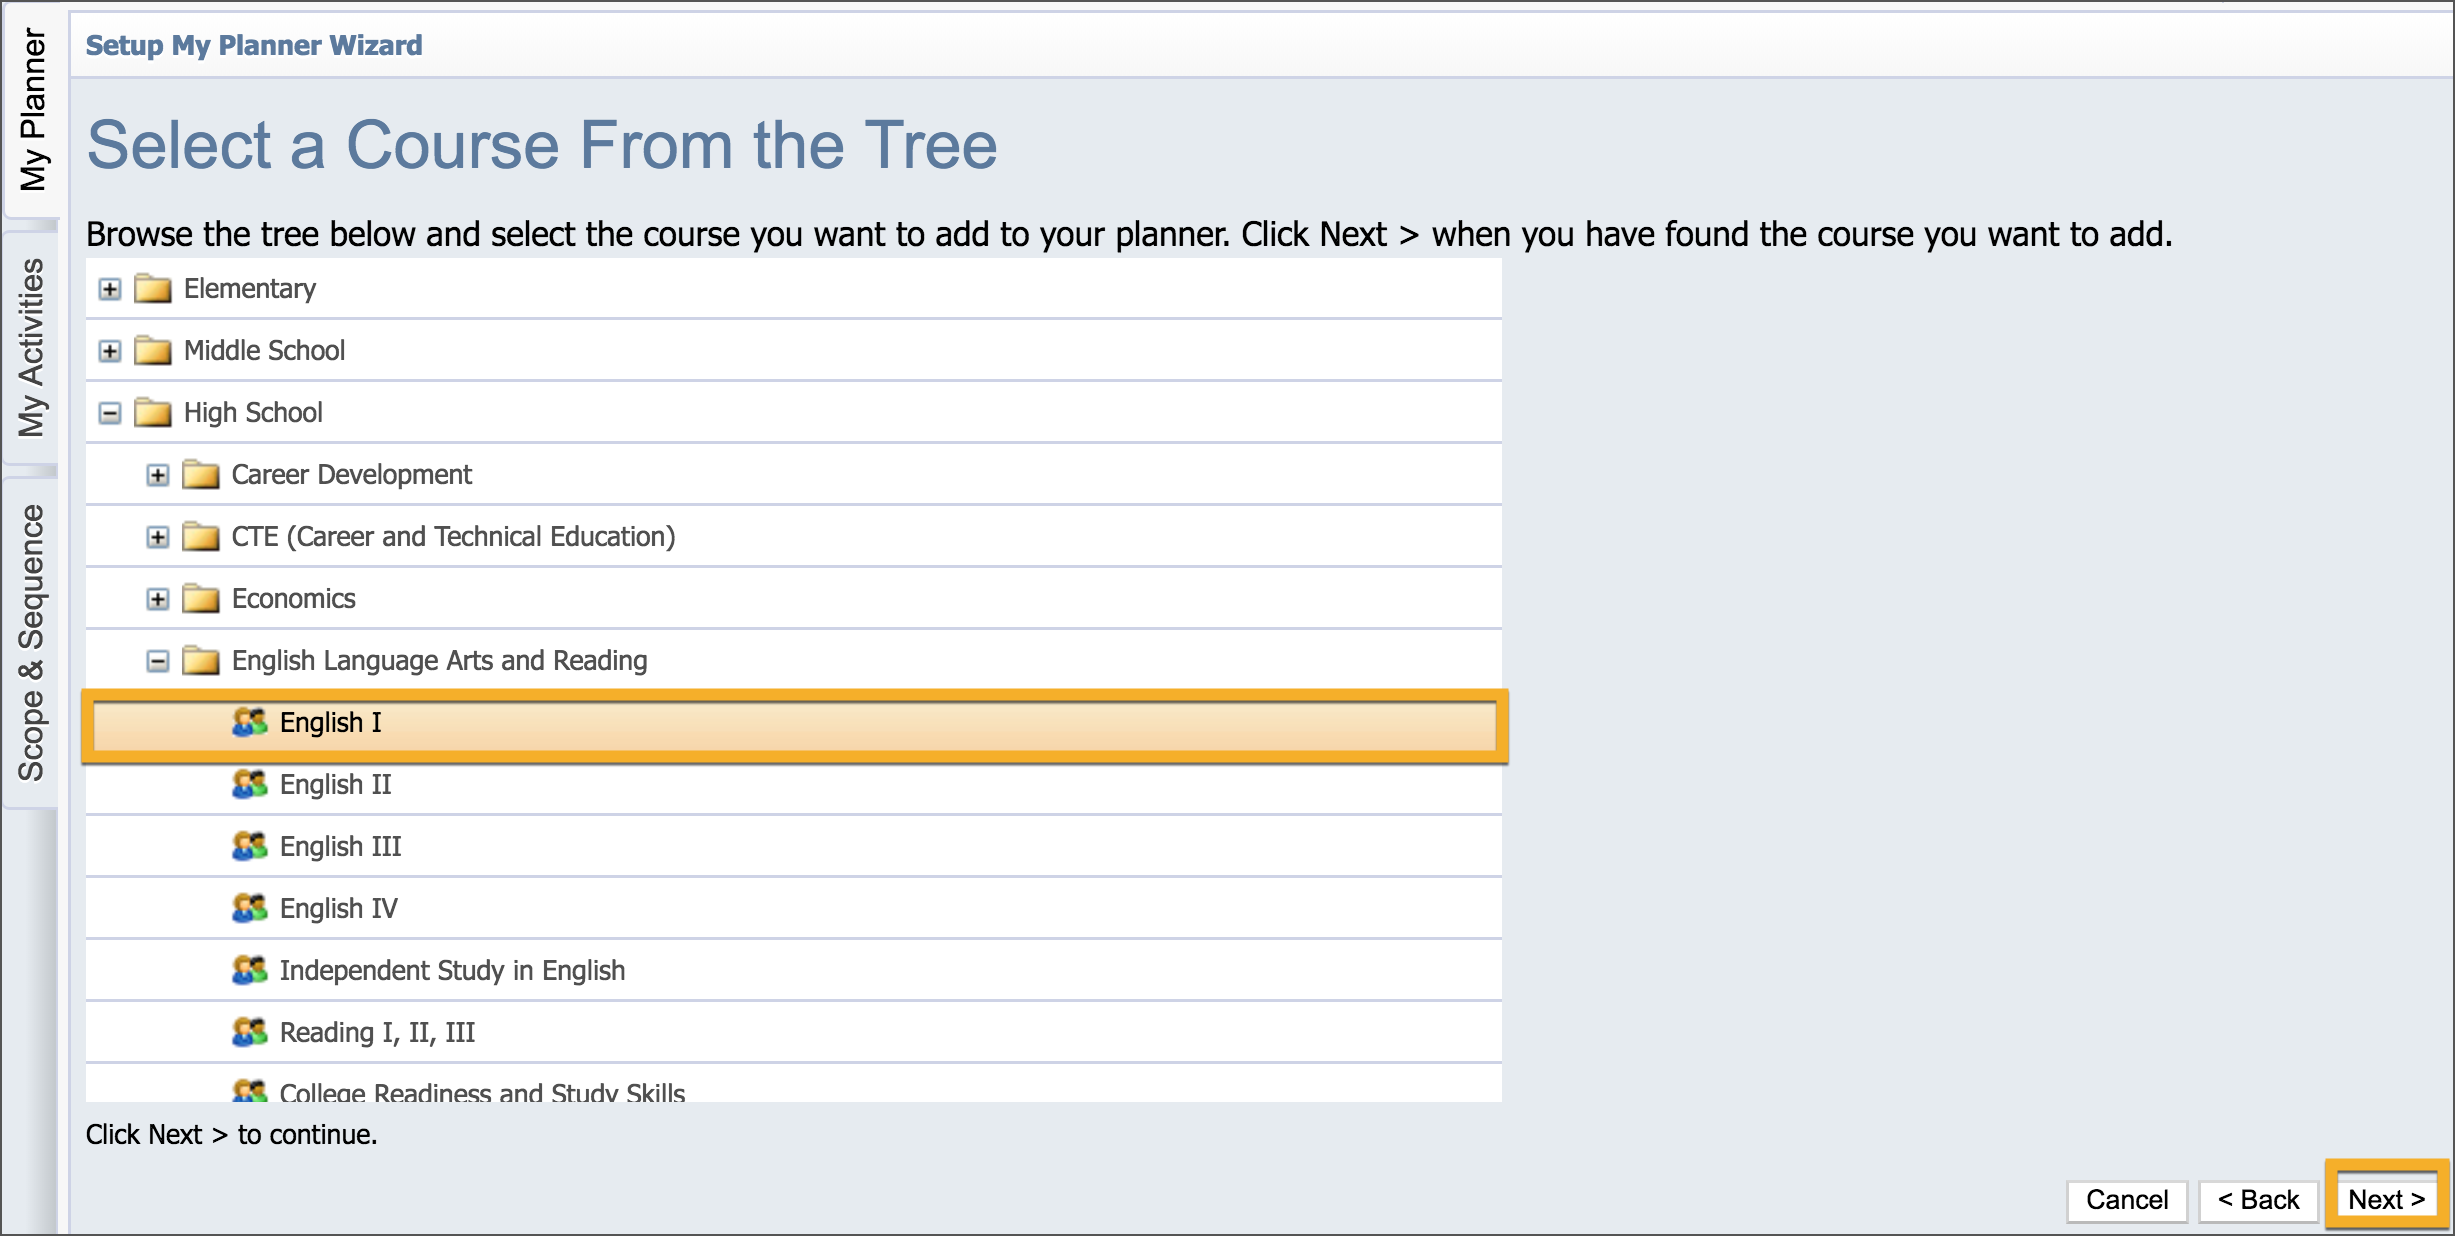
Adding an Entry
-
Click Add an Entry.
-
Choose the entry type (e.g., course with learning standards, mirrored course, etc.).
-
Select a course if needed.
-
Click Next.
-
Name the entry (e.g., include class time or period if needed).
-
Repeat for each new entry.

When adding a Course with Learning Standards, select the relevant standards and click Next.
Enter the name for the Entry Title and click Next.
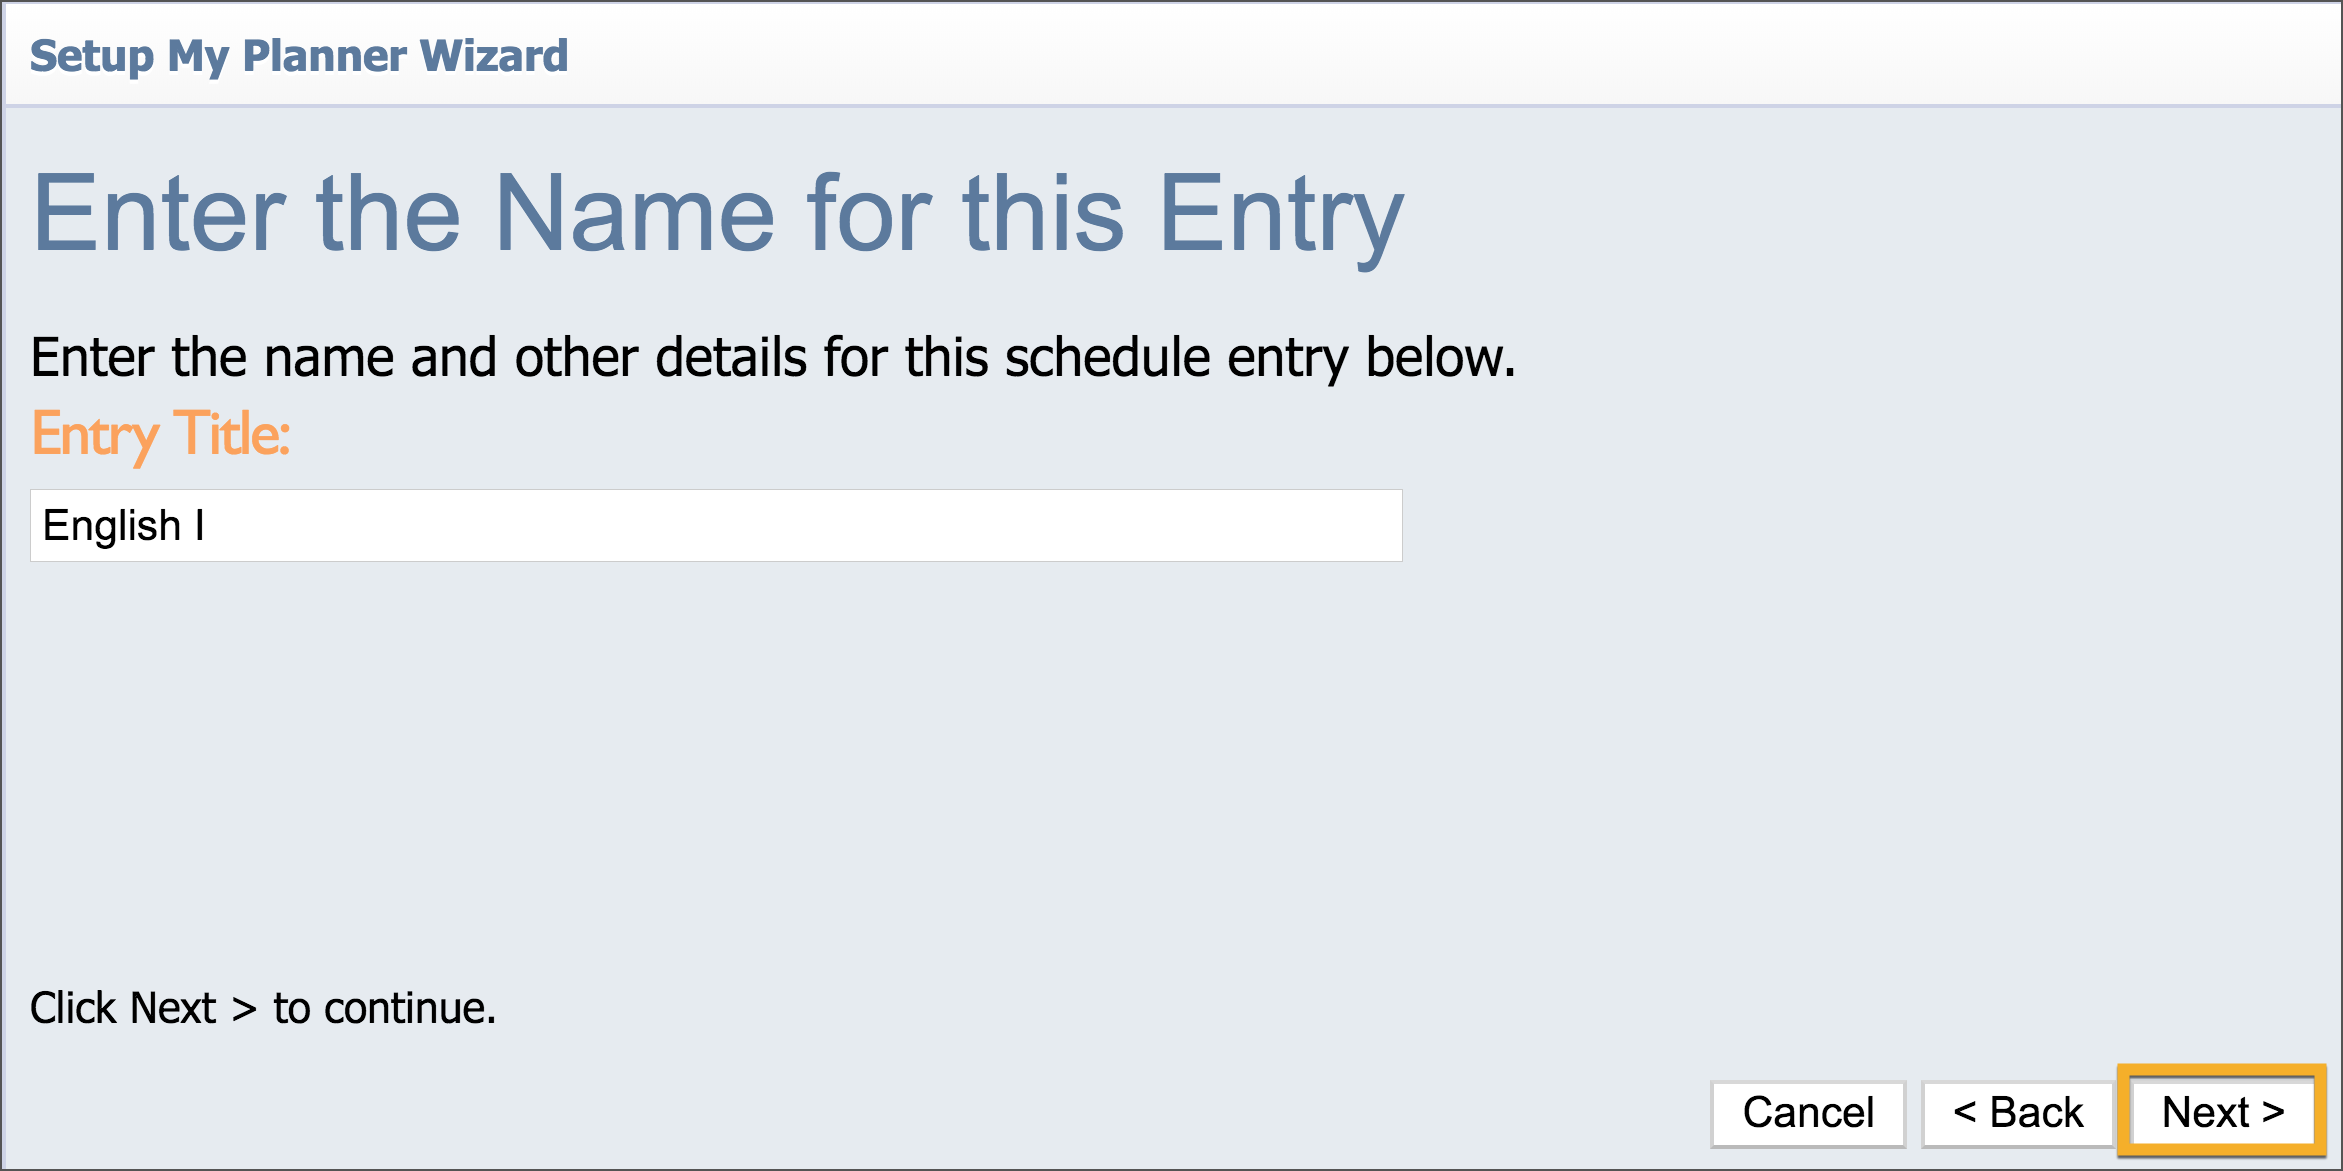
This will return you to the screen to add more entries. Repeat the process as needed for adding entries.
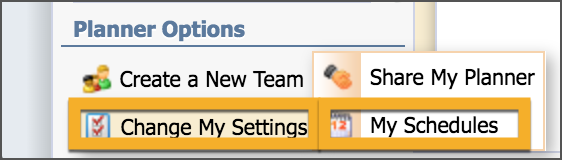
Change Your Settings
After creating your planner, you can update any schedule information by clicking Change My Settings > My Schedules. This allows you to make changes to any schedule, and all future plans will reflect those changes.
Thank you for visiting! If you have any questions or issues, please submit a ticket in Incident IQ. To do this, select the Software / Online Systems category, then choose Eduphoria.