
This guide explains how to view the browsing history on a district Chromebook.
Important Considerations:
-
Sync Limitations: Browsing data is intended to sync across devices, but this does not always happen due to connectivity or account issues. You may not see every single instance of web activity if a sync failure occurred.
-
Escalation: If the Campus Admin Team determines that they need additional assistance with an investigation regarding student web activity, Campus Admin should contact Technology Services directly.
Administrative Use Only: Accessing student web activity is a sensitive matter. If you suspect inappropriate activity, notify your Admin team immediately. An AP or Principal should be the one to log in as the student and check the history for investigation purposes.
Method 1: The Direct Command
-
Log in to the Chromebook using the account you want to investigate.
-
Click the + Sign next to the SSO tab to open a New Browser Tab.
-
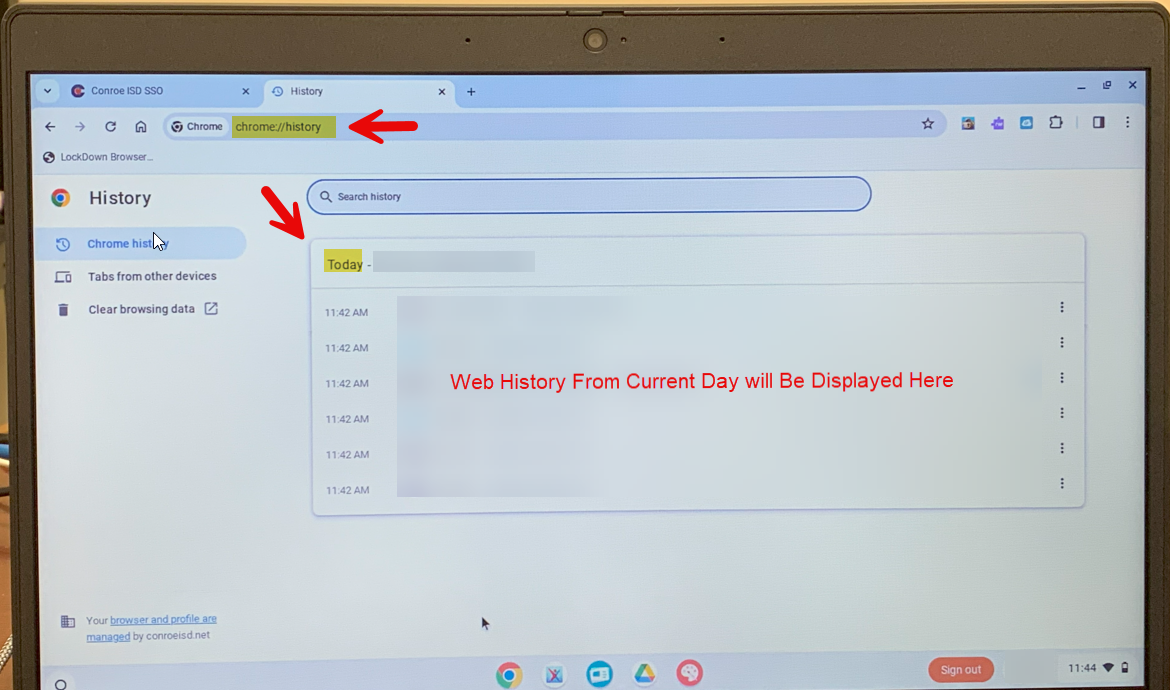
In the Address Bar, type
@historyand press Enter.
-
Note: You can also type
chrome://history.
-
The History page will open.
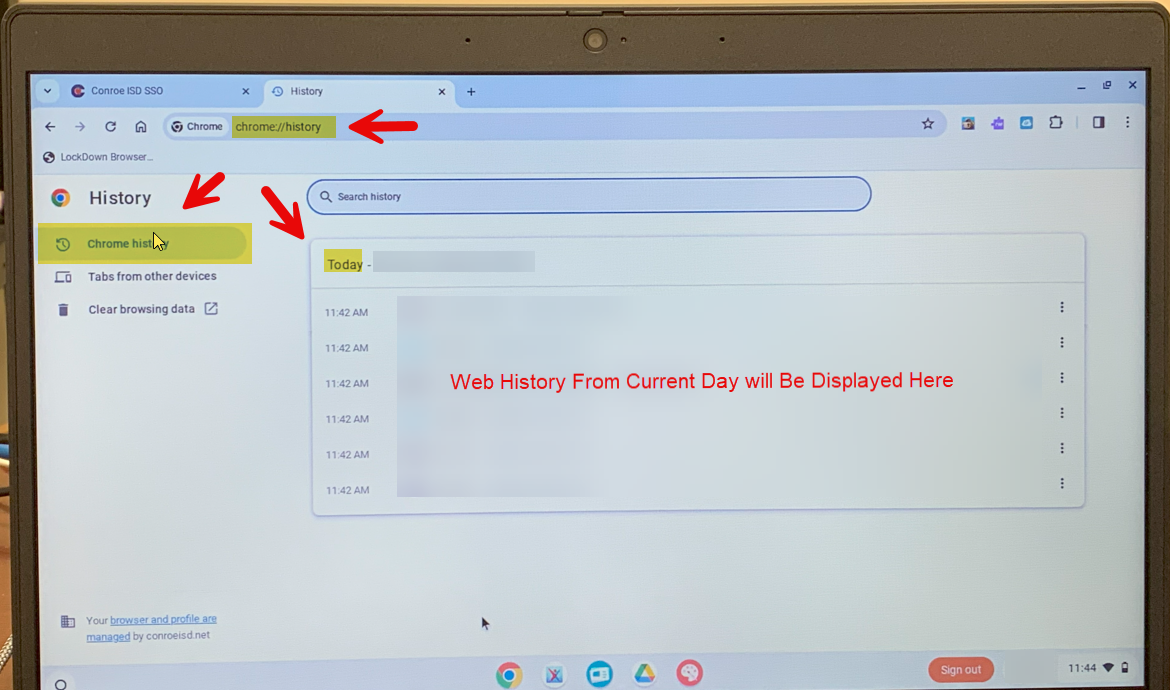
Understanding the History Views
-
Chrome History Tab: This section displays the web history from the current day.
-
Tabs from other devices: This section shows previous day web history and activity from other sessions, provided that the web history successfully synced to the Google Profile.

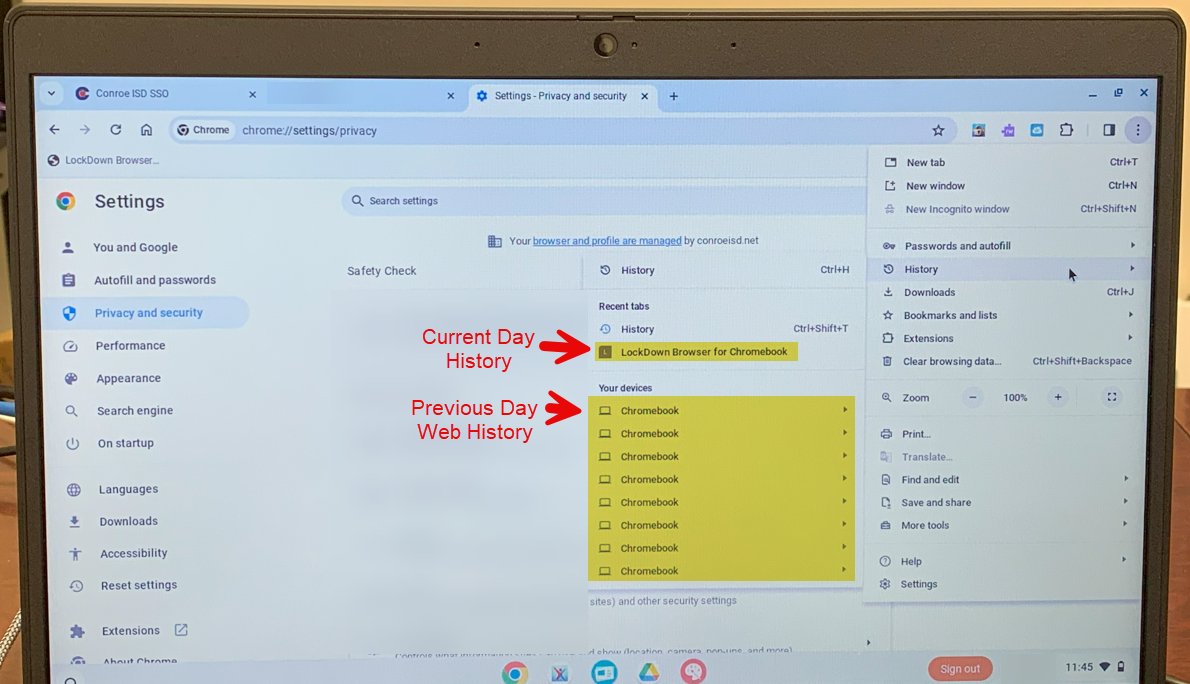
Method 2: The Menu Menu
Alternatively, you can access history through the browser interface without typing commands.
-
Click the three vertical dots (kebab menu) in the top right corner of the browser.
-
Hover over History.
-
Review the available data:
-
Recent Tabs: Shows current day web history.
-
Your Devices: Shows previous day web history (if synced).
Need additional help? Click here for further assistance.