
This guide explains how to manually wipe (factory reset) a Chromebook. This process is often used to resolve persistent issues or to clear user data from a device.
Which method should I use? The process differs depending on your specific Chromebook model. Please check the model name on the bottom of your device before proceeding.
Warning Data Loss: This process will permanently delete all local data on the Chromebook, including the Downloads folder. Ensure important files are backed up to Google Drive before proceeding.
Before you begin: Already wiped your device? Go to the Chromebook Setup Guide.
Step 1: Determine Your Chromebook Model
The wipe process differs depending on your device. Please check the model name on the bottom of your device before proceeding.
Method A: Newer Models
Applicable Models: HP 14 G6, HP 14 G7, HP 14 G11 Fortis
-
Trigger Recovery Mode: Open the Chromebook (turn it on, if it is off). Press
ESC+Refresh(circular arrow) +Powersimultaneously.
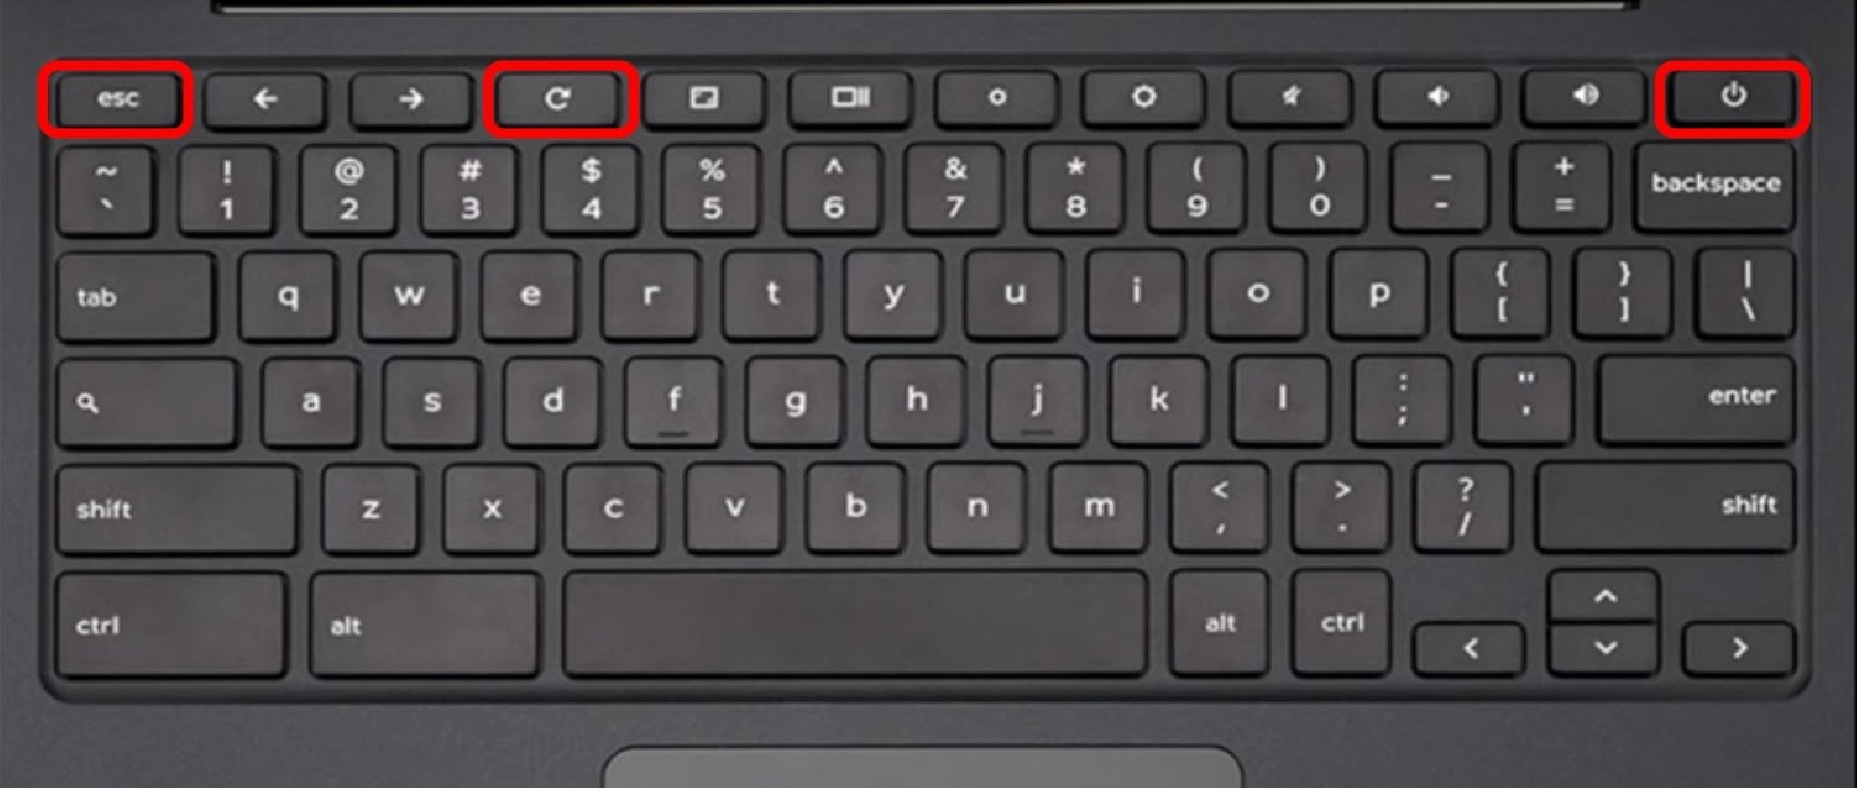
-
Navigate Options: At the recovery screen, use the Down Arrow to select Advanced Options and press Enter.
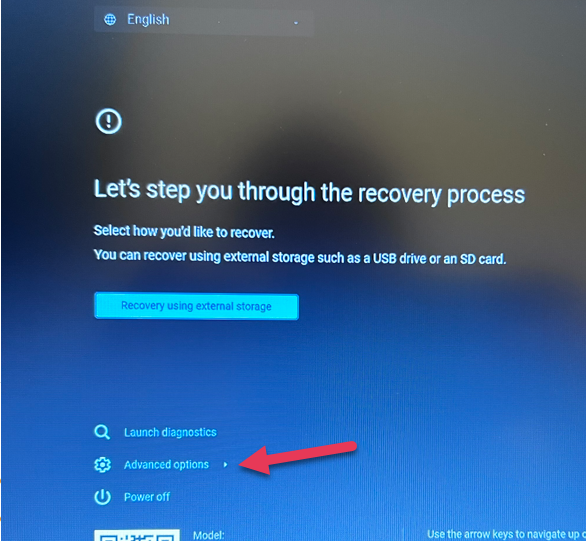
-
Enable Developer Mode: Select Enable Developer Mode and press the Enter key. Press Enter again to confirm.
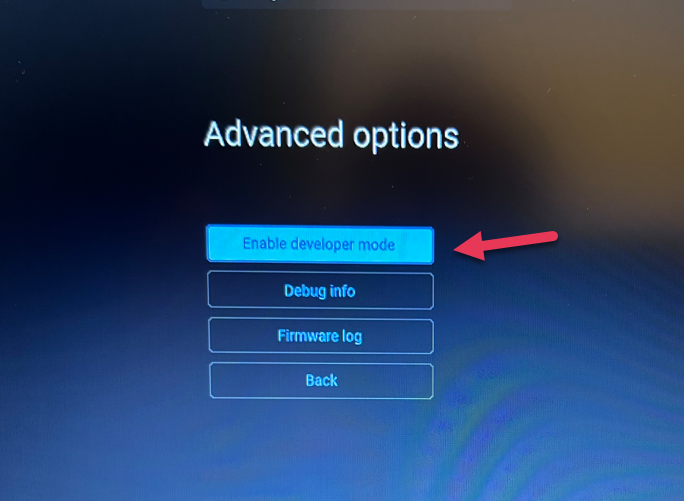
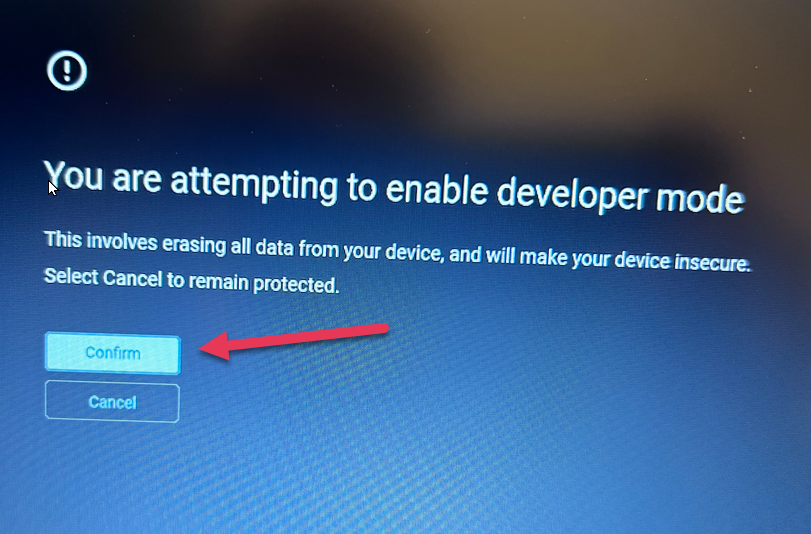
-
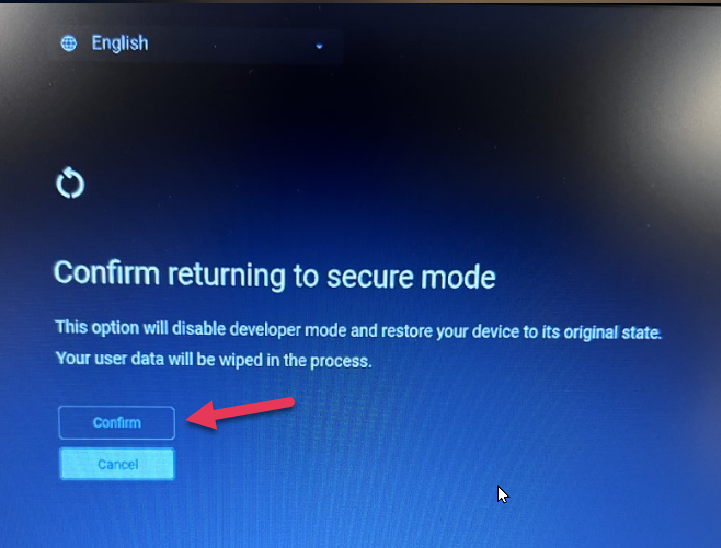
Return to Secure Mode: Confirm returning to secure mode by using the Up Arrow and pressing Enter.
-
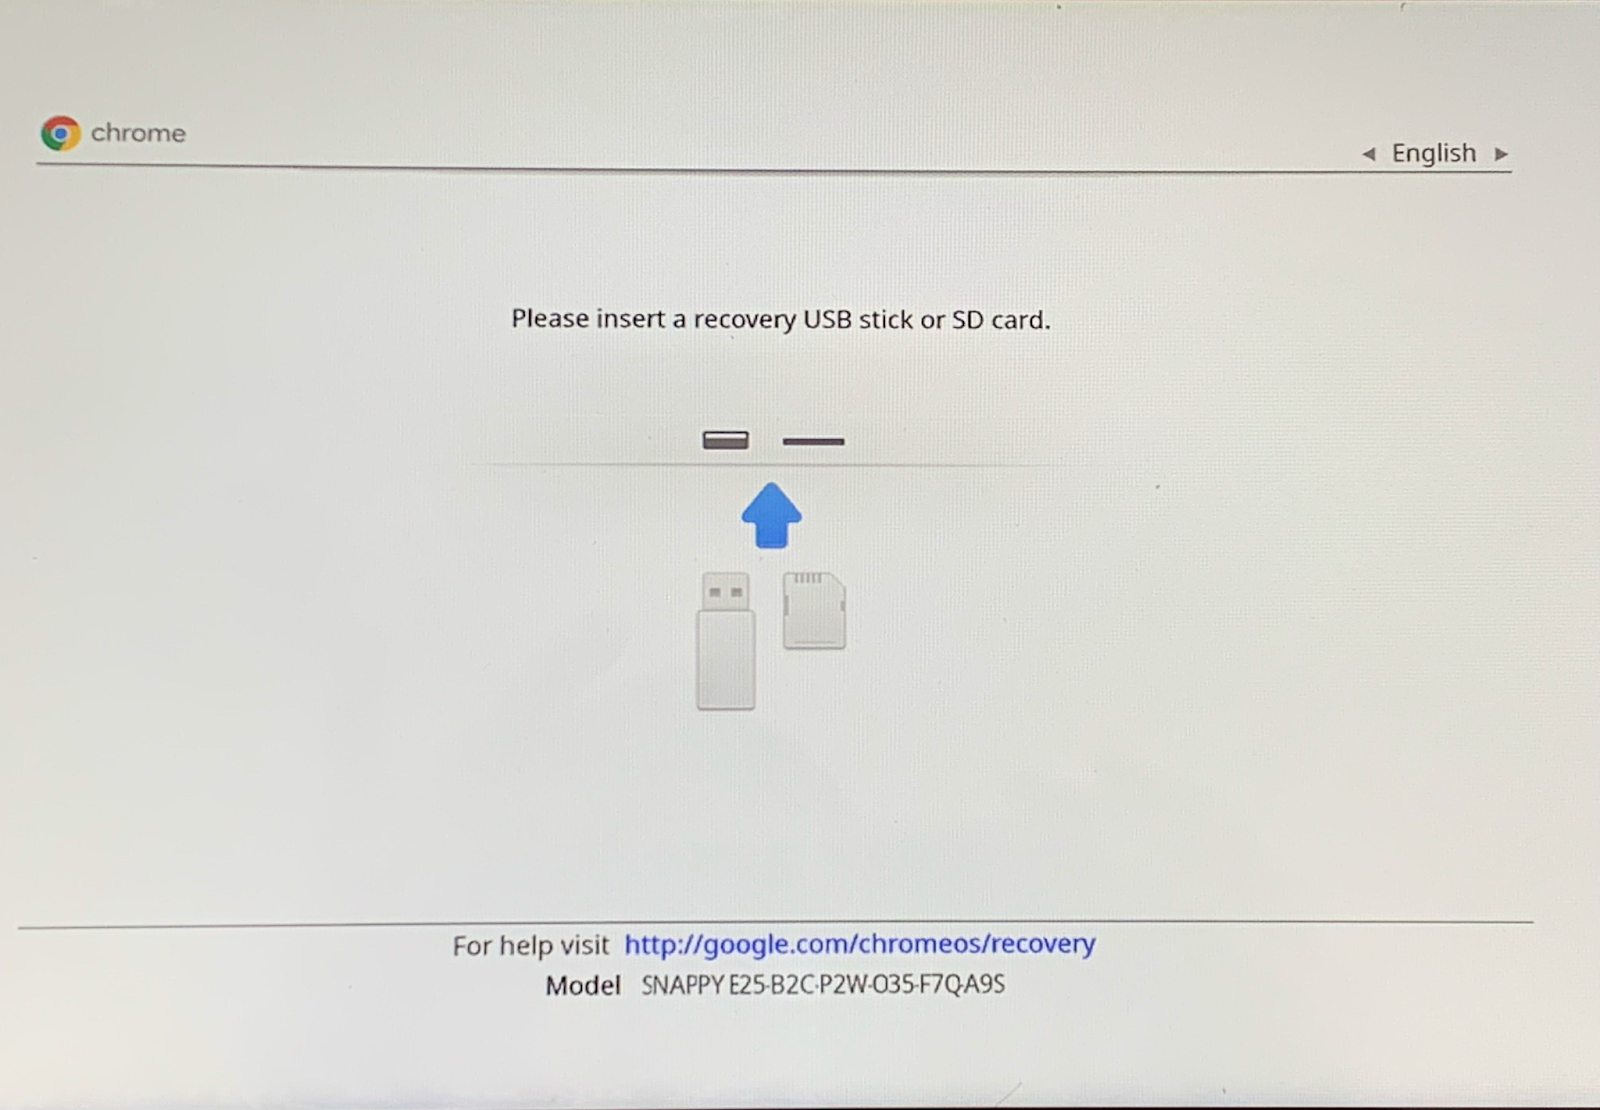
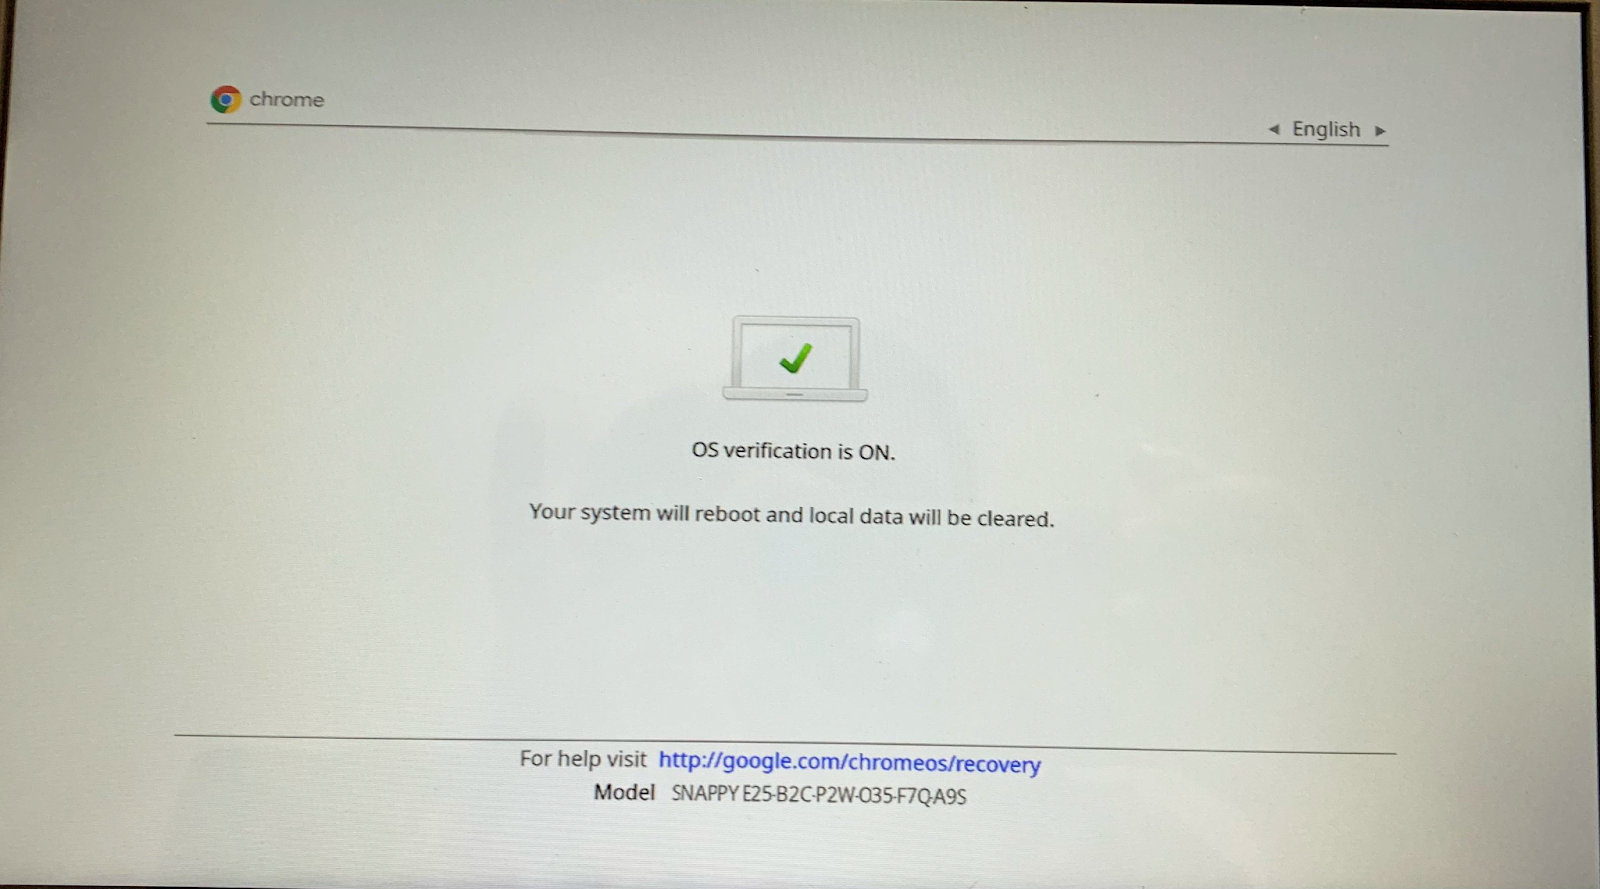
Wait for Reboot: The device will begin the wipe process.
-
Reboot to Welcome Screen: The Chromebook will reboot to the "Welcome" page. You have successfully wiped your Chromebook!
Post-Reboot Steps
After the Chromebook reboots to the "Welcome" screen, you must re-enroll it into the CISD system. Follow these brief steps to begin the enrollment process.
If you encounter any errors or need more explanation during setup, please visit the How to Set Up a Chromebook (Detailed Guide) for troubleshooting and full instructions.
Some devices may automatically enroll in Enterprise Enrollment.
-
If enrollment does not start automatically, press Ctrl + Alt + E.
-
Select Guest network.
-
Accept the Google Terms of Service and click Continue.
-
Press Done when you see Enterprise enrollment complete.
Method B: Older Models
Applicable Models: Dell 3100, Lenovo 100e, HP 11 G5 and below
-
Trigger Recovery Mode: Open the Chromebook (turn it on, if it is off). Press
ESC+Refresh(circular arrow) +Powersimultaneously.
-
Navigate Options: At the recovery screen, press CTRL + D.
-
Confirm: Press Enter, then press Enter again to confirm the wipe. Wait for the Chromebook to reboot.
-
Reboot to Welcome Screen: The Chromebook will reboot to the "Welcome" page. You have successfully wiped your Chromebook!
Post-Reboot Steps
After the Chromebook reboots to the "Welcome" screen, you must re-enroll it into the CISD system. Follow these brief steps to begin the enrollment process.
If you encounter any errors or need more explanation during setup, please visit the How to Set Up a Chromebook (Detailed Guide) for troubleshooting and full instructions.
Some devices may automatically enroll in Enterprise Enrollment.
-
If enrollment does not start automatically, press Ctrl + Alt + E.
-
Select Guest network.
-
Accept the Google Terms of Service and click Continue.
-
Press Done when you see Enterprise enrollment complete.
Still have questions? Visit the Additional Help section for further assistance.