
Terminal – Setup and Use
Support: Andrew Lake - alake@conroeisd.net
First Time Setup Quick Overview
If you are setting up Terminal for the first time make sure to follow these steps:
-
Sign in to Terminal via the SSO or directly (https://intranet.conroeisd.net/Terminal).
-
Choose your desired settings via the standard or guided setup and click confirm.
-
Set the campus hours on the configuration page. (only needs to be done once per campus)
-
That's it!
Getting Started – Basic Setup
Getting started with Terminal is fairly straightforward. Since it’s a Web App it requires no installation and is as simple as navigating to a website, specifically https://intranet.conroeisd.net/Terminal . Doing so will prompt you with a login screen to ensure you are a user with permissions to setup a Terminal.
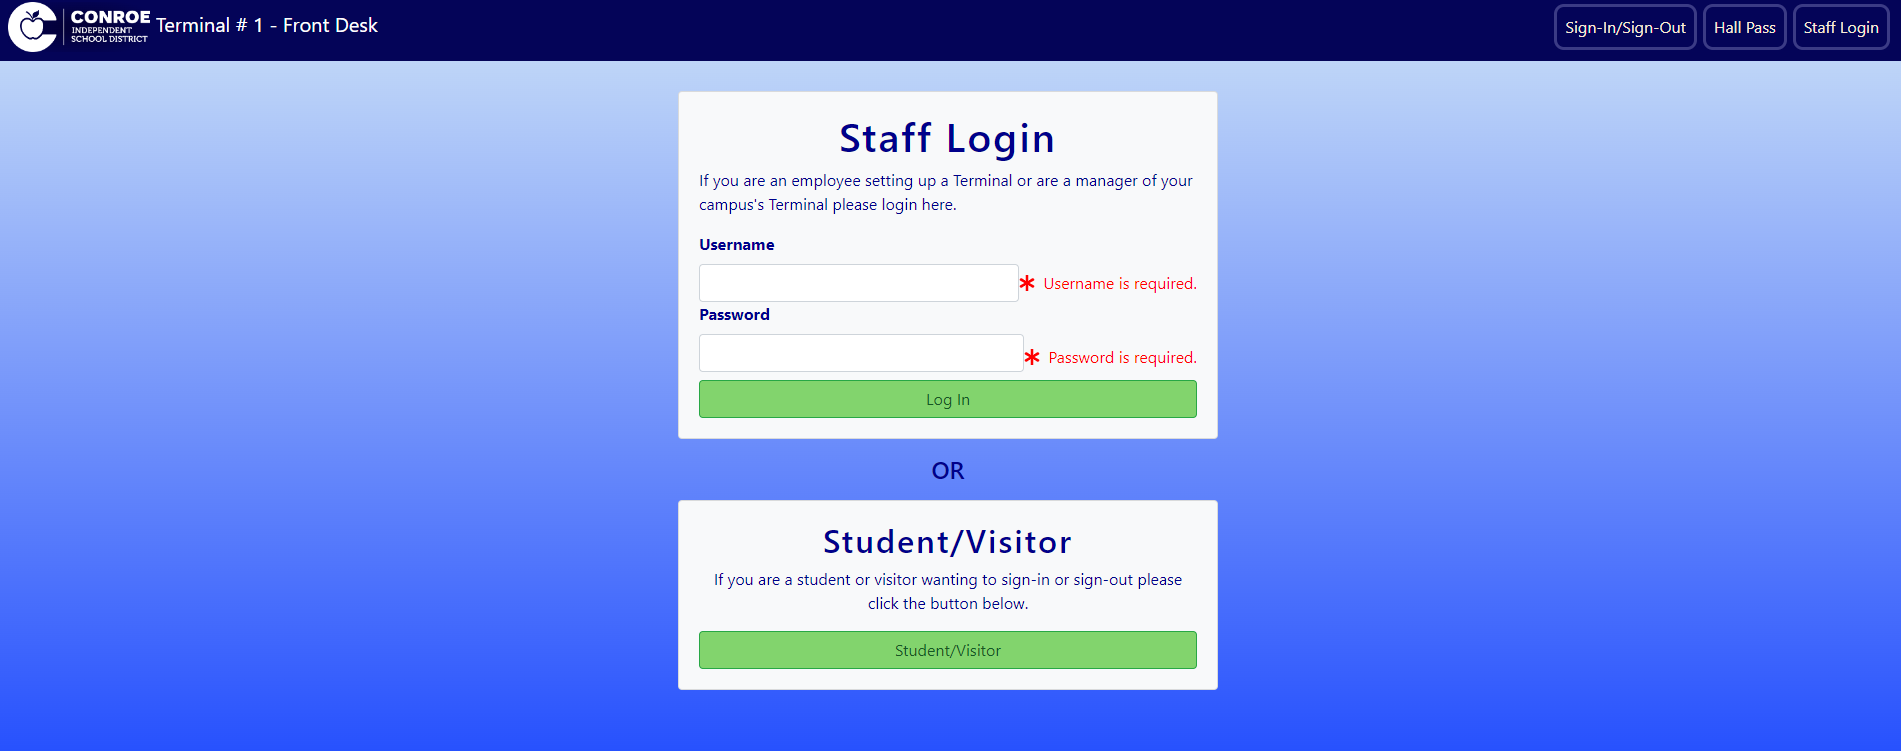
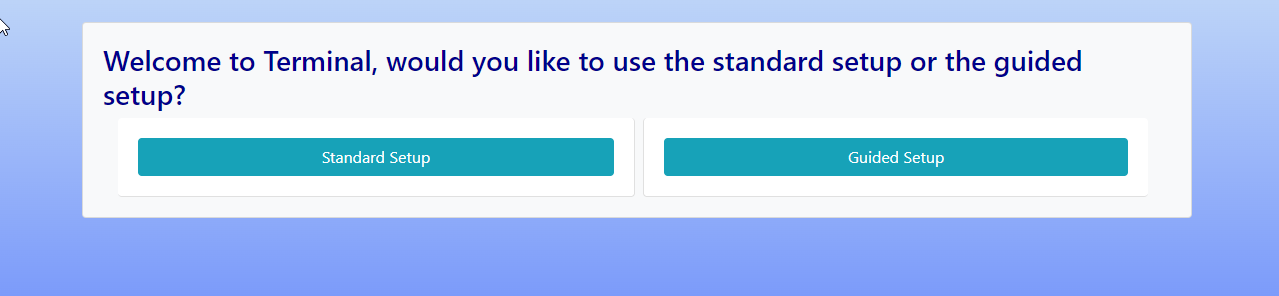
Once you are logged in you will be presented with two options for setup: a "Standard Setup" and a "Guided Setup".
Standard Setup
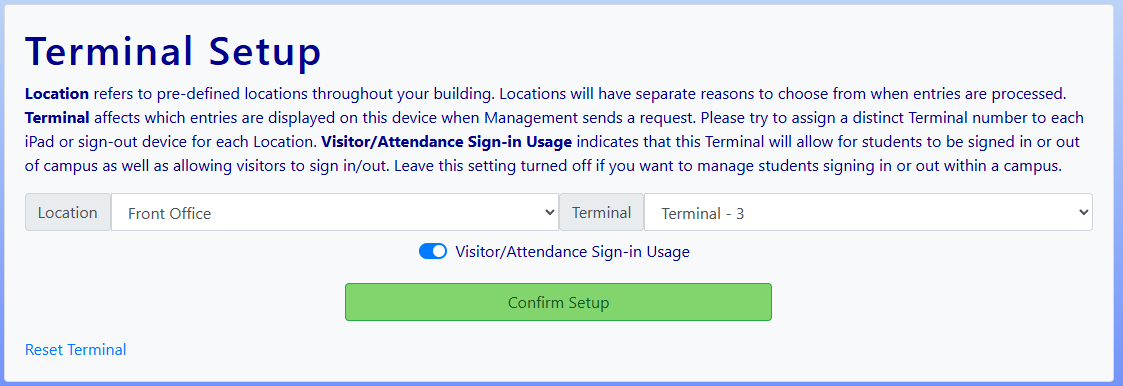
The Standard Setup option allows you to choose the settings for yourself including a location and a terminal number as well as any additional settings such as the visitor/attendance usage setting.
There is also a second function to the terminal setup page. The bottom part of the page is used to create events/announcements. Each announcement simply contains a short message of what the announcement is and a date that the announcement will no longer be valid. The announcements will be shown on the Sign-in/Sign-out page used by the students/visitors and will show all announcements for the current location that have not passed the set expiration date. This feature is most commonly used for upcoming events such as football games or holidays.
Terminal number affects which entries are displayed on this device when Management sends a request. Please try to assign a distinct Terminal number to each iPad or sign-out device. Terminal numbers are specific to Locations, meaning a "Front Office Terminal 1" and "Library Terminal 1" are different. Location refers to pre-defined locations throughout your building. Locations will have separate reasons to choose from when entries are processed. Locations are no longer setup in a Visit Locations tab but rather on a separate Locations page. Please refer to the Locations section for more details.
Visitor/Attendance Sign-in Usage
Visitor Sign-in Usage has two different core functions. If the visitor/attendance option is enabled it will allow students to be signed in or out of the campus (and calculate the attendance hours they are missing) as well as allow visitors to sign in. If the setting is disabled it will instead allow the students to sign in/out of locations inside of a campus such as the library or computer lab.
Guided Setup
The second option for configuring a new device is the Guided Setup which talks you through the setup process with a series of questions.
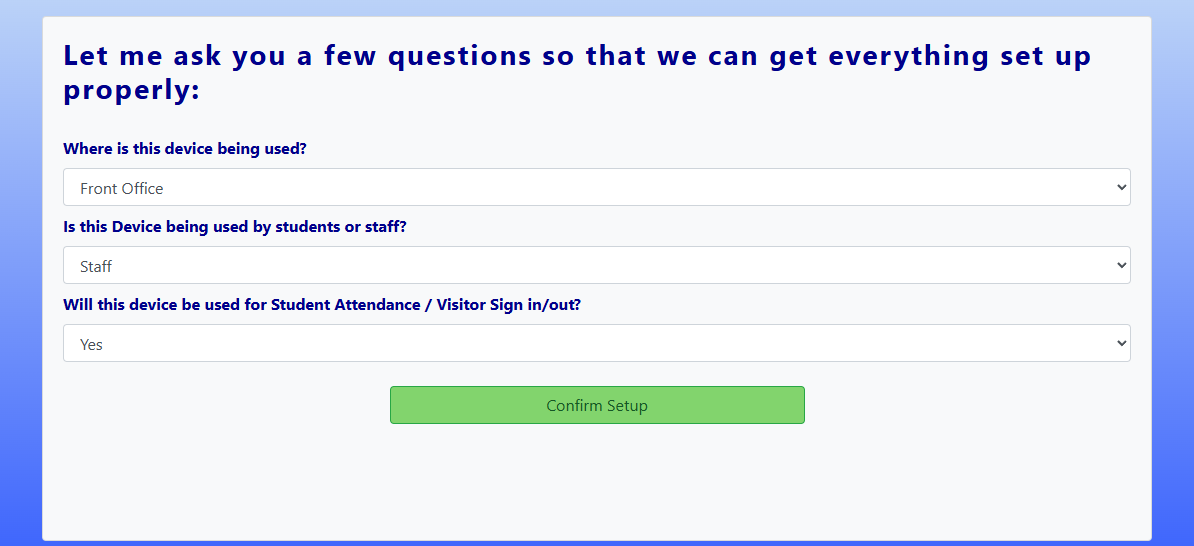
From there click Confirm Setup when you’re happy with your settings and then click Terminal Use if the device is meant for students or visitors to use themselves or Management if you’re wanting to manage logs or process students.
Terminal Use (accessed on the main page after setting up the terminal or by clicking the Student/Visitor button on the Login page)
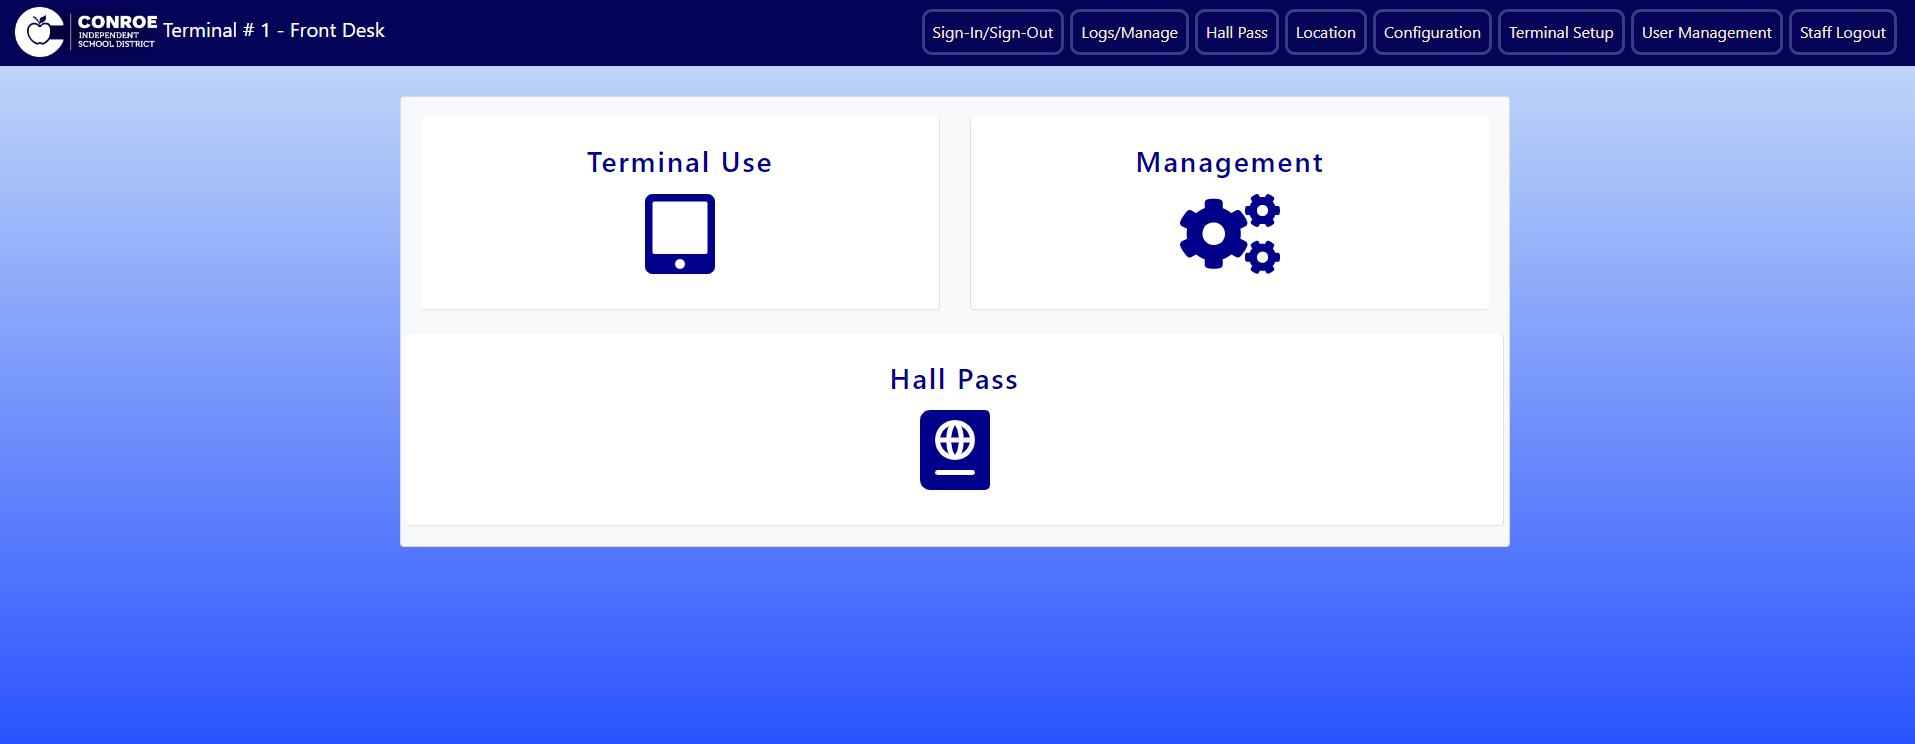
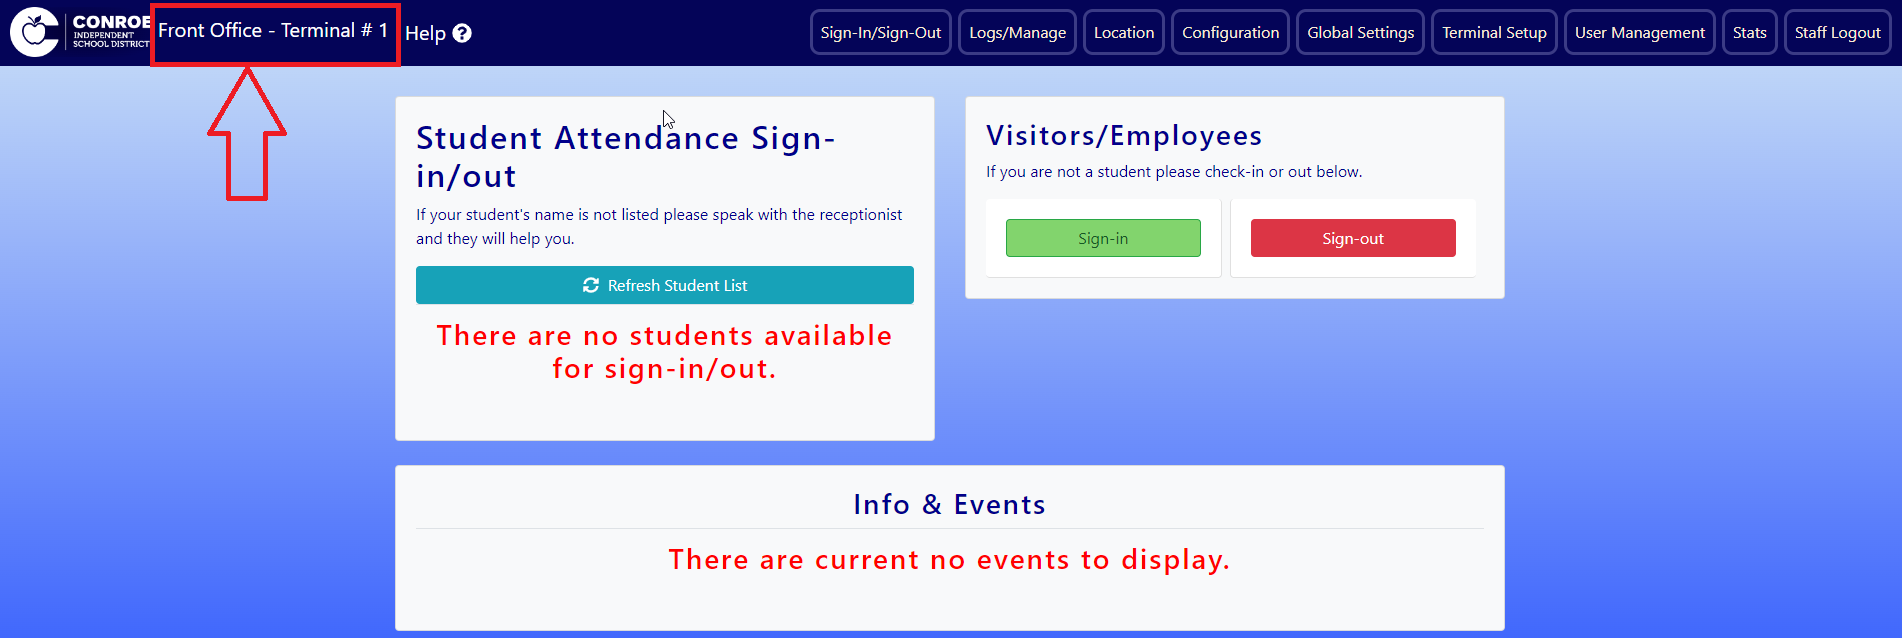
The Terminal Use / Sign-in Sign-Out page has 3 major functions that will be shown based on the terminal settings:
-
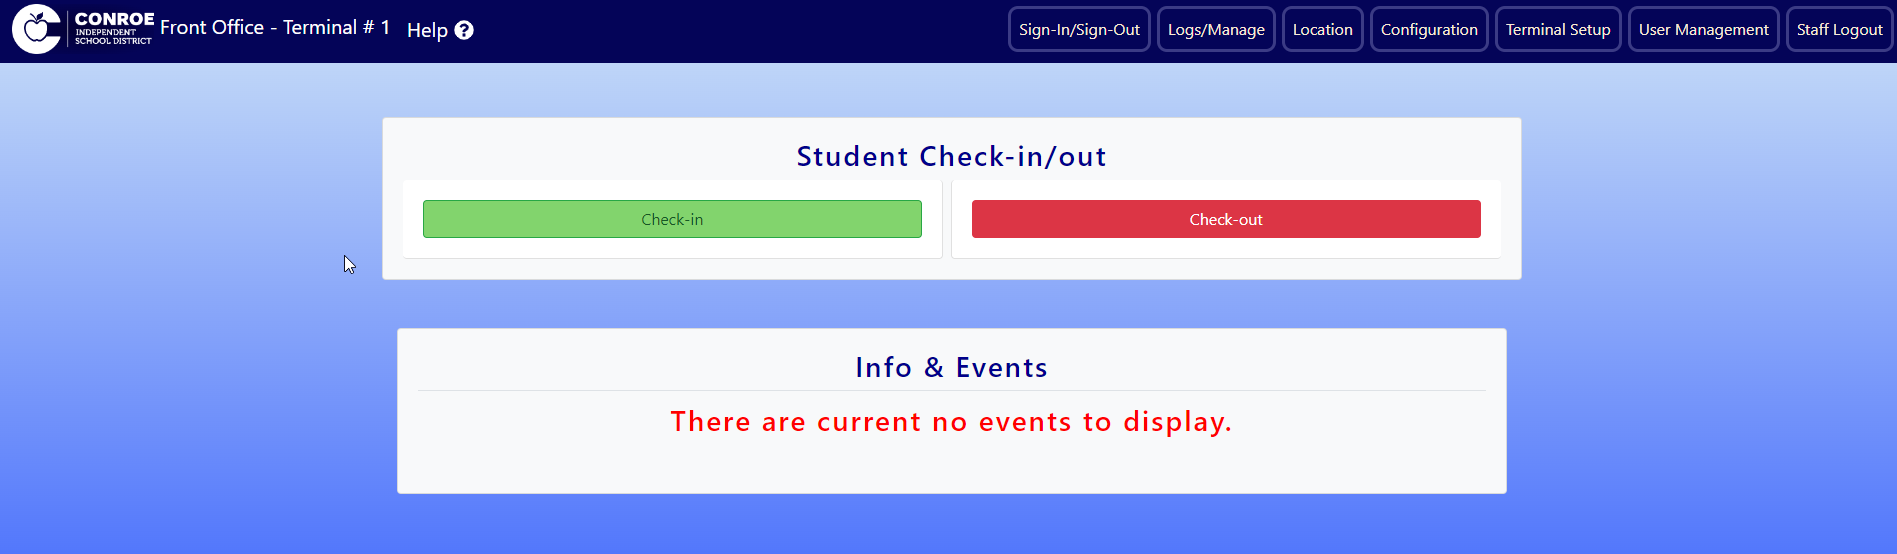
The Student Check-in/out group allows for both sign-in and sign-out of students with the Web Tracks functionality. This is intended to be used to keep track of where students are in the building at any given time and should be used for things like checking in or out of the library.
-
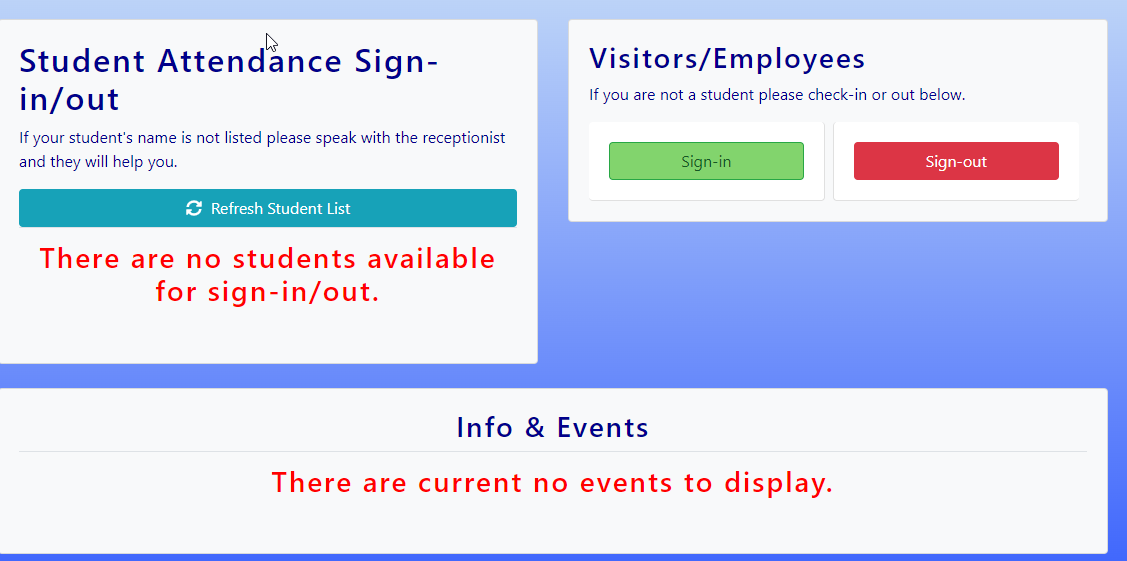
The Visitors/Employees group will only be shown if the "Visitor/Attendance Sign-in Usage" setting is turned on and is used in the same way as the old Visitor Checkin application.
-
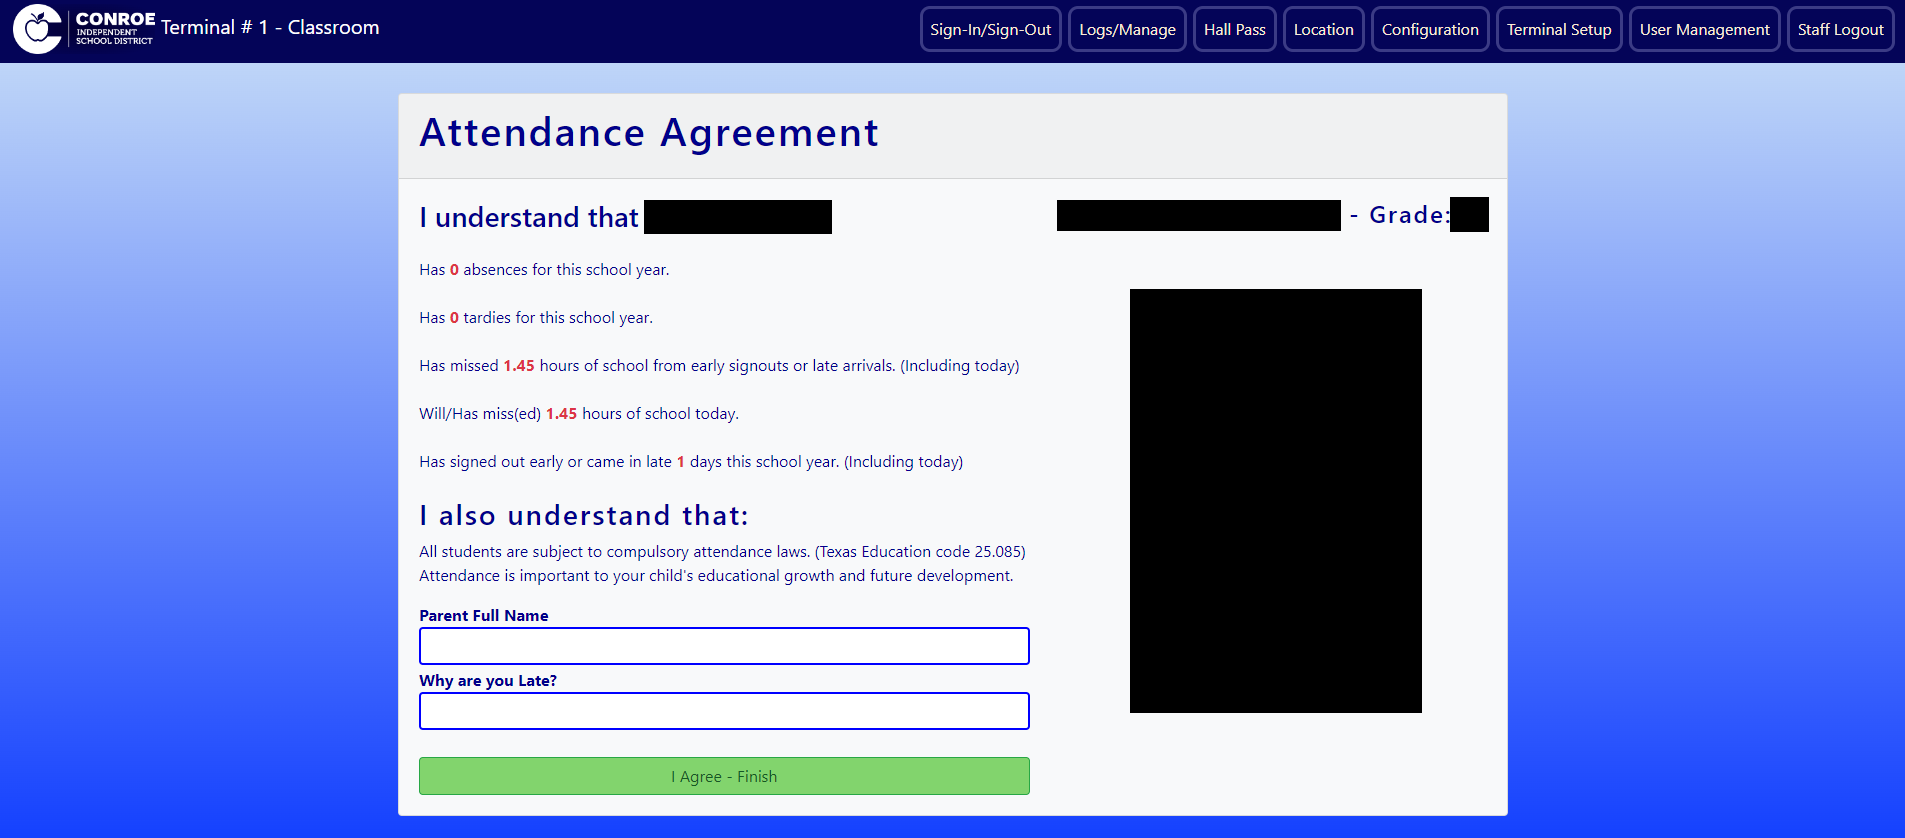
The Student Attendance Sign-in/out group is only visible if the "Visitor/Attendance Sign-in Usage" setting is turned on. This function replaces the Visitior Checkin functionality and is used to check students in and out of school and does affect attendance through ViewIT. The specific type of operation (sign-in/sign-out/late arrival) is determined on the Management device and the student/parent simply needs to select their name from the list and fill out the form that appears. The Pending Students group will check if there are any new students that need to be signed in or out at the given terminal every few seconds. Meaning that if a student does not appear immediately they should appear if you give the system a few seconds to refresh.
Upon Selecting a pending student the User will be presented with a page that looks like this:
Management/Logs (also accessed from the main page after setup, only available if the user is logged in and has the correct permissions)
The Management/Logs page has two main functions accessed using the tabs at the top of the page:
-
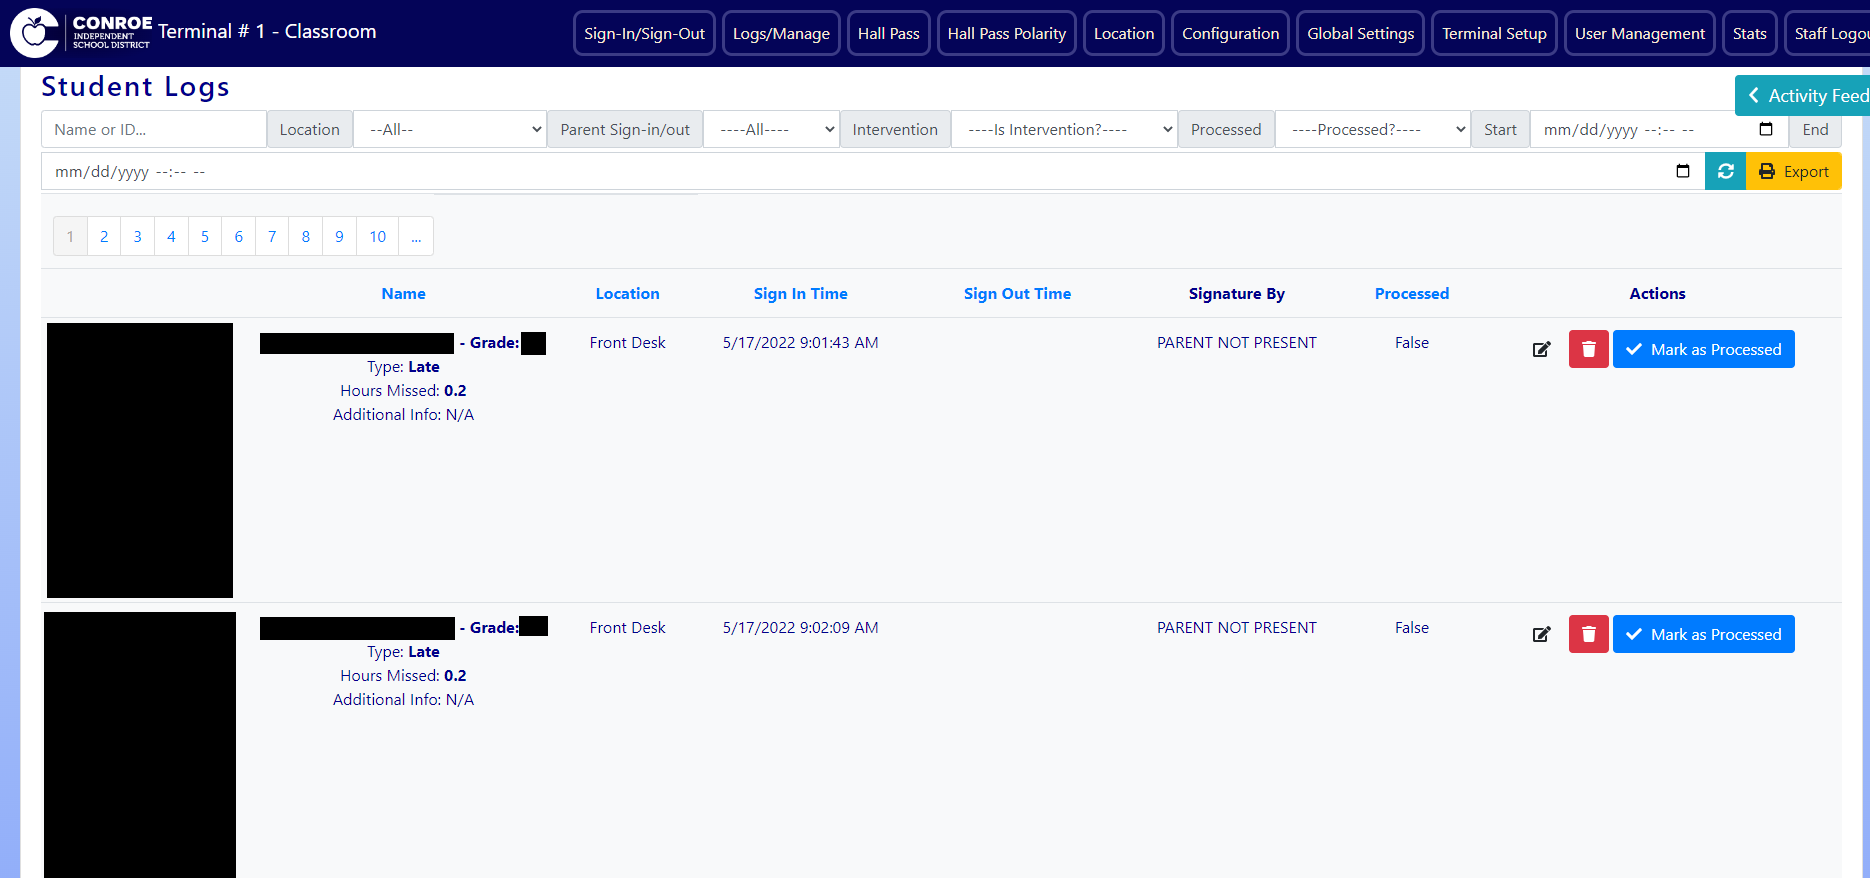
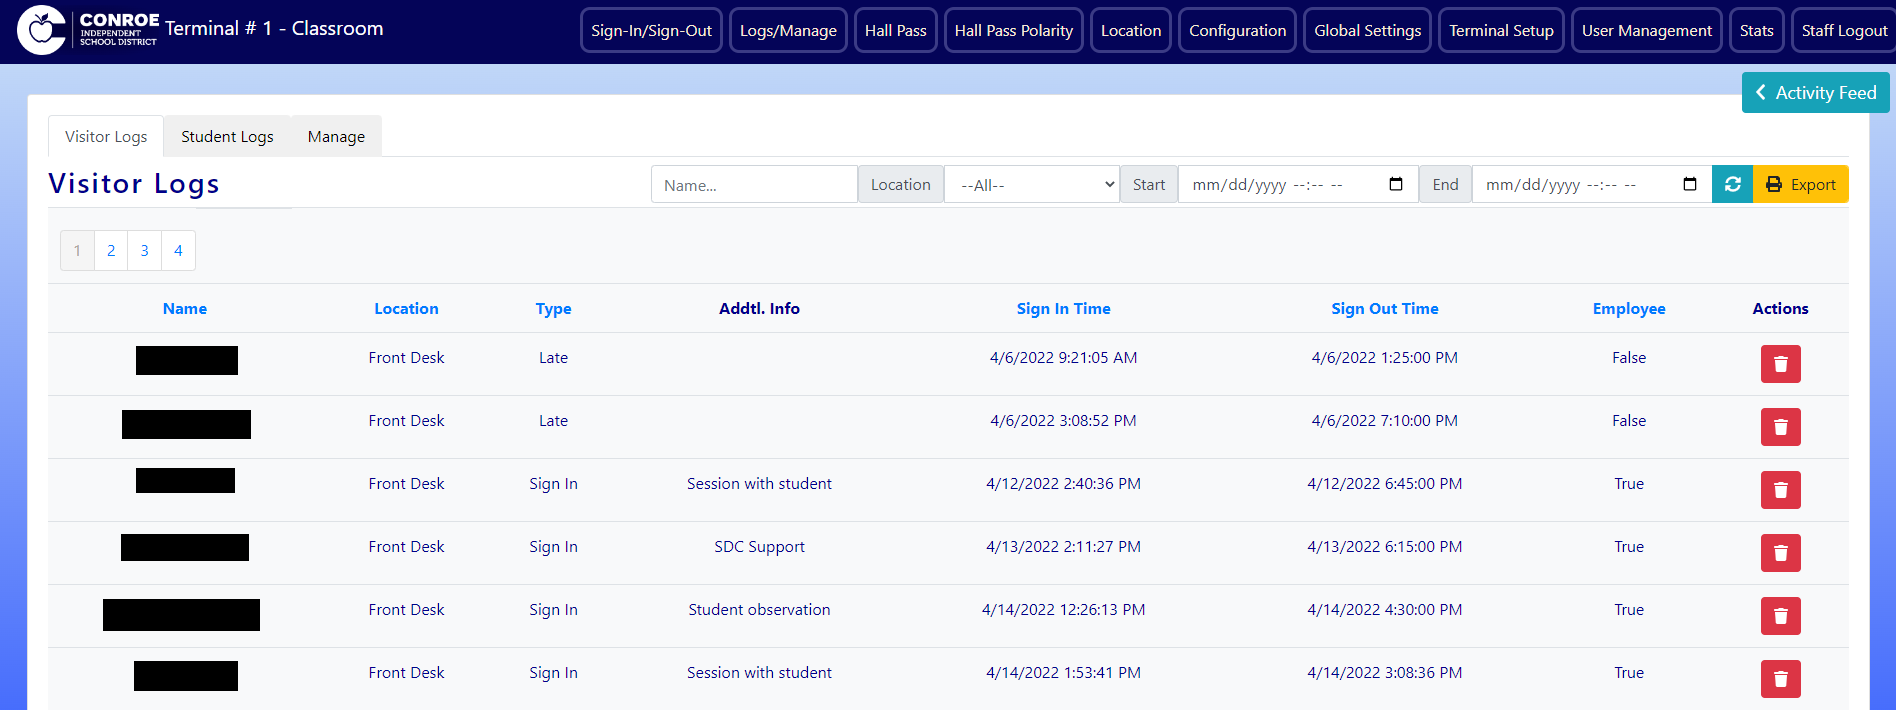
The Student and Visitor Logs Tabs. These tabs are used to view and edit any entries created by the functions of the Sign-in page. The Logs have many different search options available at the top of the page, they will default to showing all logs for the given location with all times unless specified. The tables also have the ability to sort by a given column by clicking on the name of the column as long as the name is in blue, clicking the header again will reverse the order of the sorting.
There is also a dedicated button at the bottom of the student logs page that will print out all of the sudents signed in or out for the day with 1 student per page. This is designed to be used by the PEIMS clerks as they often require each student record to be printed out individually for bookkeeping purposes.
-
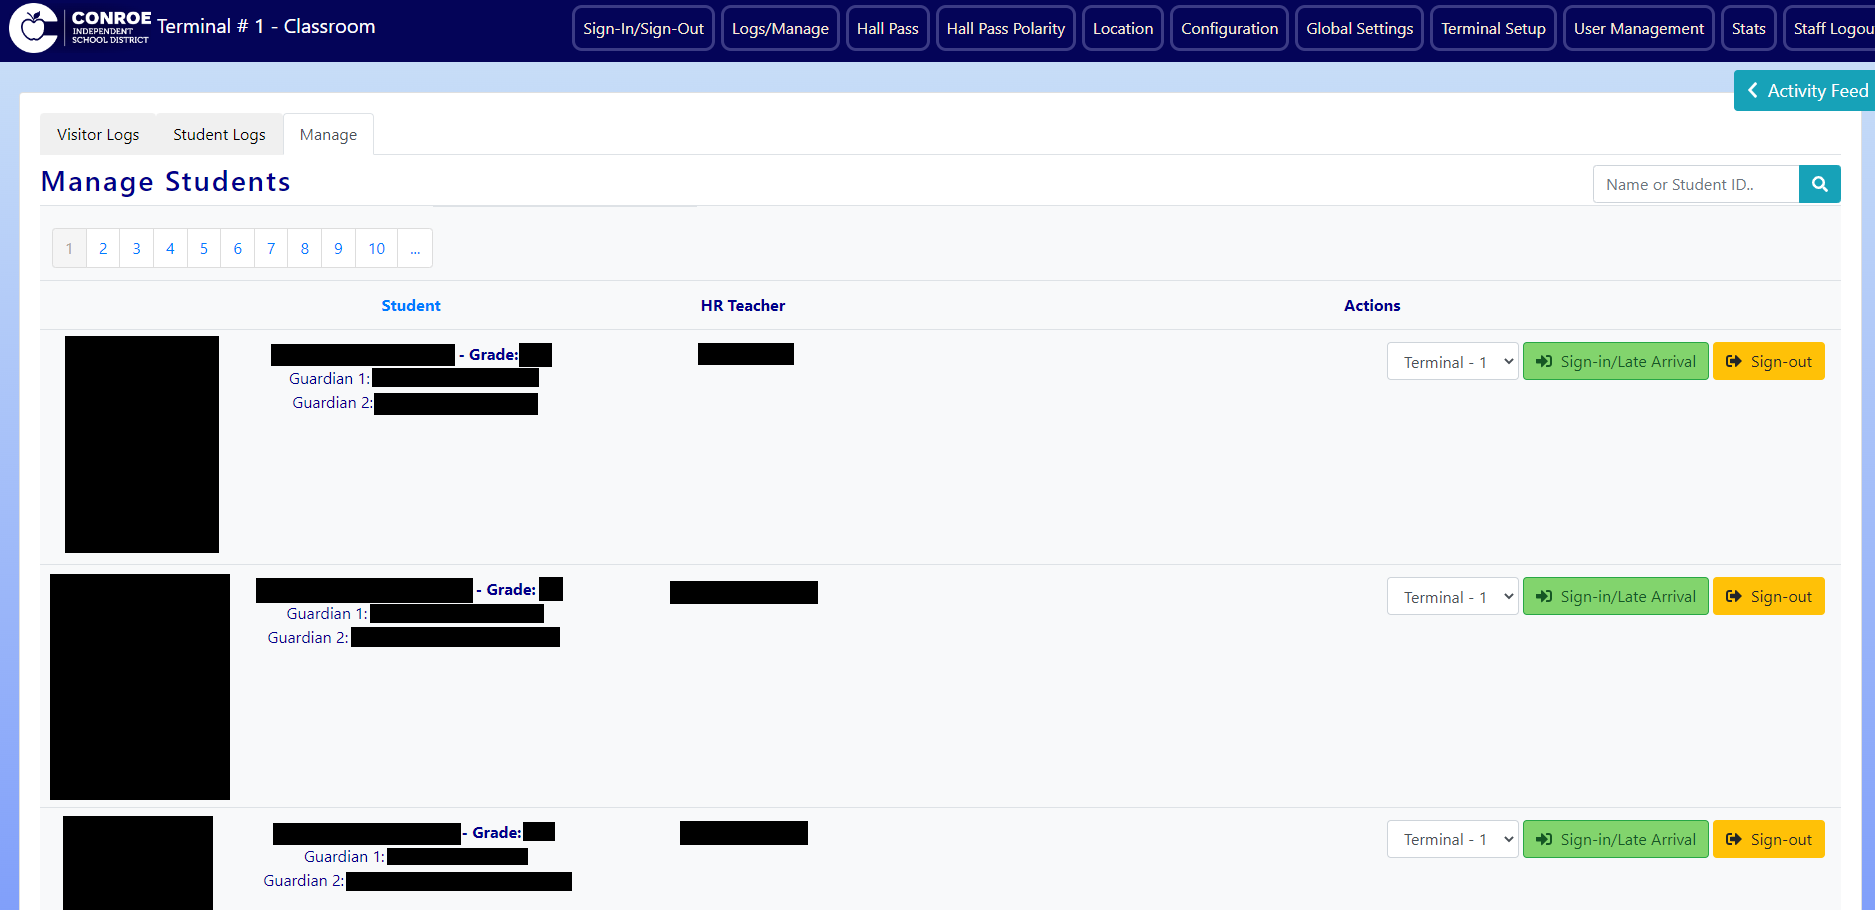
The Manage Tab is used to assign students to terminals for the Visitior Checkin functionality. For every student in the table there is a dropdown to choose what terminal to send the student to as well as sign-in/late arrival and sign-out buttons. Unlike the previous Visitior Checkin system Terminal will automatically determine if the student needs sign in or late arrival when clicking the button.
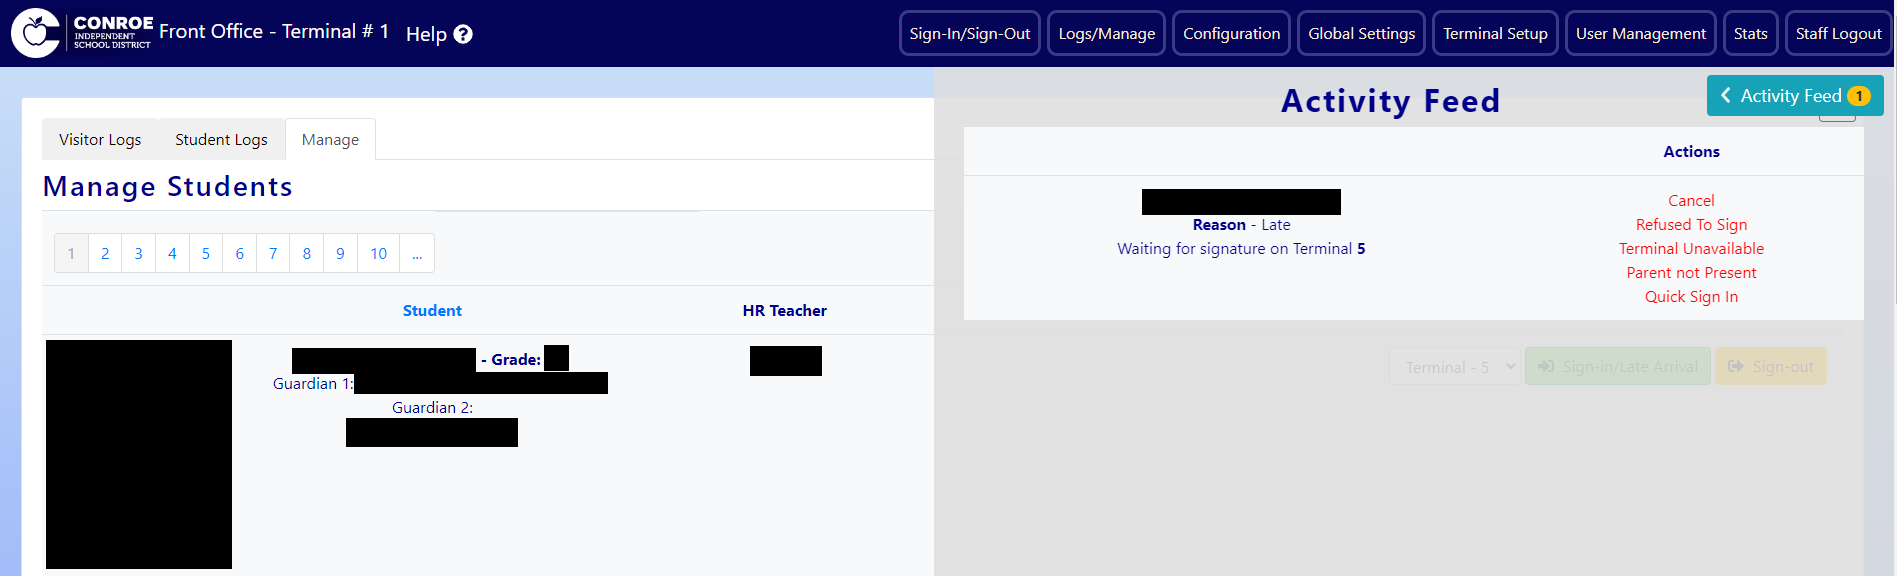
Once a student has been assigned they will show up in the Activity Feed table (which can be made visible by clicking the button in the top right). The Activity Feed table has various options that are largely similar to the buttons from the Visitior Checkin system with the addition of a "Quick Sign In" and "Quick Sign Out". These can be used to sign students in or out directly from the manage page without using any external devices such as iPads. Do note that using this feature will mark the parent signature as "Quick Sign In/Out".
There are also various pages that can be visible based on what permissions the user has.
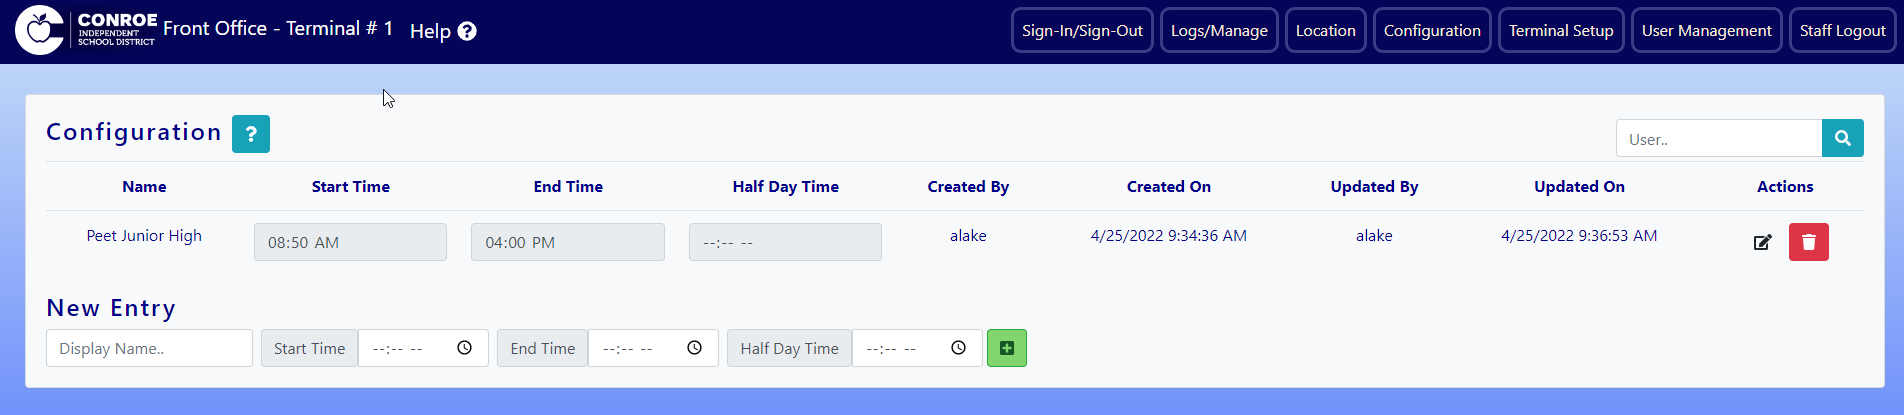
Configuration is a fairly simple page that will only need to be set up once per campus. The Configuration page is used to designate the campus' operating hours so that the system can properly calculate the time students are missing when they leave early or arrive late. Unlike the previous Visitor Checkin system, Terminal can have a set half day time rather than needing to manually change the time settings for every half day. Make sure that the half day time is set or the system will not process the half days properly.
-
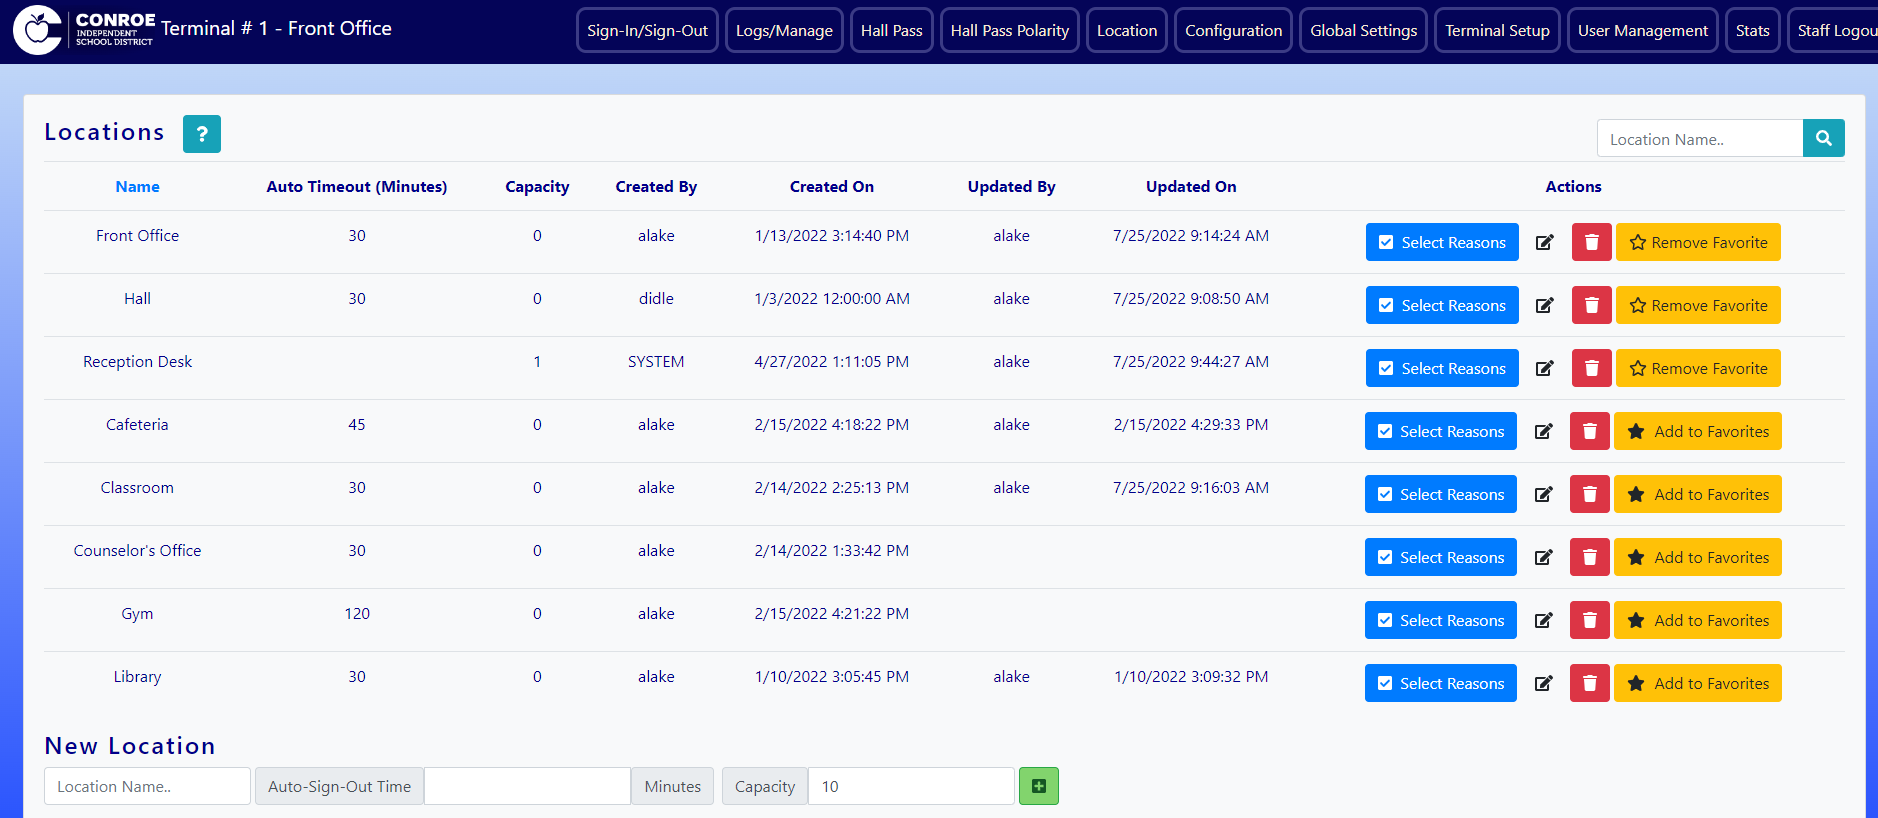
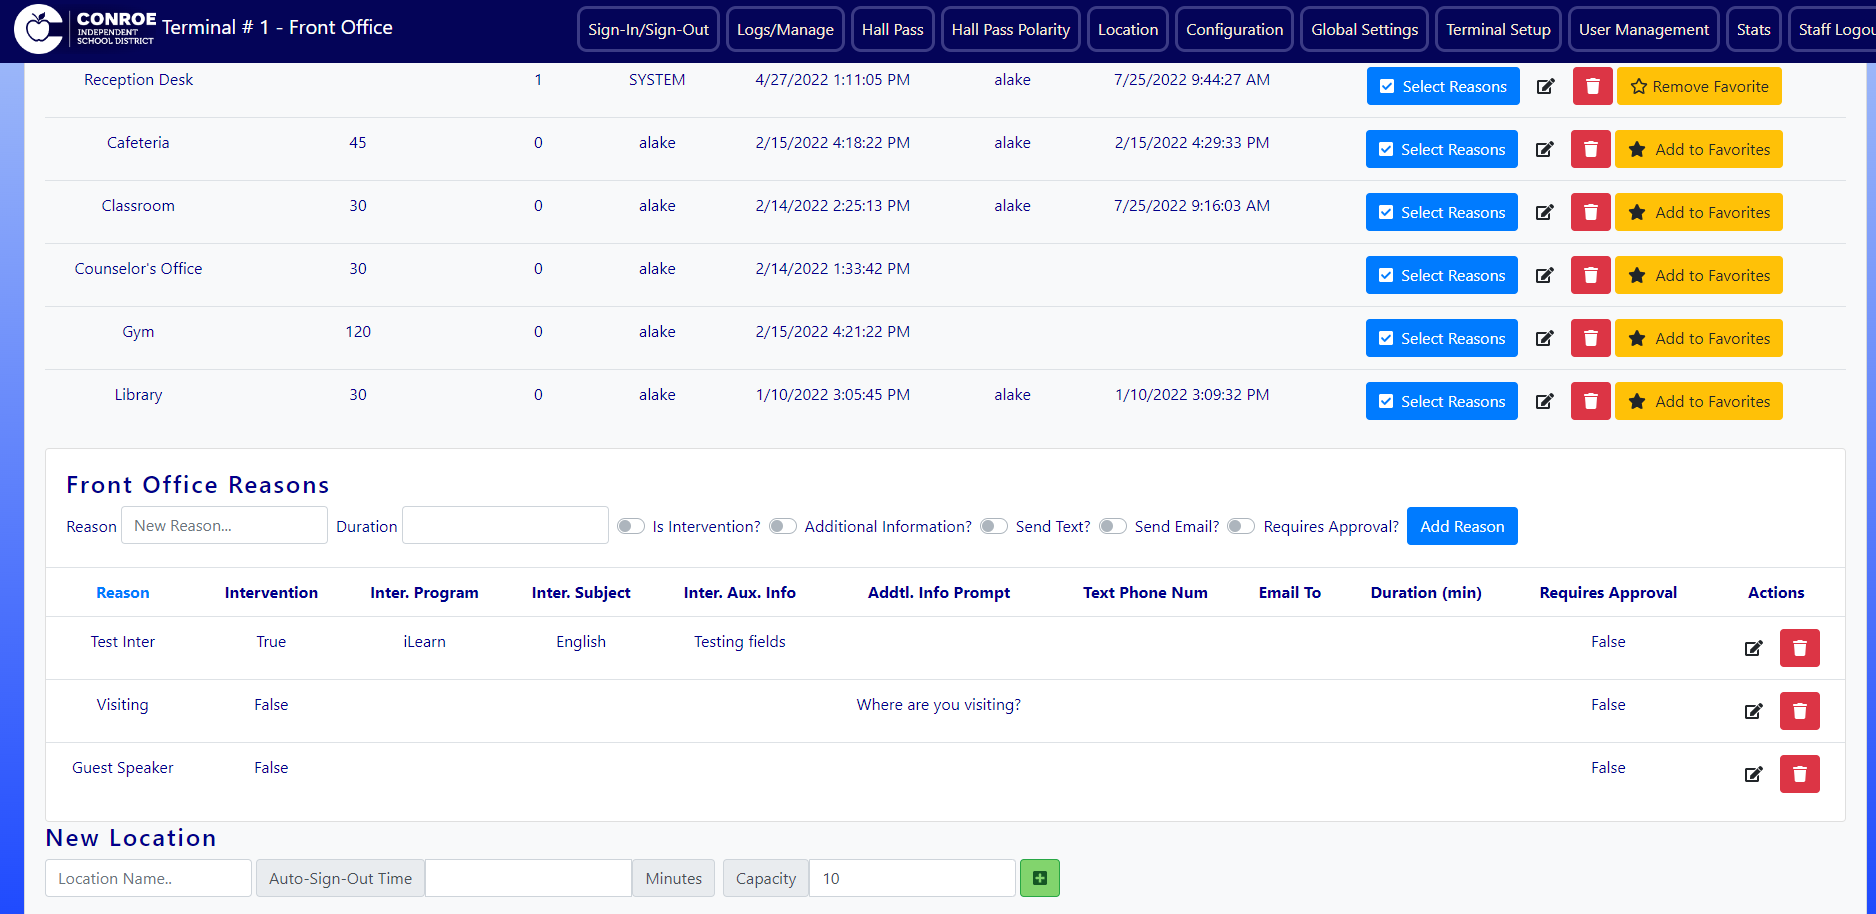
The Location page is used for both setting up locations to visit as well as all of the reasons that someone would visit each of the locations. Locations can be added as favorites which prioritizes those locations to always appear first. By clicking the "Select Reasons" button you can add or edit reasons for the given location.
Adding new users to Terminal
-
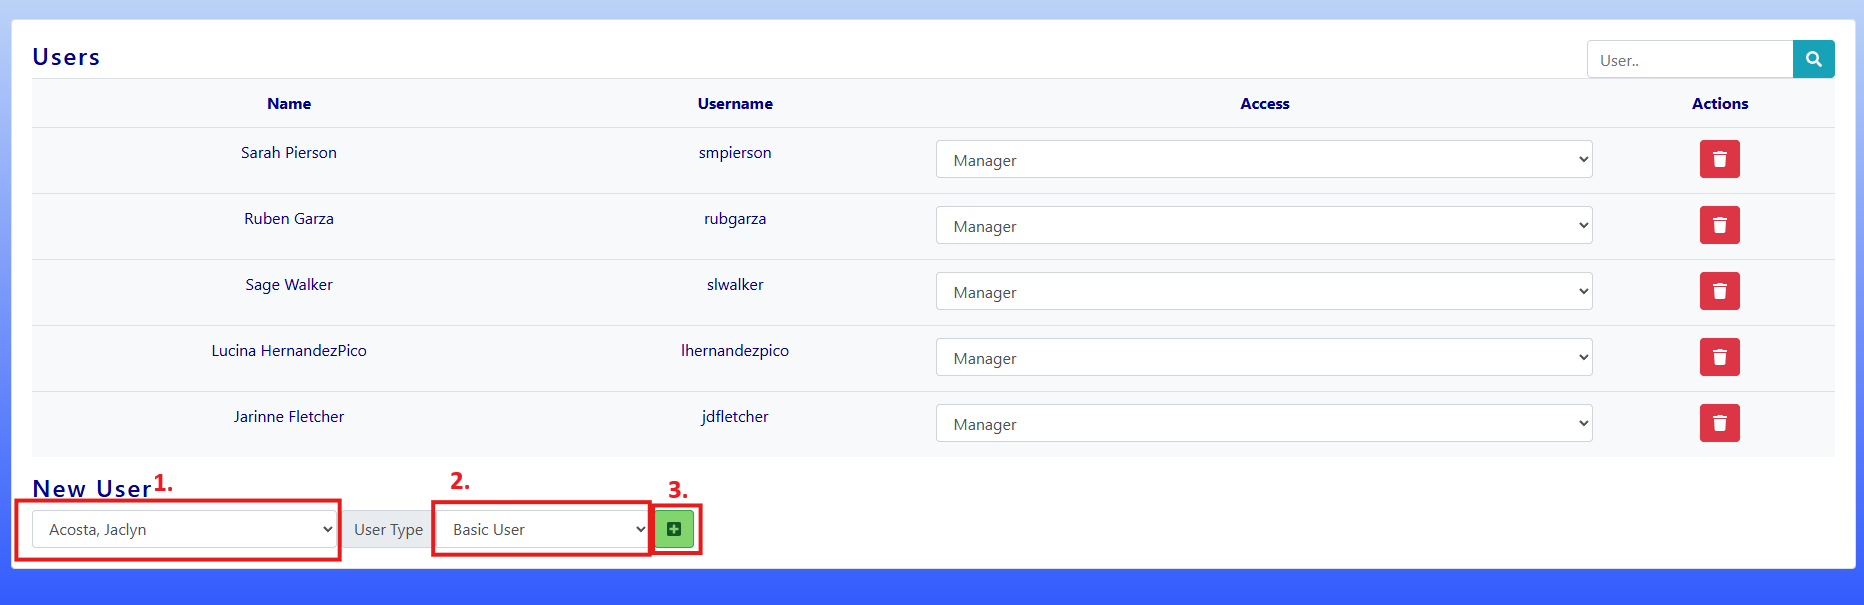
To add a new user to Terminal simply go to the User Management page and scroll to the bottom section. Once there you can select the employee from the list of names then select their access type and click the plus button to add them.
-
There are three main levels of access to Terminal:
-
Basic Users are only allowed to use basic sign in and can view and edit logs
-
Manager Users are allowed to view and edit logs as well as add or edit other users in the system
-
Admin Users are given all permissions and cannot have their permissions changed or deleted
-
FAQ's
-
What happened to my device's settings?
-
Once a device has been set up it will retain those settings for an extended period of time, however the settings will eventually expire and need to be set once again to restore functionality.
-
-
What do I do if my device has lost its settings?
-
If a Terminal ever needs to be set up again, all the user needs to do is log in to the device again and fill out the terminal setup page once again as per the above section on setup.
-
-
Why are my iPads unable to communicate with my computer?
-
This is usually caused by issues with the setting on one or both of the devices. This is easiest to verify by looking at the text in the top left of the page, if the devices show different locations than you should adjust the settings. Go to the Terminal Setup page at the top and make sure both devices are using the same location/visitor settings.
-
-