
Using iTunes to Transfer Photos from One iPad to Another
This guide explains how to transfer photos between two iPads using a desktop PC and iTunes. This method is useful when you need to move a specific batch of photos without using iCloud.
Important Note: You need iTunes installed on your desktop PC, but you do not need to sign in with your Apple ID. iTunes is simply acting as the bridge for the file transfer.
Step 1: Transfer Photos from the First iPad to the Computer
Connect the iPad you want to take photos from to your PC using a USB-to-Lightning cable.

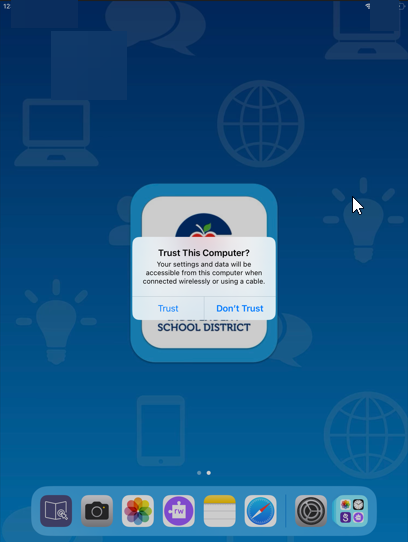
On the iPad screen, select Trust This Computer.
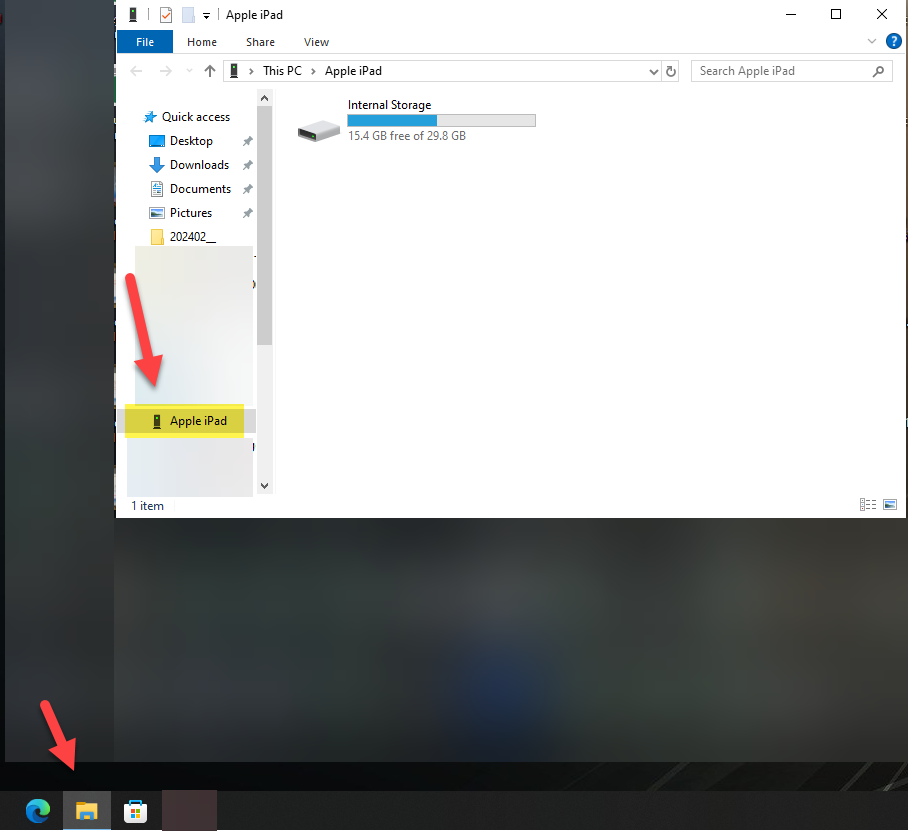
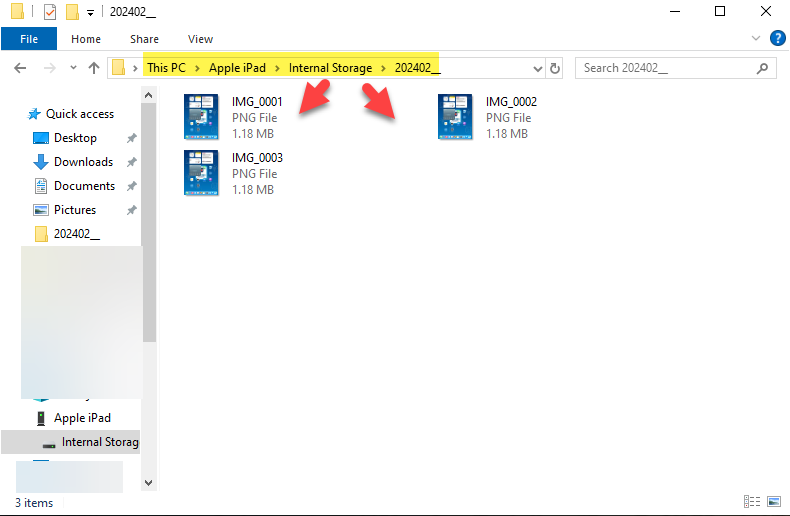
On your computer, open File Explorer and select the iPad icon.
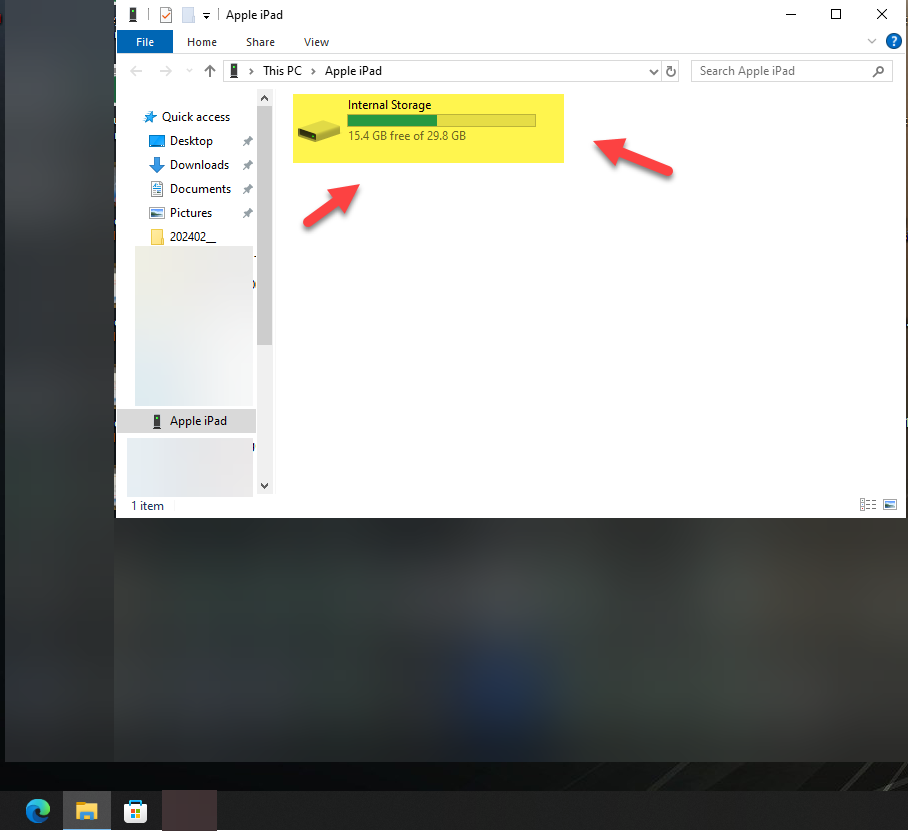
Select Internal Storage.
Select the folder dated for the month and year of the photos you want to transfer.
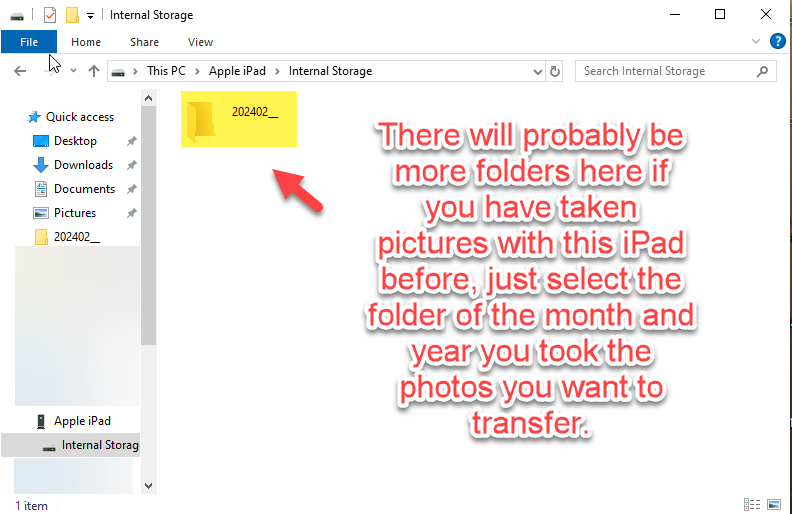
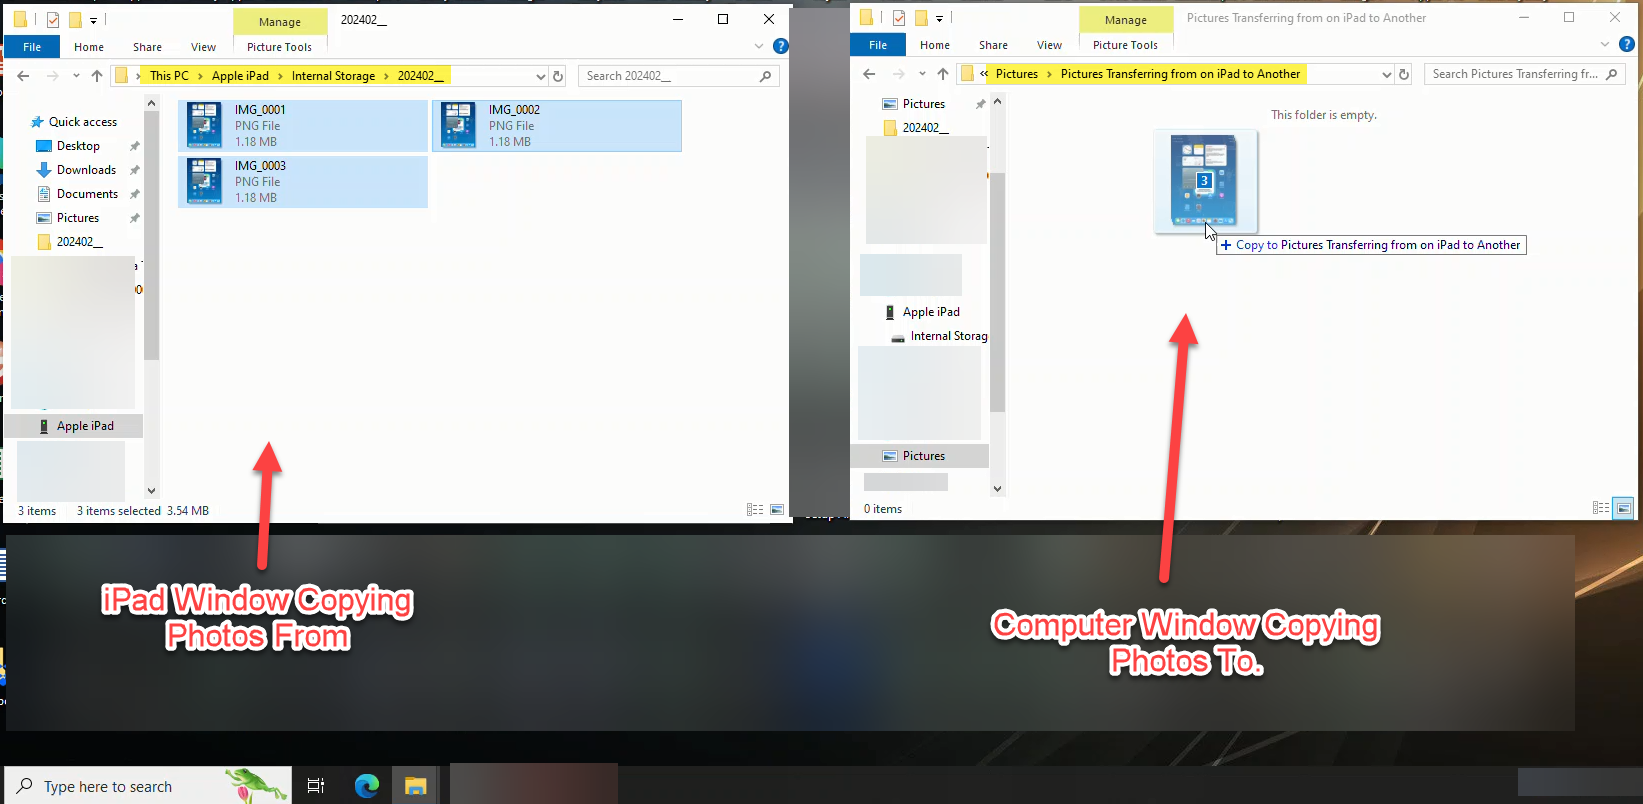
You should now see the photos available for transfer.
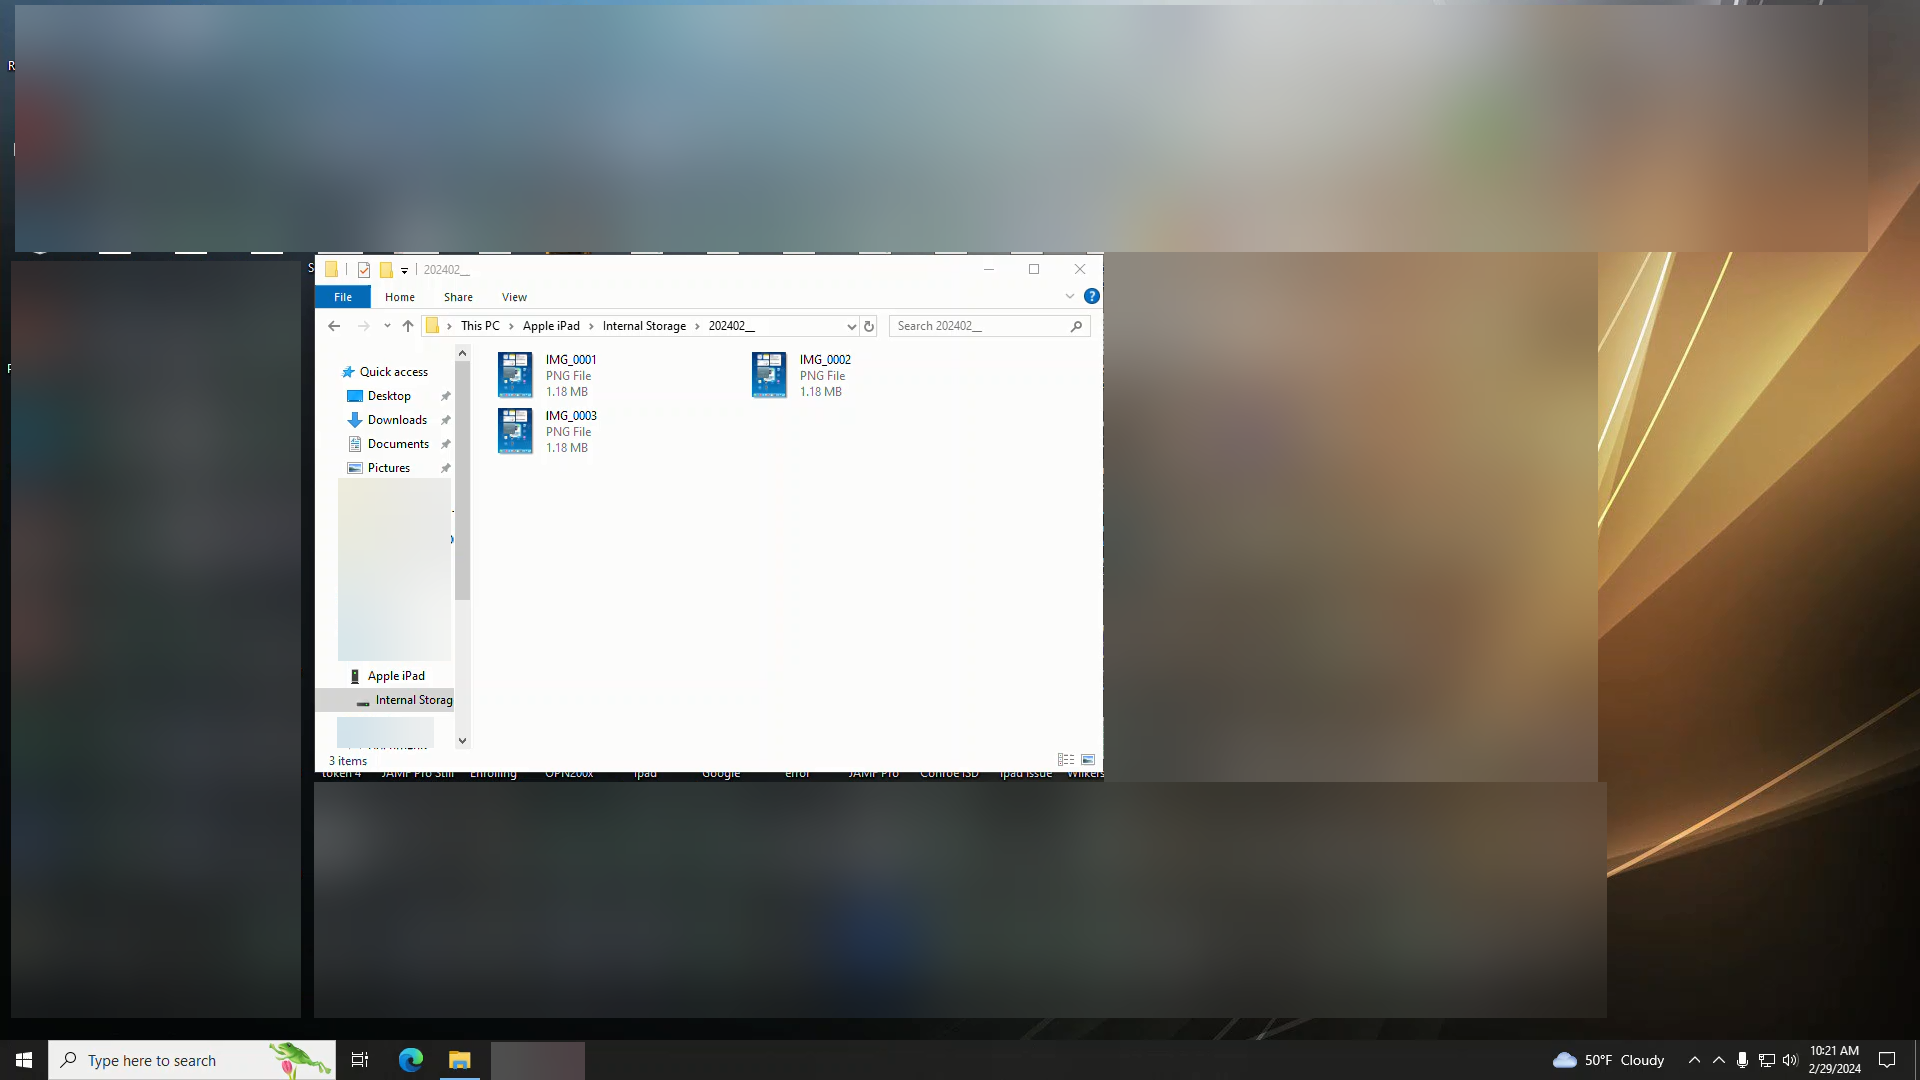
Move this File Explorer window to the left side of your screen.
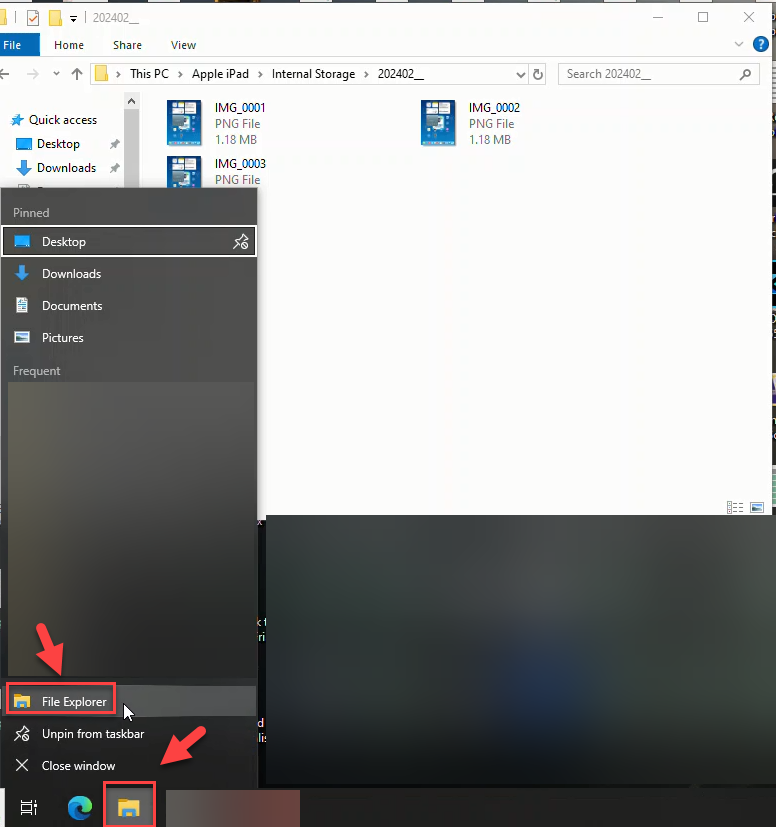
Right-click the File Explorer icon in your taskbar and select File Explorer to open a second window.
In the new window, navigate to Pictures and click New Folder. Name this folder something easy to identify (e.g., "iPad Transfer").
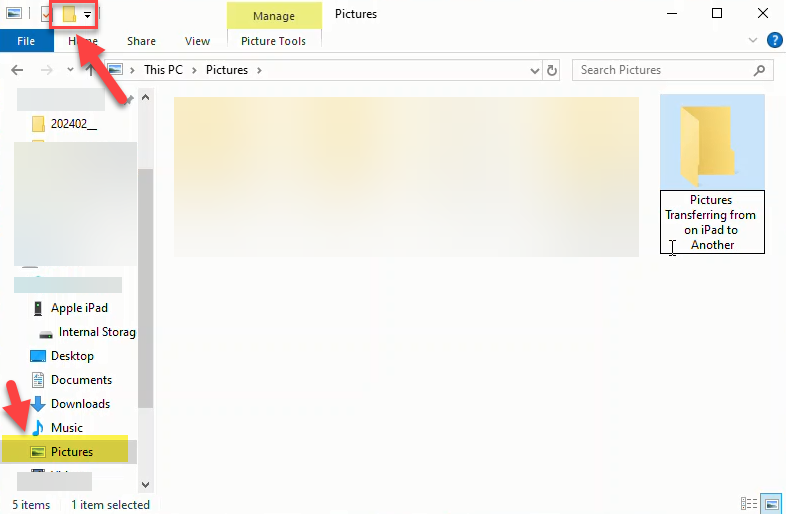
10. Open the new folder you just created and move this window to the right side of your screen.

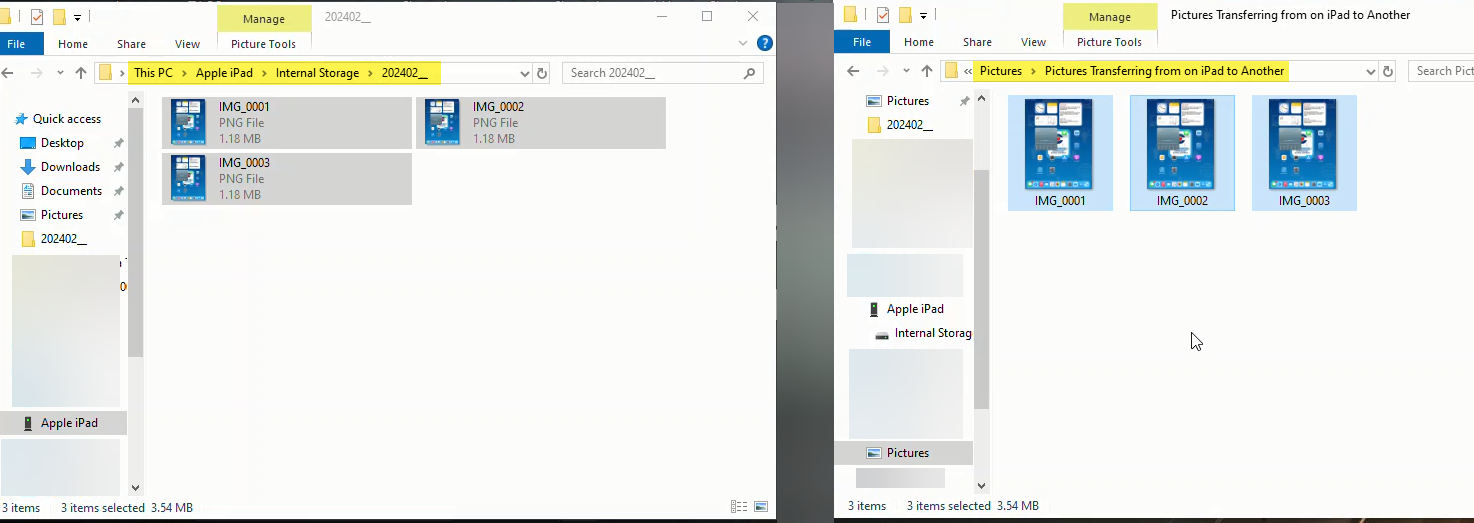
11. Select the photos in the left window (iPad). You can press Ctrl + A to select all of them. Drag the selected files into the folder on the right (Computer).
Step 2: Transfer Photos from the Computer to the Second iPad
Disconnect the first iPad. Connect the new iPad (the one you want to move photos to).
On the new iPad, select Trust This Computer.

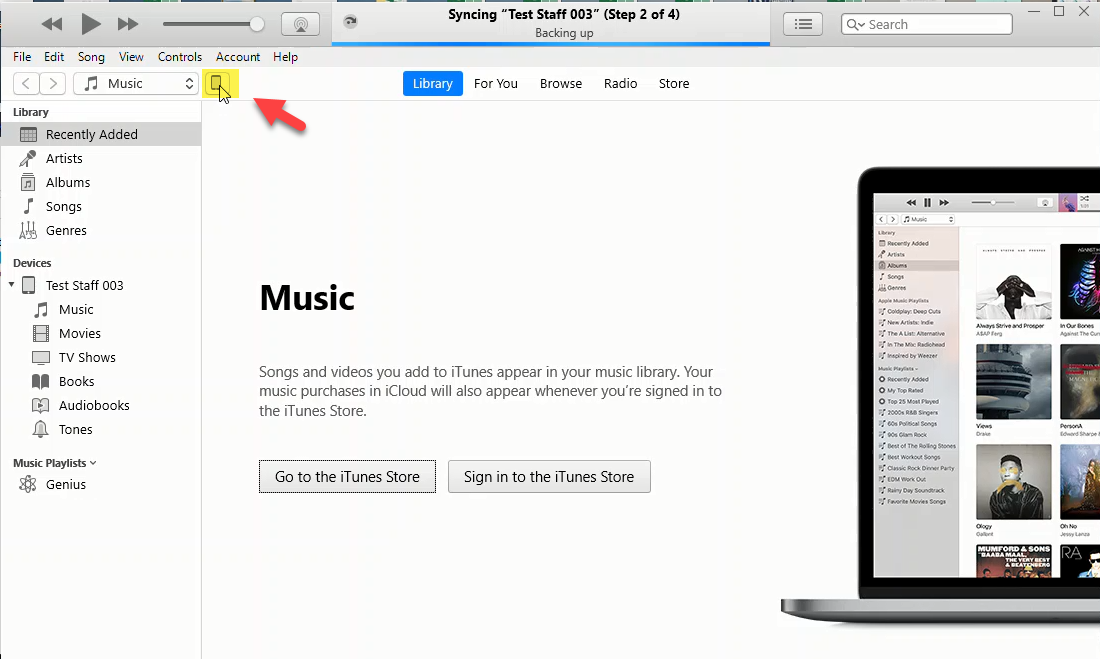
Open iTunes on your computer. If asked to update, you can select Cancel/No. Click the small iPad Icon in the top left corner.
In the left sidebar menu, select Photos.

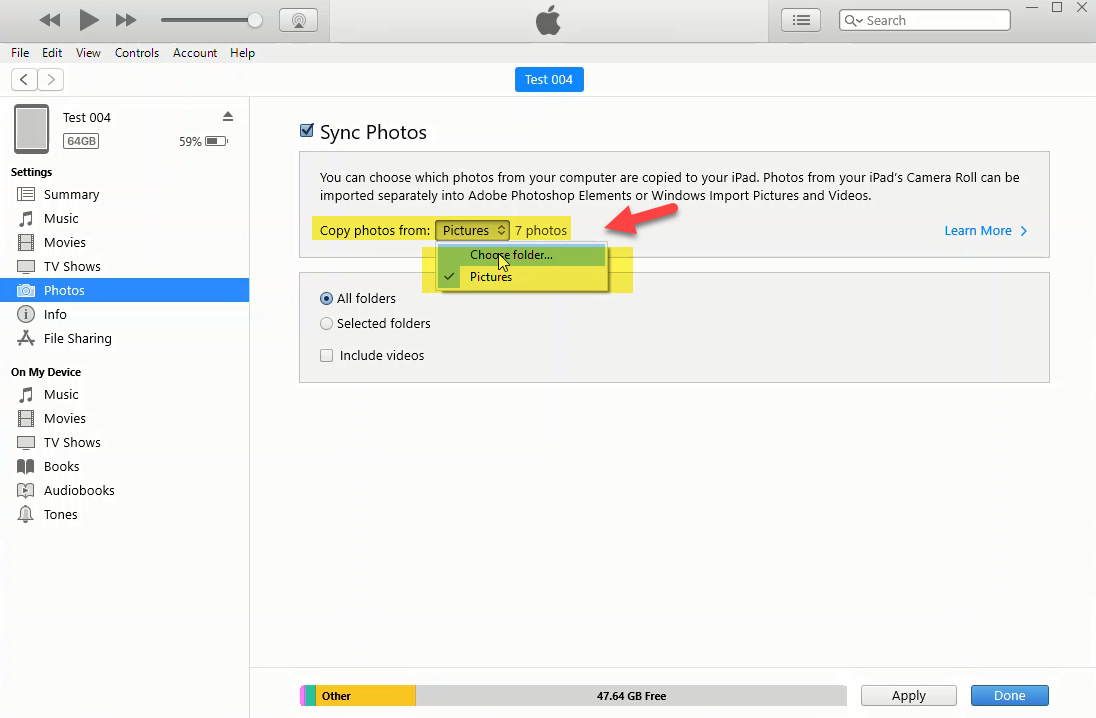
Check the box for Sync Photos.
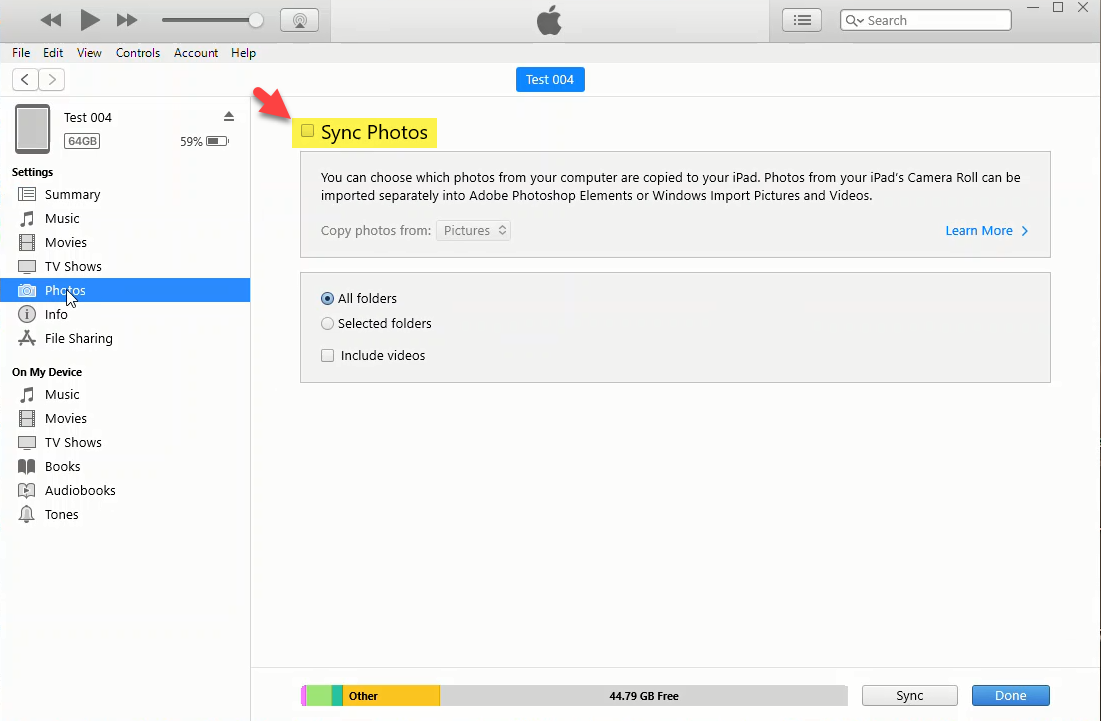
Click the drop-down menu next to "Copy photos from:" and select Choose Folder...
Locate and select the specific folder you created in Phase 1, then click Select Folder.
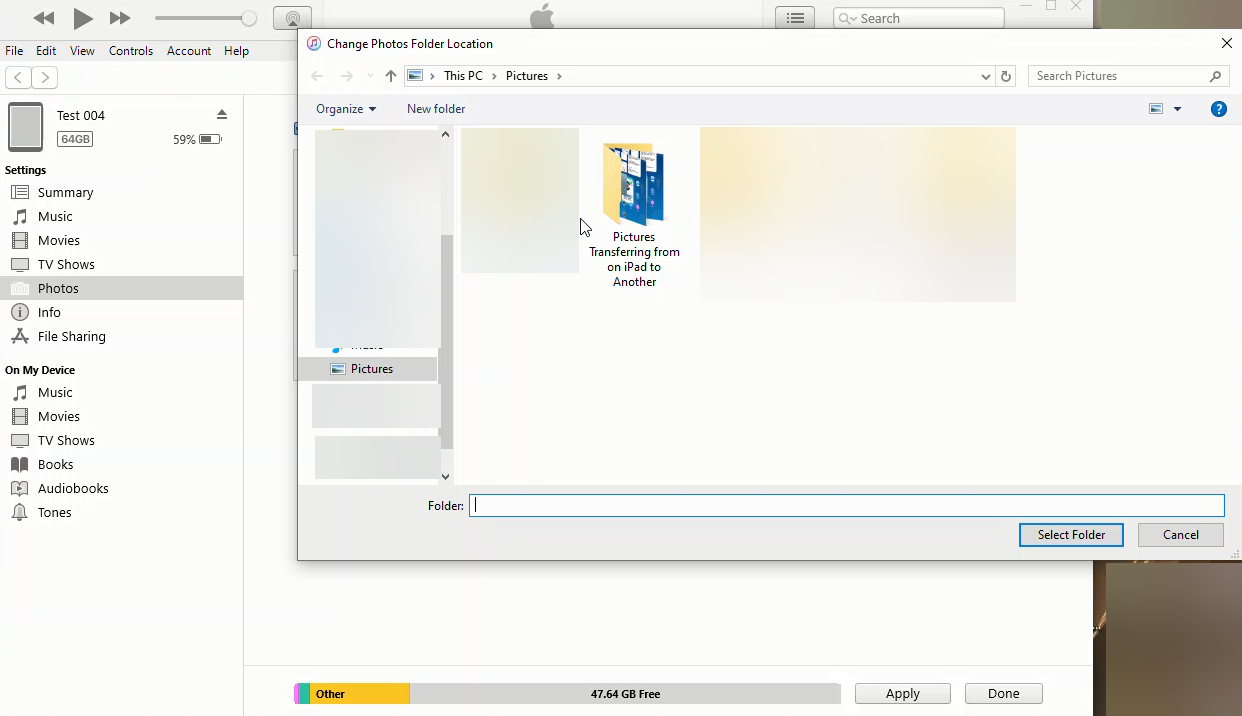
Verify that the correct folder is listed in the box, then click Apply at the bottom of the screen.

Step 3: Verify the Transfer
On the new iPad, open the Photos app.

Check your albums to ensure the photos have successfully transferred.

Need additional help? Click here for further assistance.