
Course Pacing is a feature in Canvas that allows instructors to create a structured timeline for course assignments based on when students enroll. This is particularly useful in Professional Learning courses where participants may have different start dates but need to follow the same pacing.
Course pacing is something that must be manually enabled for each course
Enabling Course Pacing
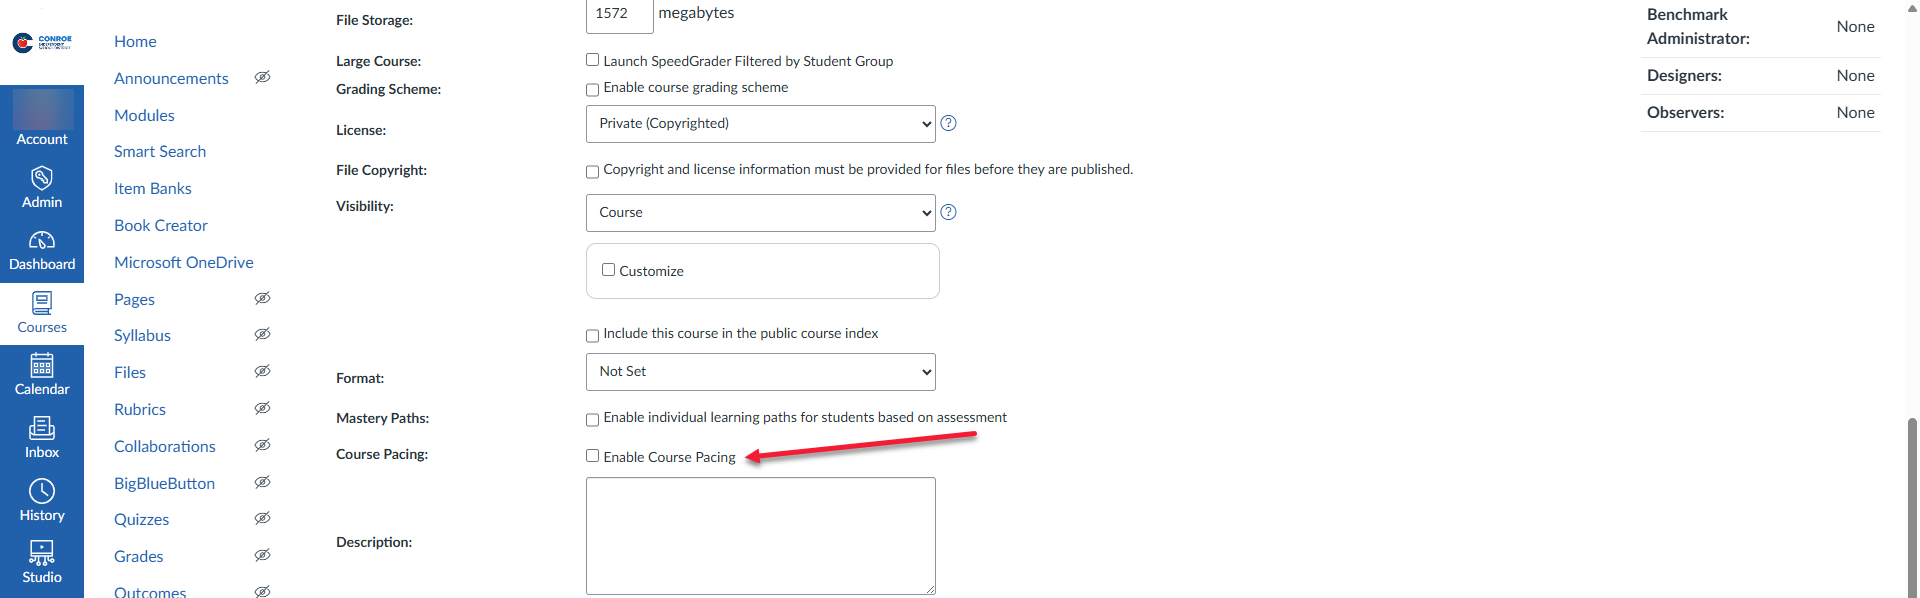
Before you can use Course Pacing, it must be turned on in your course settings.
-
Open your course in Canvas.
-
Click Settings in the course navigation menu.
-
Go to the Course Details tab.
-
Find Course Pacing and toggle it to On.
-
Then click Update Course Details.
Using Course Pacing
Once enabled, follow these steps to set up Course Pacing:
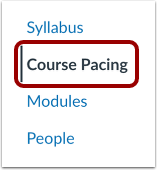
1. Open Course Pacing
-
In Course Navigation, click Course Pacing.
-
Click Get Started to begin creating your course pacing timeline.
2. Create Course Pacing
-
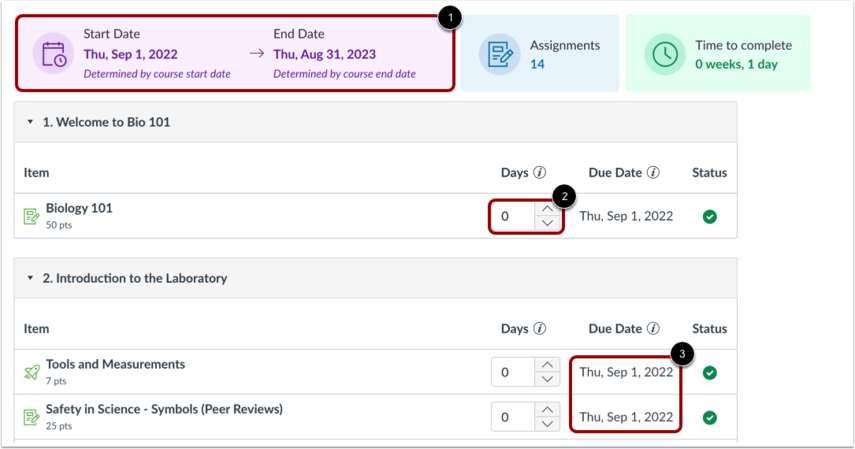
Course pacing is based on the course start date.
-
The first assignment will be scheduled according to the course start date.
-
Each following assignment is scheduled based on the due date of the previous assignment.
-
Use the Days field to set how many days after the course start date (or previous assignment) each task is due.

3. Adjust Course Pacing Settings
To customize pacing further:
-
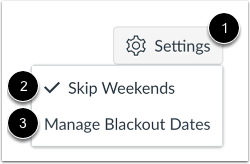
Click the Settings icon (gear icon) in the Course Pacing page.
-
To skip weekends, click Skip Weekends.
-
To manage blackout dates (e.g., holidays):
-
Click Manage Blackout Dates.
-
-
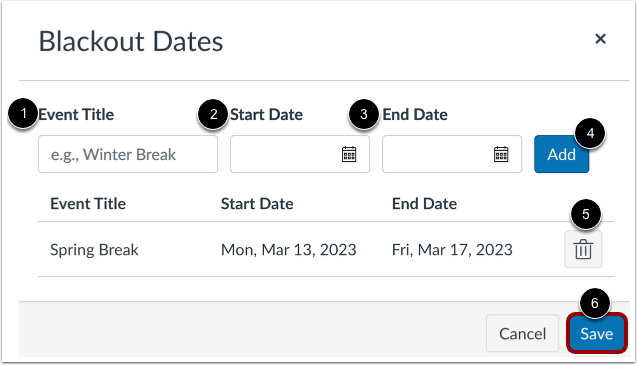
Enter a Title, Start Date, and End Date, then click Add.
-
To delete blackout dates, click Delete next to the entry.
-
Click Save to apply your changes.
-
4. Manage Course Pacing
-
Start and end dates default to those listed in Course Settings.
-
Adjust pacing by updating the Days field for each assignment.
-
As you modify the Days field, the due dates will automatically update.
Managing Student Pacing Individually
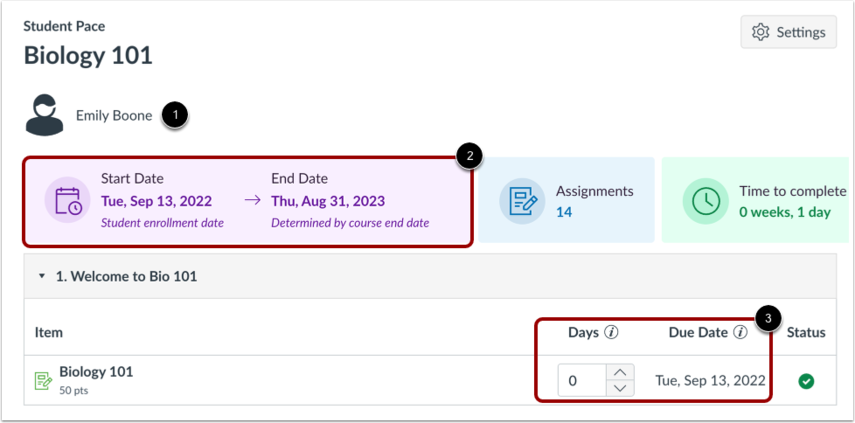
Once a Course Pace is set, you can view and manage pacing for individual students:
-
Each student's start date is based on their enrollment date.
-
Their due dates are calculated automatically using the pacing you’ve set.
-
To view or adjust, click the student's name from the Course Pacing view.
Publishing Your Course Pace
After setting up and reviewing your pacing:
-
Click the Create Pace button to save and publish your pacing structure.
Still have questions? Visit the Additional Help section for further assistance.