
QuickCards allow students to log in to ClassLink by simply scanning a QR code. This feature is available for students in PK-2 and Special Education.
Important: The very first time a student uses a QuickCard, they will still need to enter their username and password manually. After this one-time setup, the QuickCard will log them in automatically.
Step 1: Verify Your Classes (Optional)
If you want to view your current class rosters before printing, use the "My Classes" feature.
-
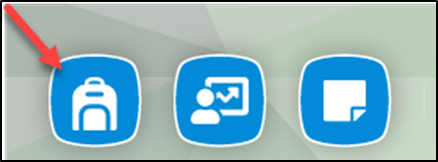
Select the Backpack Icon at the bottom of your Dashboard. (Note: You will only see this icon if you have students scheduled to your classes).
-
You will see a list of all your scheduled classes.
Step 2: Open the QuickCards App
To begin the printing process, you must use the specific QuickCards application.
-
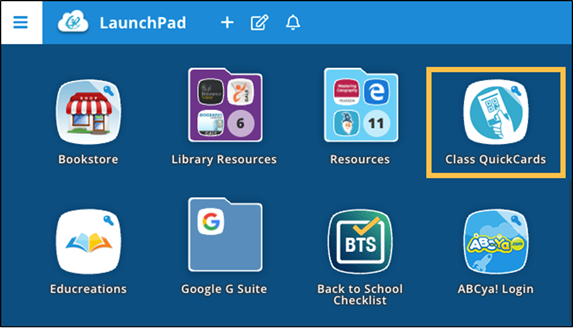
Locate the Class QuickCards app on your LaunchPad.
-
Open the app.
Step 3: Select a Class
-
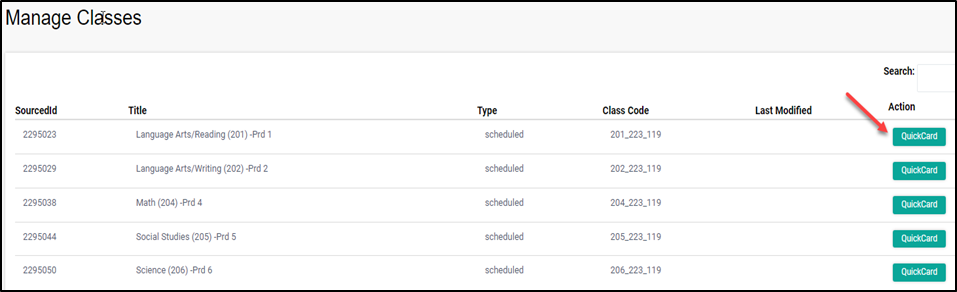
You will see a list of your classes.
-
Select the QuickCard button for the specific class you need to print.
Step 4: Select Students and Print
-
Select Students: You can check the box at the top to select All Students, or check boxes next to individual names to select specific students.
-
Generate: Select the Generate QuickCard button.
-
Print: Select the Print button. A page of QR codes will appear on your screen, ready to be sent to your printer.

Need additional help? Click here for further assistance.