
Manually Wipe an Apple TV Using Settings
Follow these steps to manually wipe an Apple TV using settings and the Apple TV remote.
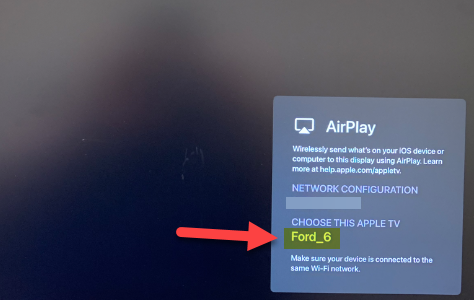
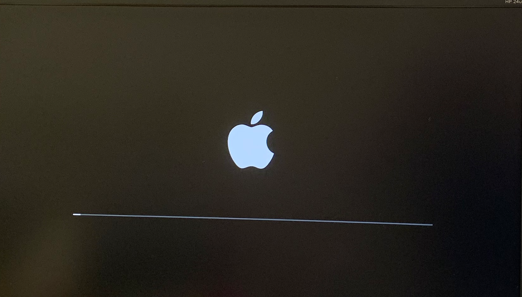
Normally when you set up an Apple TV and it correctly moves into JAMF the Apple TV will automatically go into conference mode and look like the image below.
Please make note that the Apple TV name in JAMF School will have the naming convention:
School Name_#
If the Apple TV does not automatically go into conference mode after set up or have the correct Apple TV naming convention then you will need to manually wipe the Apple TV and go through the set up steps again.
The Steps Here will show all possible Set Up Screens your Apple TV may be on. Just start with the screen that you are on and continue following the steps to get to the manual wipe screen.
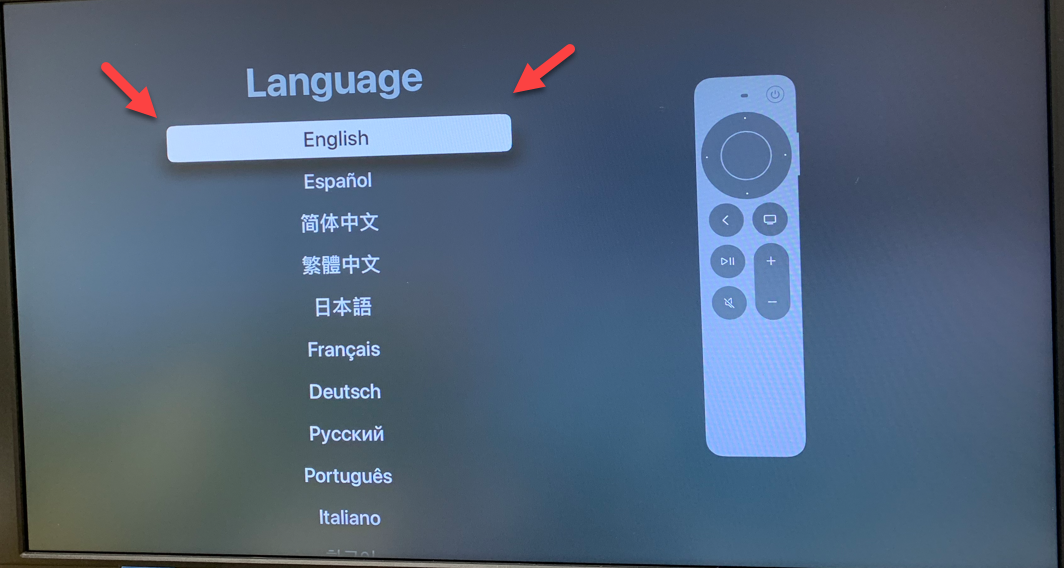
On the Language Screen Select English
On the Region Screen Select United States

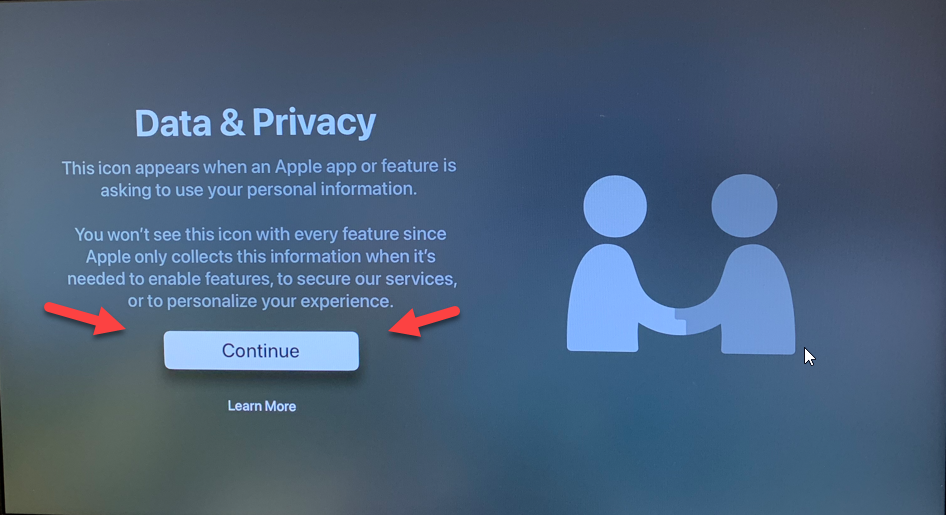
On the Data & Privacy Screen Select Continue
On the Automatically Set Up Your Apple TV Screen Select Set Up Manually

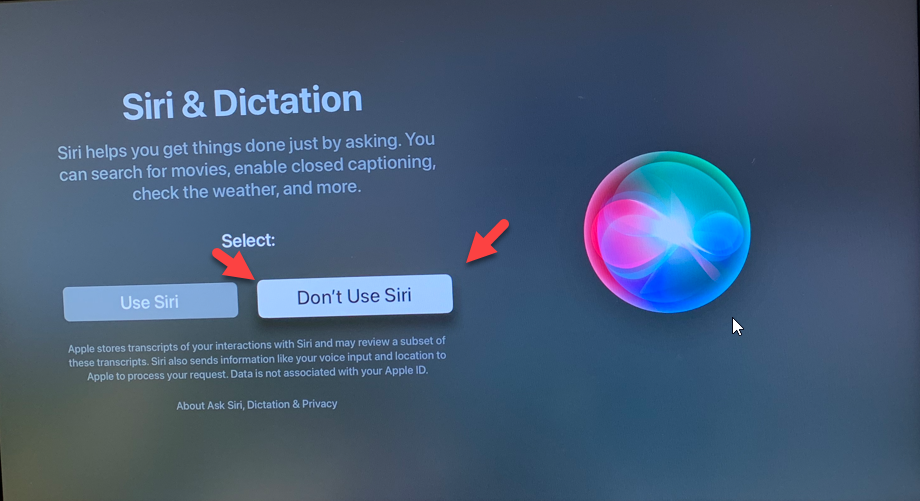
On the Siri & Dictation Screen Select Don’t Use Siri
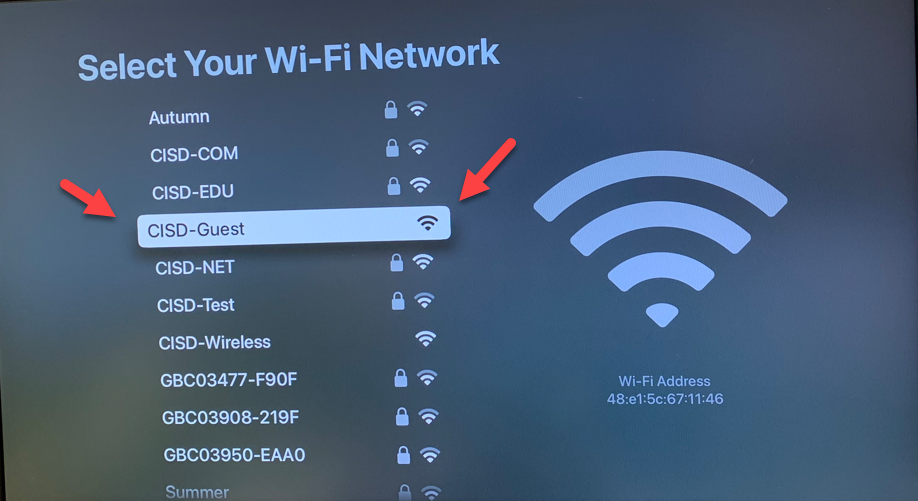
On the Select Your Wi-Fi Network Screen Select CISD-Guest
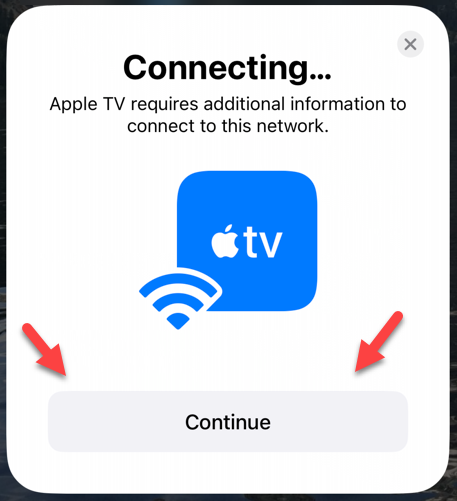
On the Connect to Wi-Fi Screen Select Continue on iPhone or iPad and follow the prompts on your phone or iPad to complete the Wi-Fi Set Up.

On your phone or iPad click Continue on the Screen that pops up
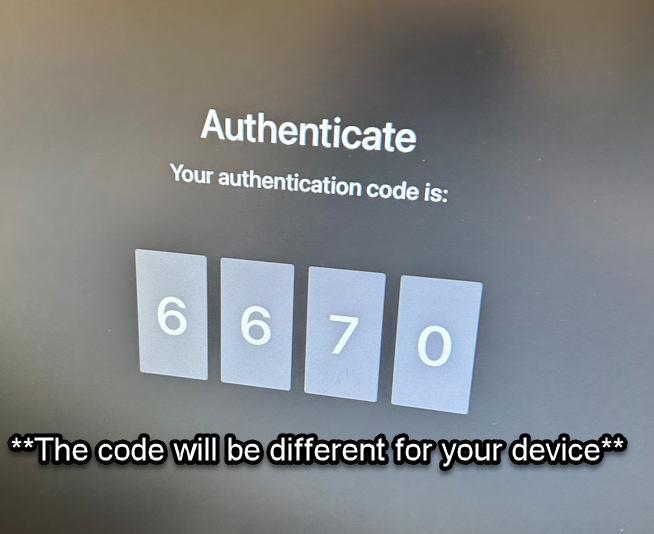
A 4 digit code will appear on the Apple TV Screen
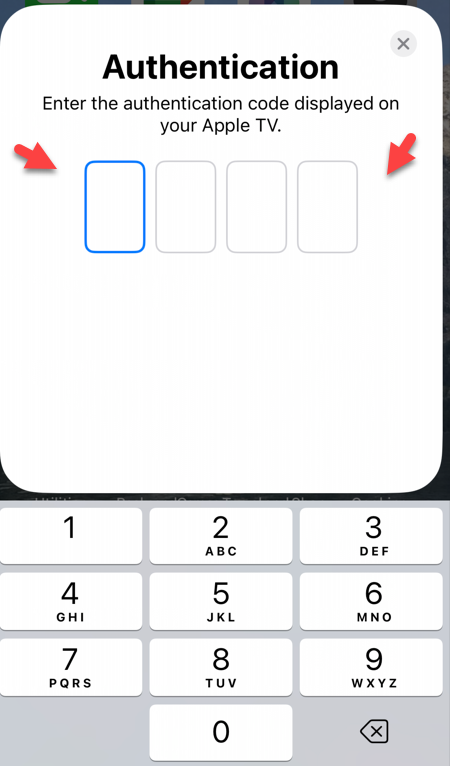
On the Authentication Screen that pops up on your phone or iPad enter the code displayed on your Apple TV.
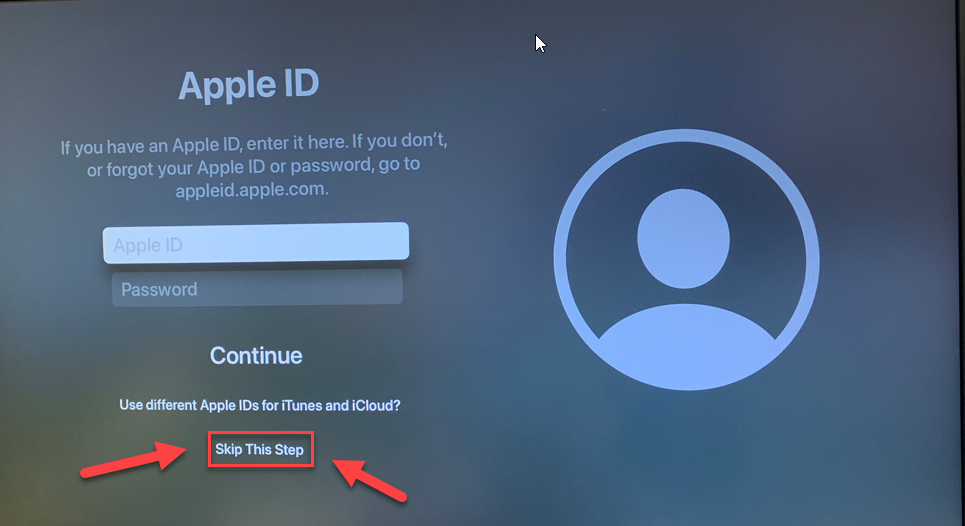
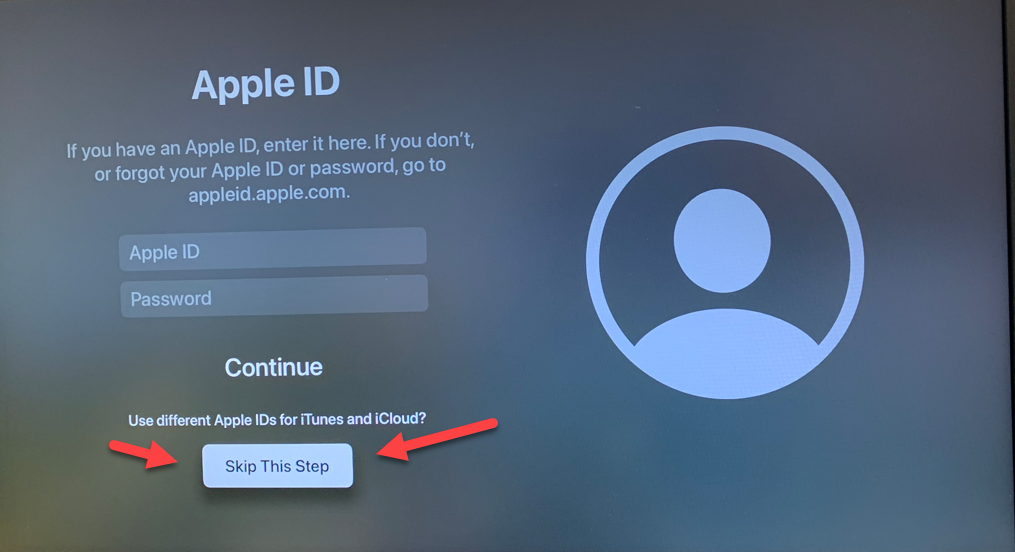
If you see a Screen Asking for your Apple ID this means that the Apple TV did not enroll in JAMF School and will need to be wiped manually.
If you see the Apple ID Screen Select Skip This Step
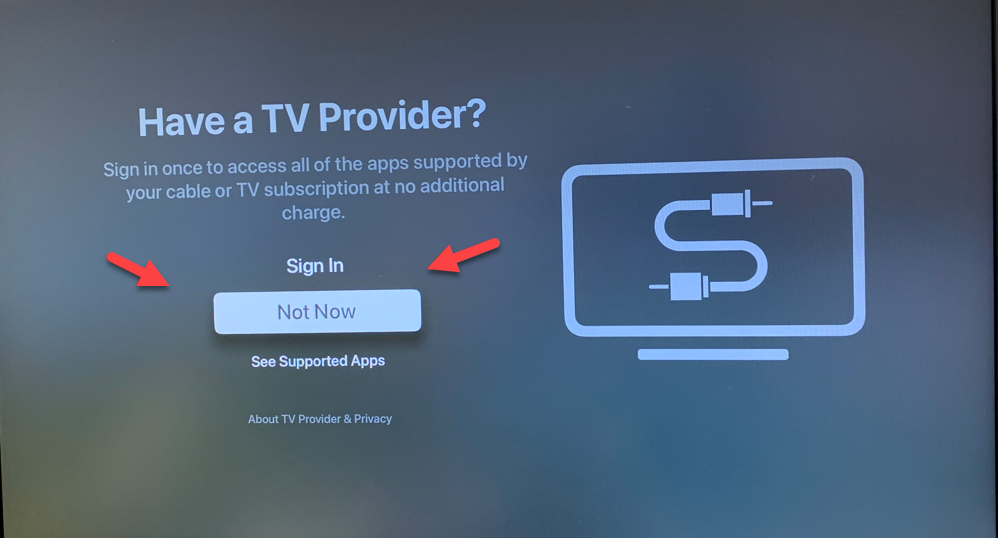
On the Have a TV Provider Screen Select Not Now
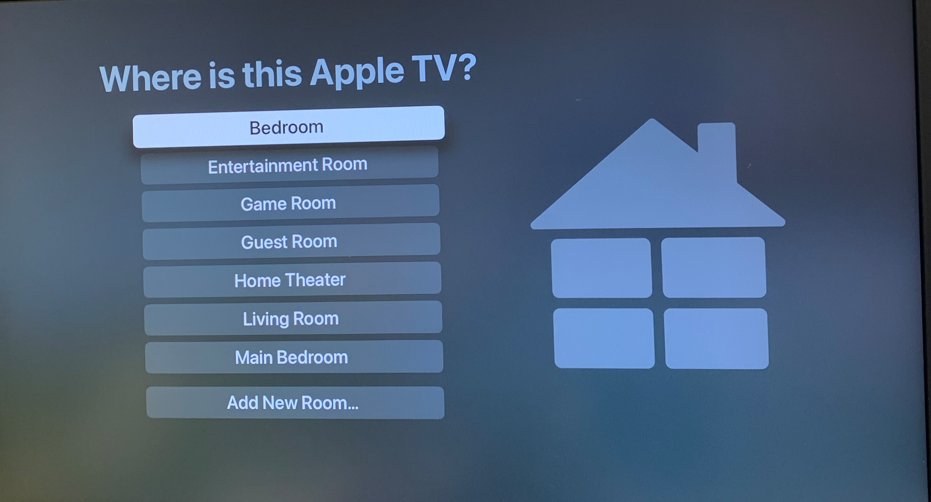
On the Where is this Apple TV Screen it really does not matter what you select so just leave it on the default Bedroom and move on to the next screen
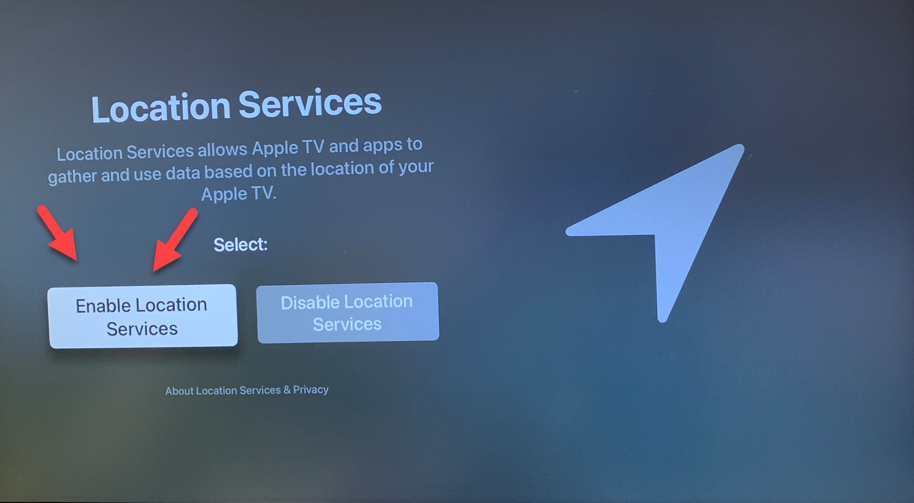
On the Location Services Screen Select Enable Location Services.
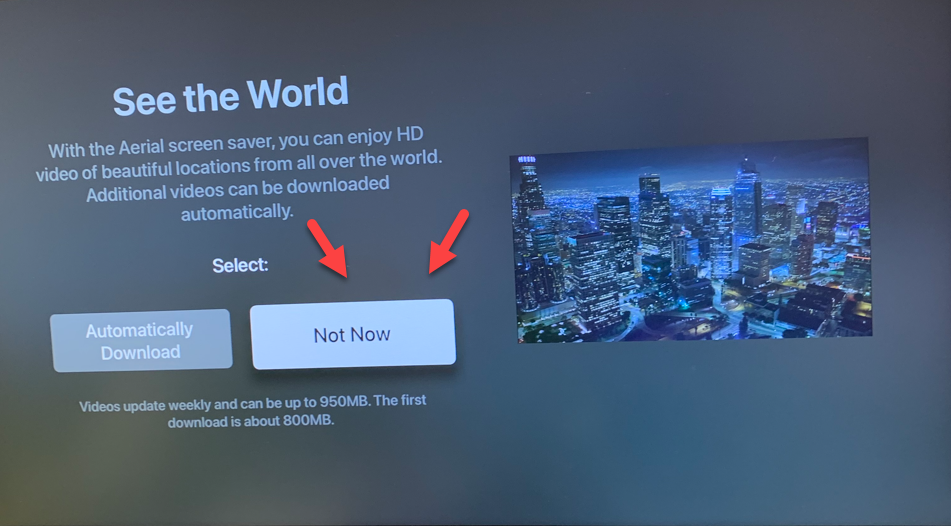
On the See the World Screen Select Not Now
On the Analytics Screen Select Don’t Send

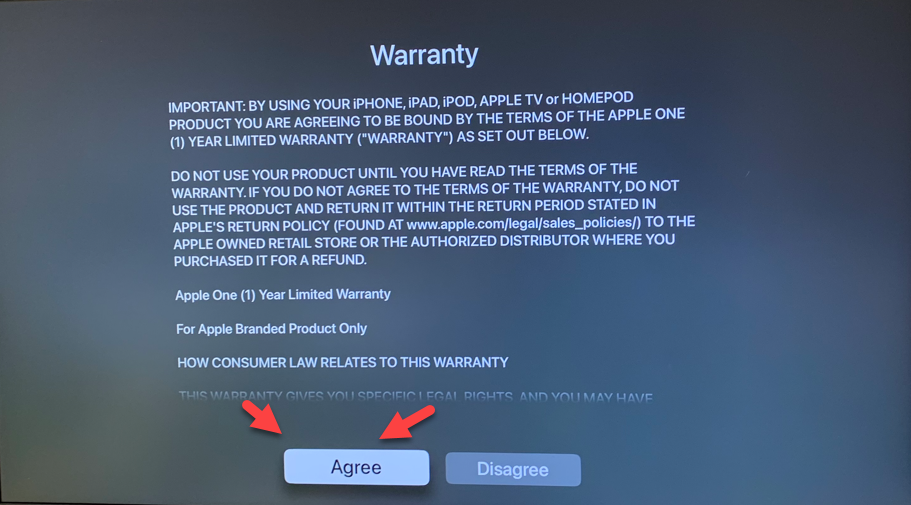
If any Warranty Screens Pop Up Select Agree
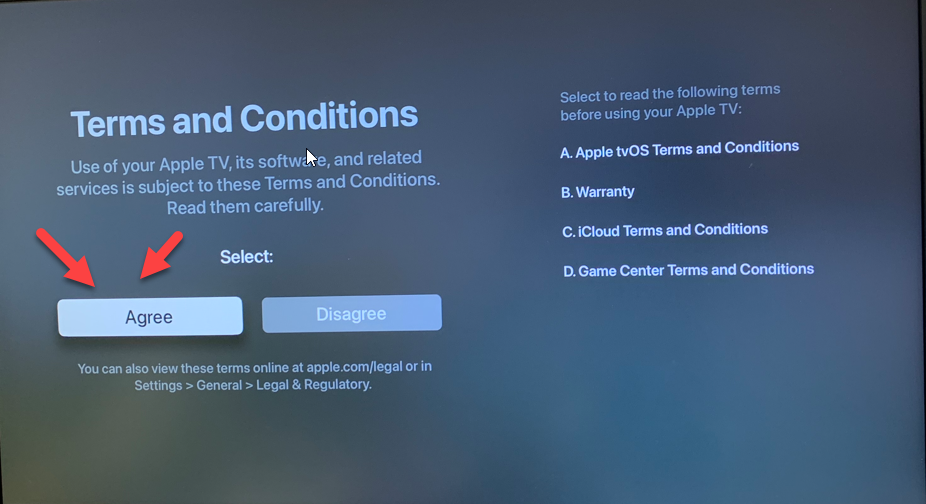
On the Terms and Conditions Screen Select Agree
All the steps above were what to do to get through any of the set up step screens so that you can eventually get to the settings app.
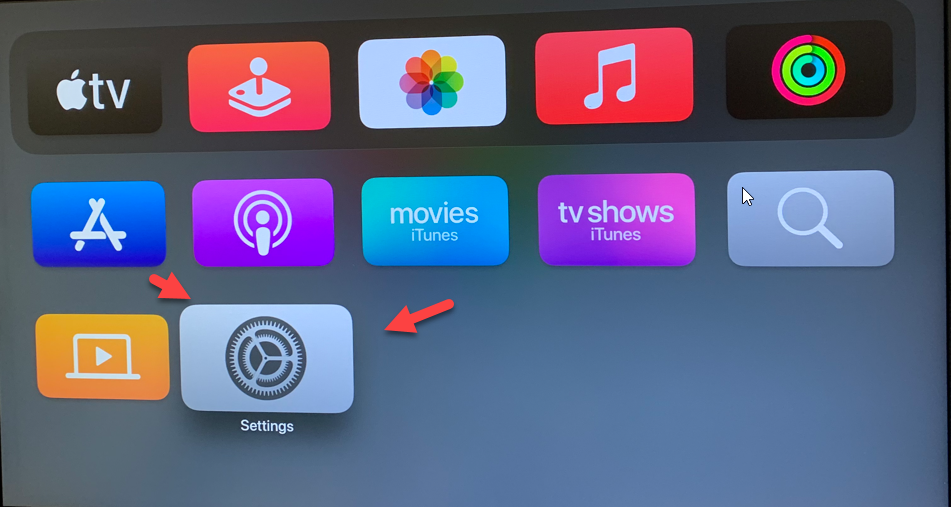
The steps below show how to get to the settings app so if your Apple TV is already on a screen with a lot of apps you can ignore all the steps above and start here to get to the settings app
Scroll down the list of apps and Select the Settings App
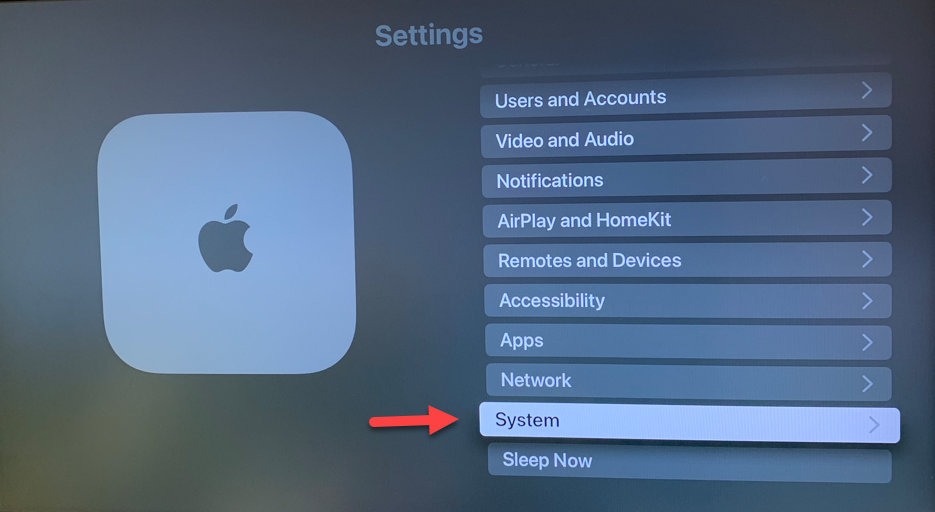
Scroll down the settings options and Select System
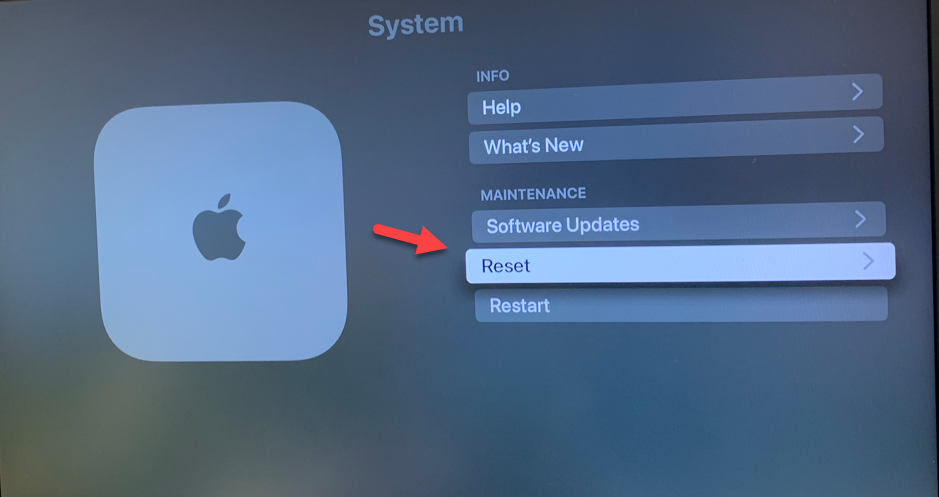
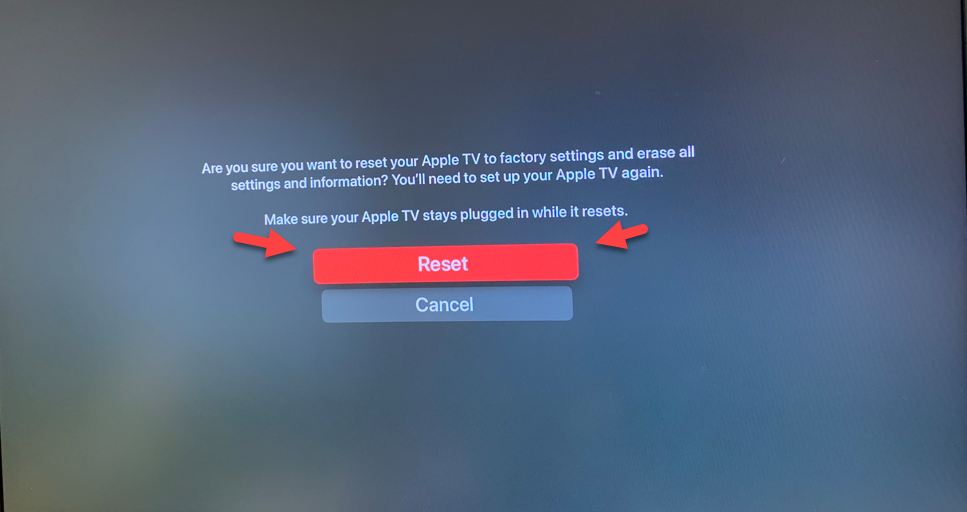
Select Reset
Select Reset

Select Reset
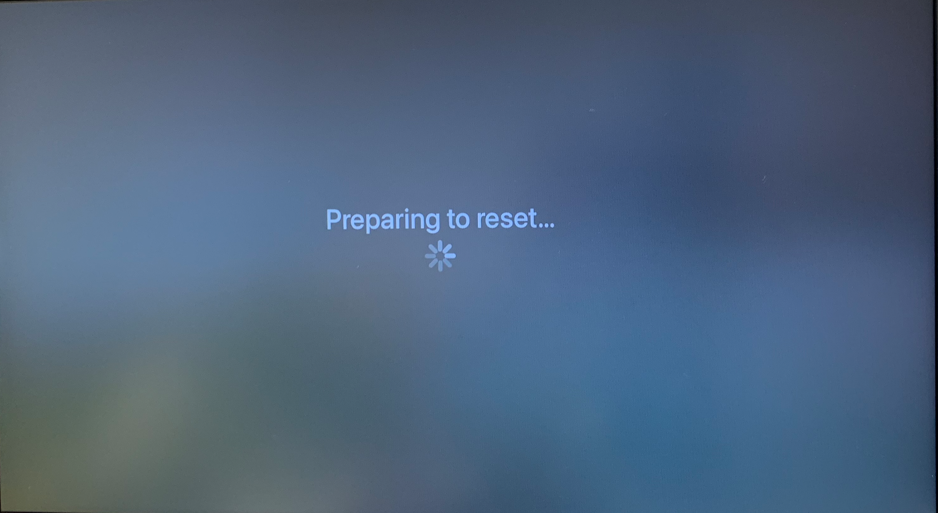
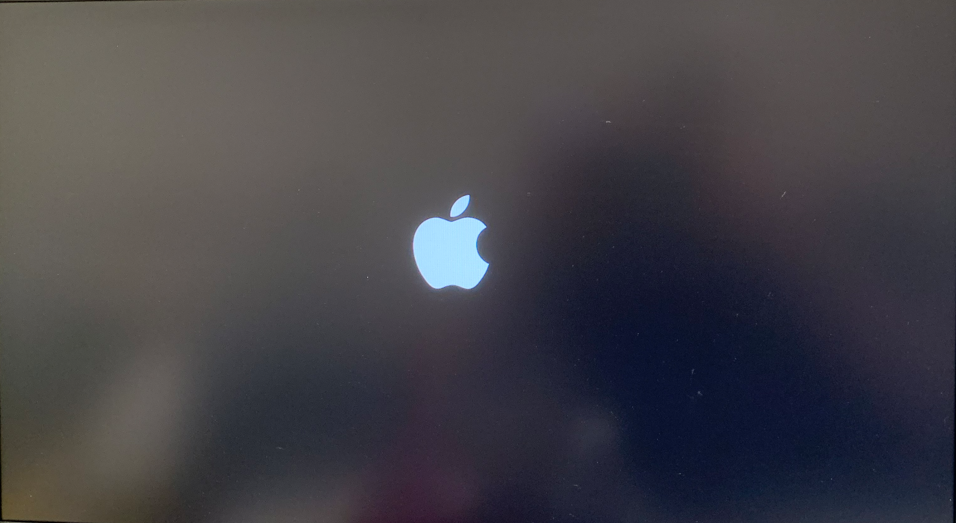
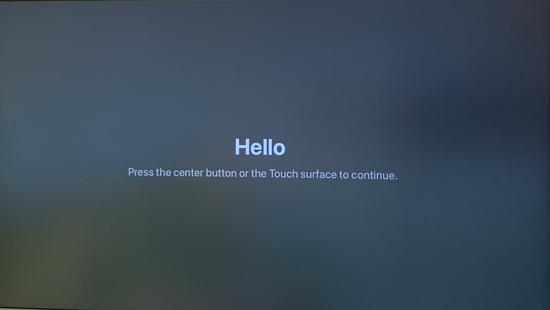
The Apple TV will then Wipe and go back to the Hello Screen
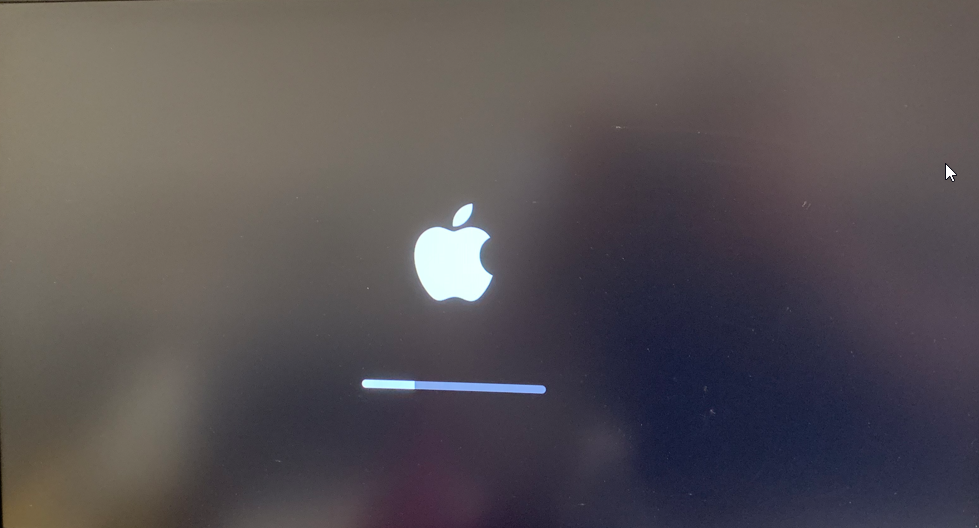
Once the Apple TV is back on the Hello Screen you can then follow the Setup Apple TV with Remote After Manually Wiping Steps