
Steps to add an app to JAMF School student App Library
Follow these steps to get an app approved and added to the JAMF School student app library.
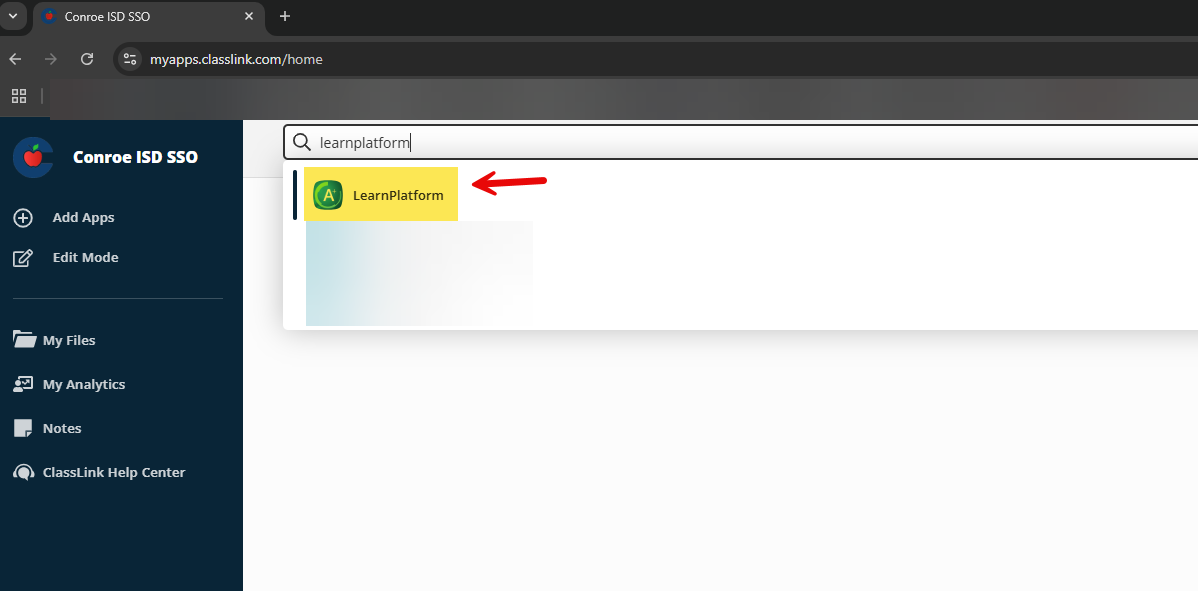
Login to your SSO and search for the Learn Platform to check if the app you want has been Reviewed/Approved.
Check out this LearnPlatform guide to learn more.
If staff at your school want an app they can go to LearnPlatform and request approval for the app.
Your Campus Tech or Librarian (if that is the same person) will fill out the iPad Scope App Request Form once the App has been Reviewed/Approved.
Approved Apps will appear in LearnPlatform as approved so check there to make sure your app has been fully approved before asking your campus tech to submit this form.
This form should only be filled out by the campus tech.
Let your staff know that if they get an app approved that they need to email the campus tech to let them know so that they can fill out the iPad Scope App Request Form.
Example of iPad Scope App Request Form
Click Make a Copy to copy the iPad Scope App Request Form in your Google Drive.
Rename the document with Your School Name iPad Scope App Requests.
Choose to have the App Scoped to All iPads, Some iPads, or one iPad
You can Re-Use this Google Sheet for your next iPad Scope App Request.
For Free Apps select All iPads.
Download the iPad Scope App Request Form as an excel file.
Upload this excel file to the iPad Scope App Request form and then submit the form.
Your Principal will need to approve the form so let them know that the form has been submitted and is awaiting their approval.
Once Shane sees the form he will scope the app to all, one, or some iPads depending on what the form says.
Keep in mind that all but a few of the free apps are on-demand installation so for free apps you can usually select Scope to All iPads on Campus.
Paid apps can be scoped to one or some iPads and you only need to add the TipWeb numbers on the google sheet so that Shane knows which iPads to Scope the app to.