
Use this guide to set up or enroll a Chromebook in the CISD management system.
Follow these instructions if:
-
You had to recover a Chromebook OS using the Chromebook Recovery Tool.
-
You had to wipe a Chromebook.
-
A Chromebook does not auto-enroll after being wiped.
Before you begin: Need to wipe your device? Go to the How to Wipe a Chromebook Guide.
Determine Your Setup Path
Important: Setup steps differ depending on your Chromebook’s ChromeOS version.
-
ChromeOS 114 or above: Follow the Newer Chromebook Setup Steps.
-
ChromeOS below 114: Follow the Older Chromebook Setup Steps.
Not sure what version your Chromebook is running? See How to Check the ChromeOS Version of a Chromebook
Newer Chromebook Setup Steps (ChromeOS ≥ 114)
Most Chromebooks now run ChromeOS 120 (stable channel). Some screens may look different than older Chromebooks.
1. Boot Chromebook
On the Welcome screen, click Get started.

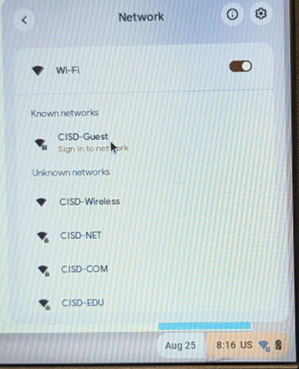
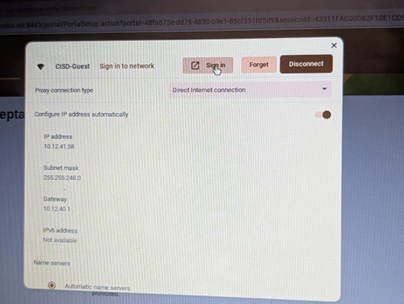
2. Connect to Network
Choose the Guest network.
Troubleshooting (Guest Network): If Guest Wi-Fi login load automatically, click the wifi icon in the bottom right corner, then click Guest Wi-Fi. Then Sign in.
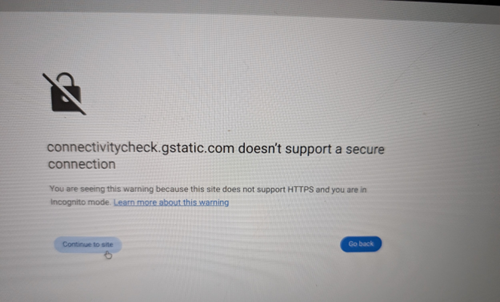
Troubleshooting (Security Screen): If a security screen loads saying "connectivitycheck.gstatic.com doesn't support a secure connection," click advanced/continue to site. You may have to click it on 2 screens to proceed.
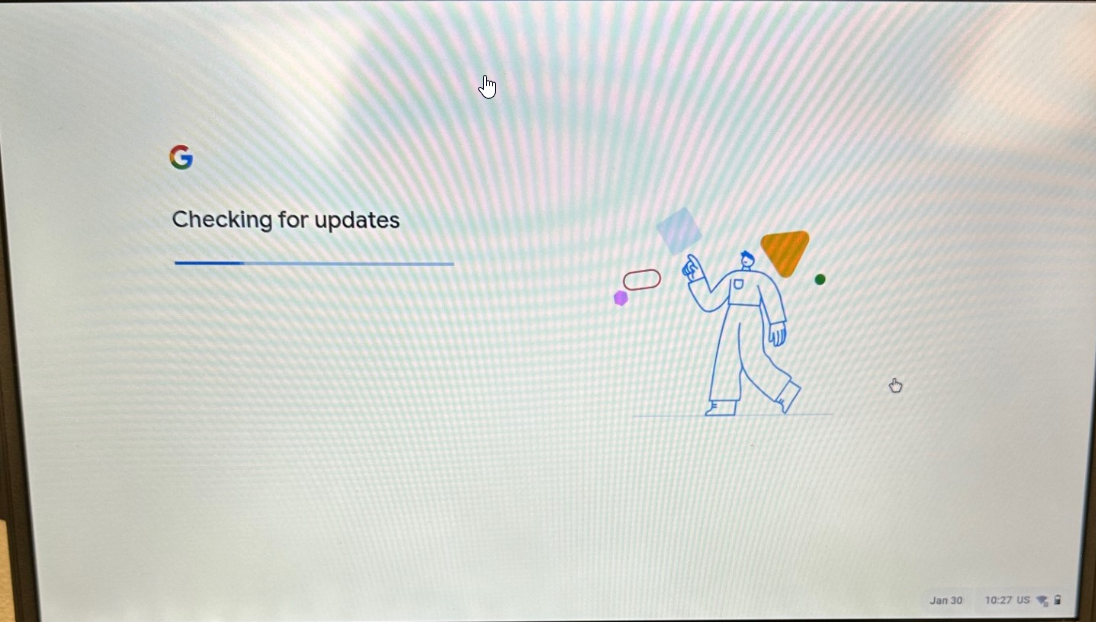
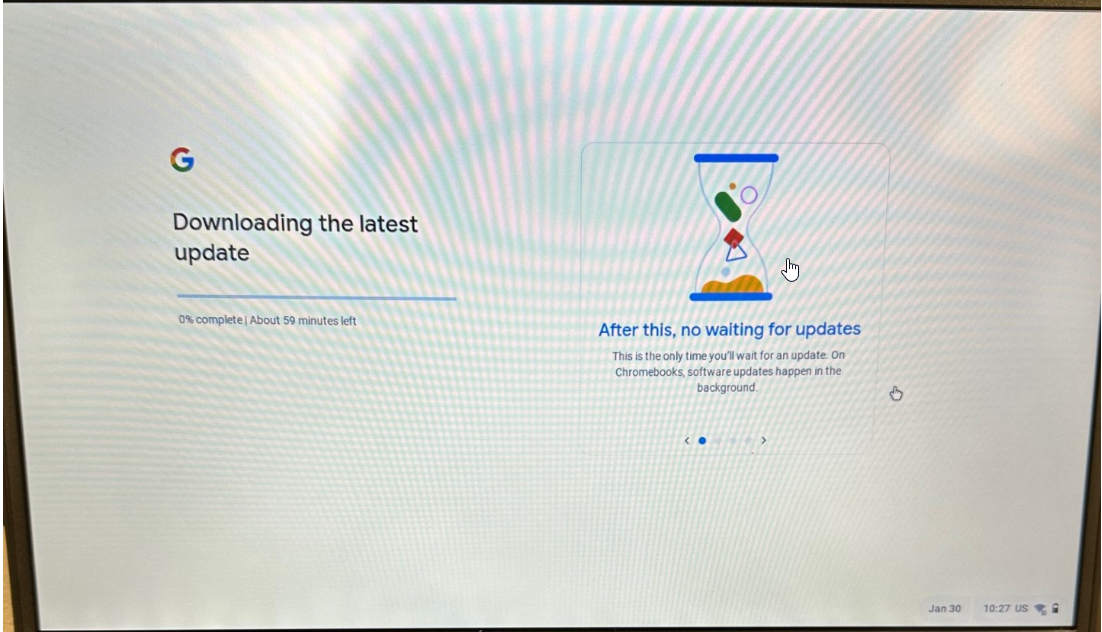
3. Check for Updates
You may see a Checking for Updates screen.
-
If the Chromebook needs an update, it will show a Downloading the latest update screen.
-
If you don’t see this, skip these steps.
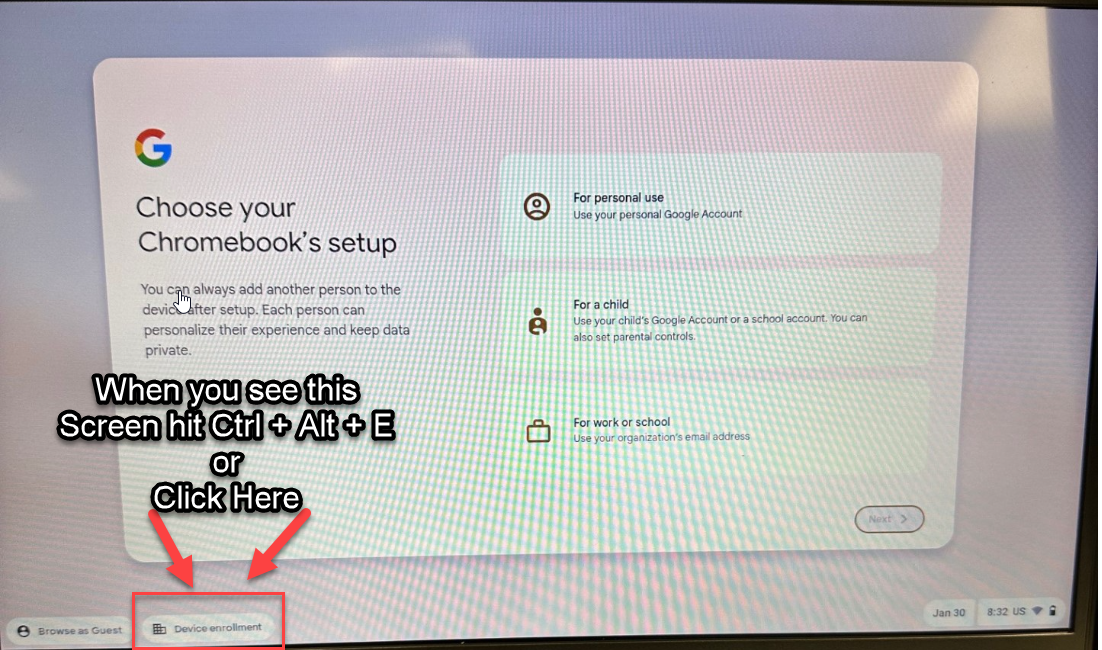
4. Enterprise Enrollment
Some Chromebooks auto-enroll in Enterprise Enrollment.
If not, either:
-
Press Ctrl + Alt + E, or
-
If the setup page loads, click device enrollment at the bottom of the screen. Both methods take you to the Enterprise Enrollment screen. (Webmaster Note - Insert Enrollment Trigger Image: Alt-Text: "Chromebook setup screen highlighting the Device Enrollment link at the bottom left.")
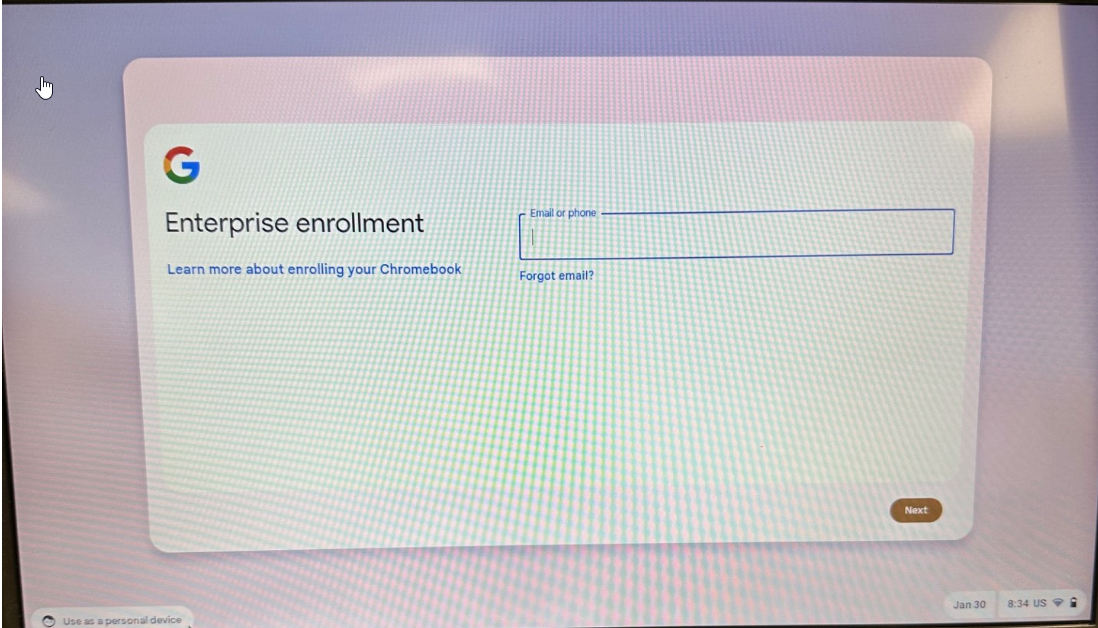
Enterprise Enrollment
Some Chromebooks auto-enroll in Enterprise Enrollment. Both methods take you to the Enterprise Enrollment screen.
-
You can either:
-
Press Ctrl + Alt + E, or
-
If the set up page loads, click Device Enrollment at the bottom-left of the screen.
-
5. Sign In
Enter your CISD credentials followed by @conroeisd.net, click Next.
Helper Tip: If students are helping, they can type in your email address; it won't log them in to your account.
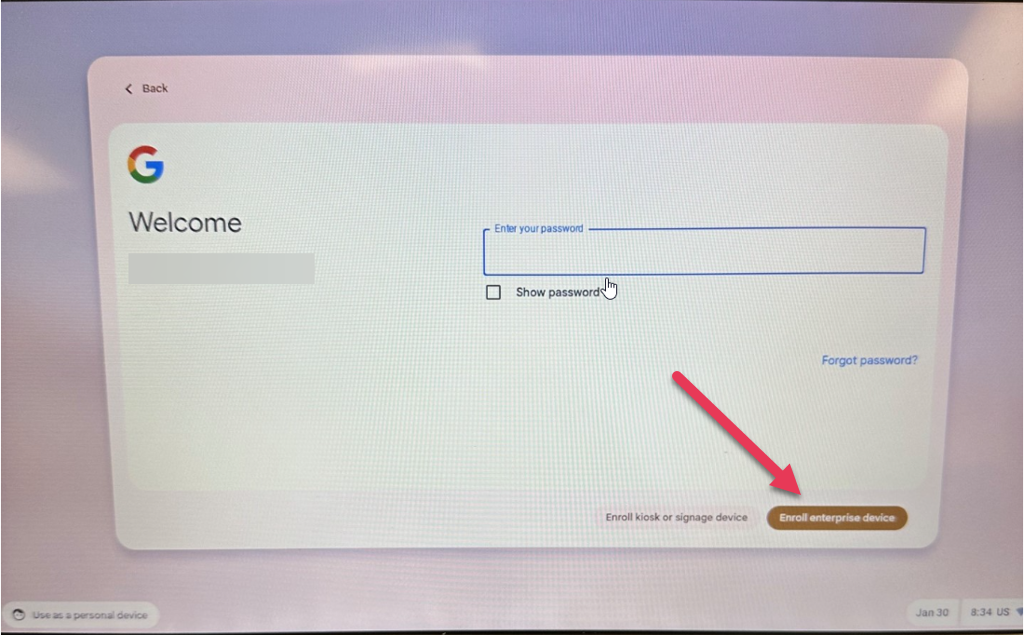
6. Enroll Device
After you input your password, click Enroll Enterprise Device or Done.
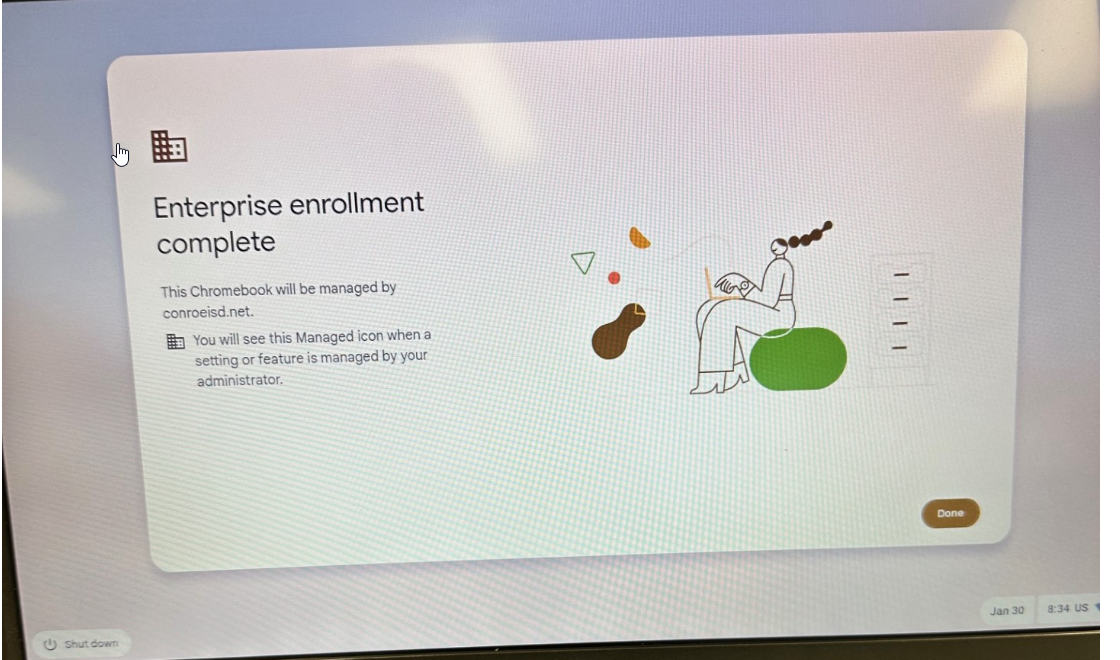
7. Complete Enrollment
Click Done when you see Enterprise enrollment complete.
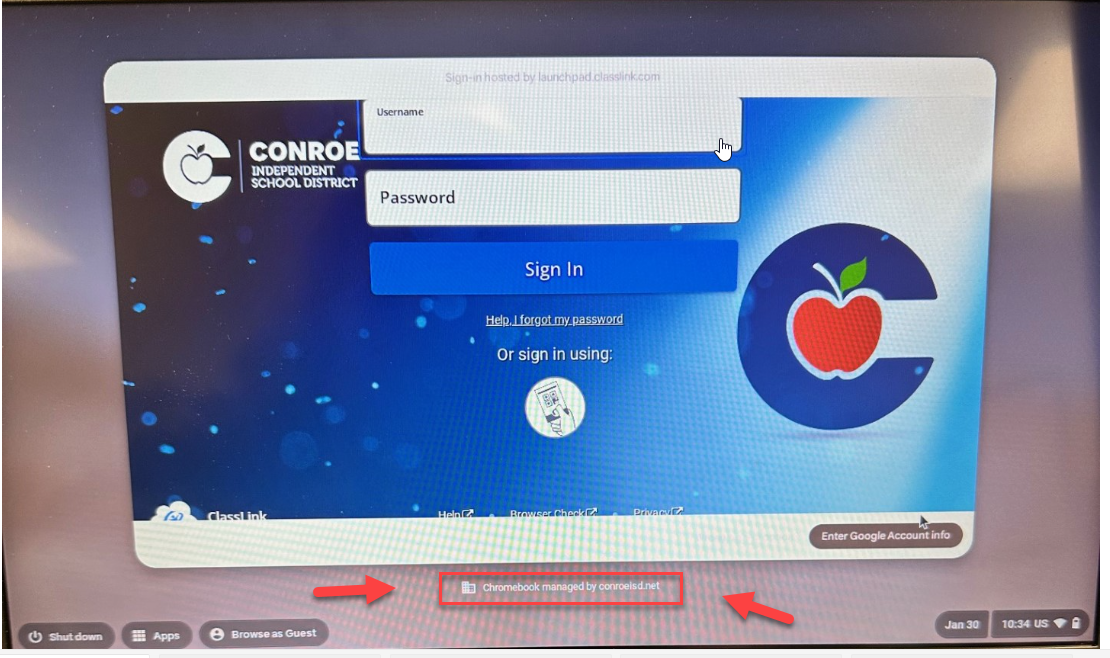
8. Verify
The Chromebook should now show the normal SSO sign-in screen. Look for “Chromebook managed by Conroe ISD ”.
-
If you see this, enrollment was successful.
-
If not, the Chromebook must be wiped and set up again. Please refer to the How to Wipe a Chromebook Guide.
Older Chromebook Setup Steps (ChromeOS < 114)
1. Boot Chromebook
When the Chromebook boots, you’ll see the Welcome page. Click Get started.
2. Connect to Network
Choose the Guest network.
Troubleshooting (Guest Network): If Guest Wi-Fi login load automatically, click the wifi icon in the bottom right corner, then click Guest Wi-Fi. Then Sign in.
3. Accept Terms
Read and accept the Google Terms of Service, then click Continue.
Troubleshooting (Security Screen): If a security screen loads saying "connectivitycheck.gstatic.com doesn't support a secure connection," click advanced/continue to site. You may have to click it on 2 screens to proceed.
4. Enterprise Enrollment
Press Ctrl + Alt + E to open Enterprise Enrollment. Enter your CISD credentials followed by @conroeisd.net, then click Next.
Helper Tip: If students are helping, they can type in your email address; it won't log them in to your account.
5. Complete Enrollment
Click Done when you see Enterprise enrollment complete.
6. Verify
The Chromebook should now show the normal SSO sign-in screen. Look for “Chromebook managed by Conroe ISD ”.
-
If you see this, enrollment was successful.
-
If not, the Chromebook must be wiped and set up again. Please refer to the How to Wipe a Chromebook Guide.
Still have questions? Visit the Additional Help section for further assistance.