
Viewing and Editing asset details using Asset Explorer in Incident IQ
The Asset Details window allows you to view and edit specific details about an individual asset, including its assigned room, asset tag, and more. Follow this guide to learn how to access and modify these details using the Asset Explorer in Incident IQ.
Important Note: All assets in your room should be loaded into Incident IQ so you can properly scan and audit them. If you find an asset in your room that is not in Incident IQ, please let your campus tech know immediately so they can add it to the system.
How to View and Edit Asset Details
Step 1: Navigate to Assets
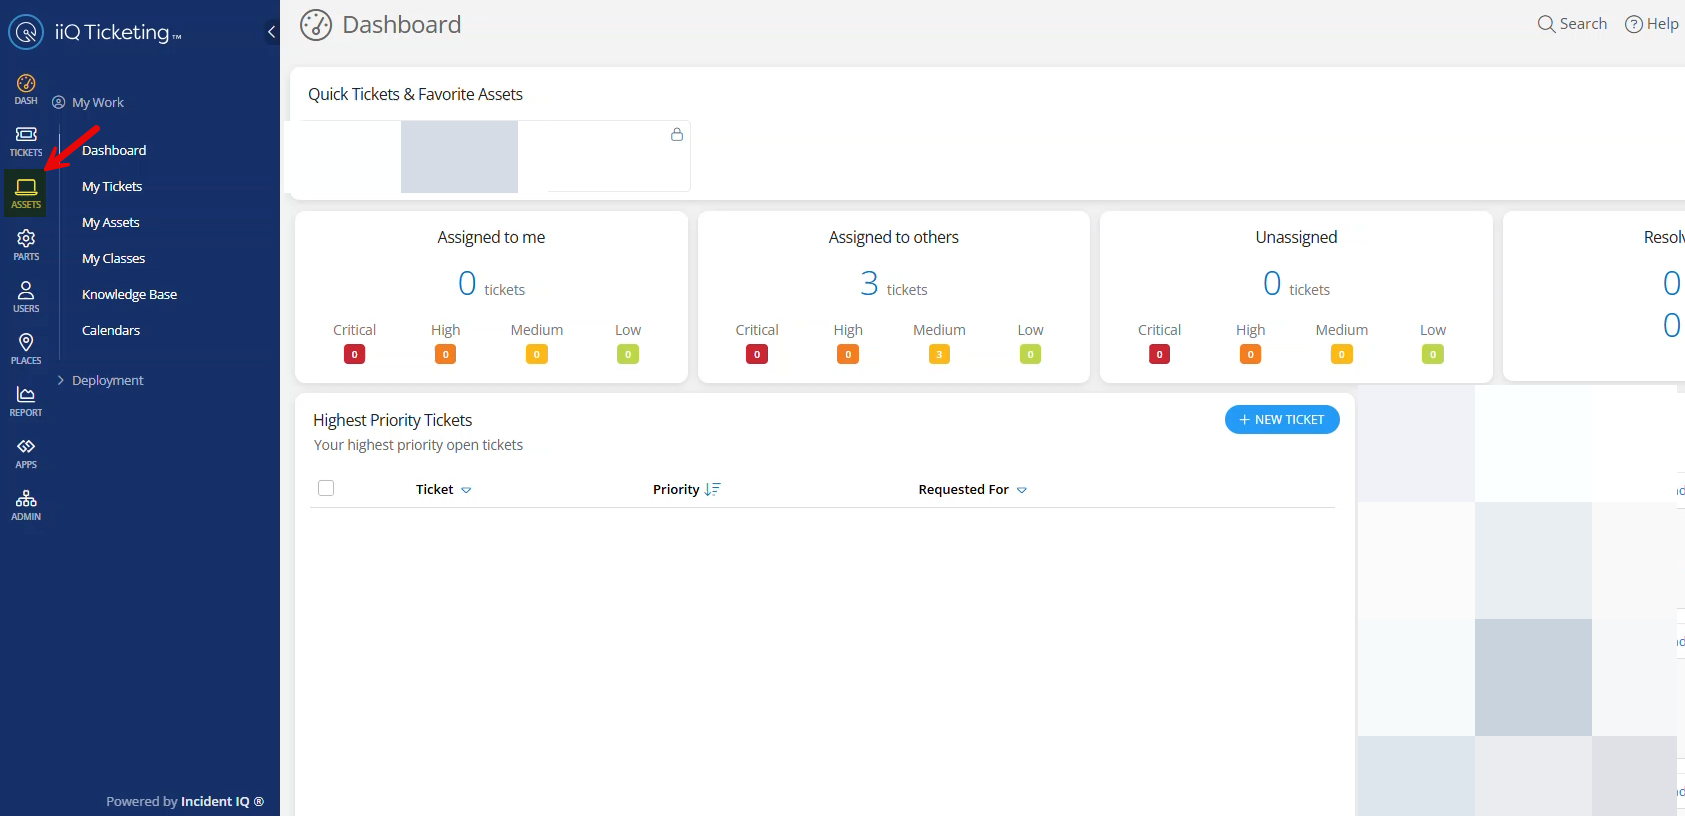
Log into Incident IQ. On the main navigation menu, hover your mouse over Assets.
Step 2: Open Asset Explorer
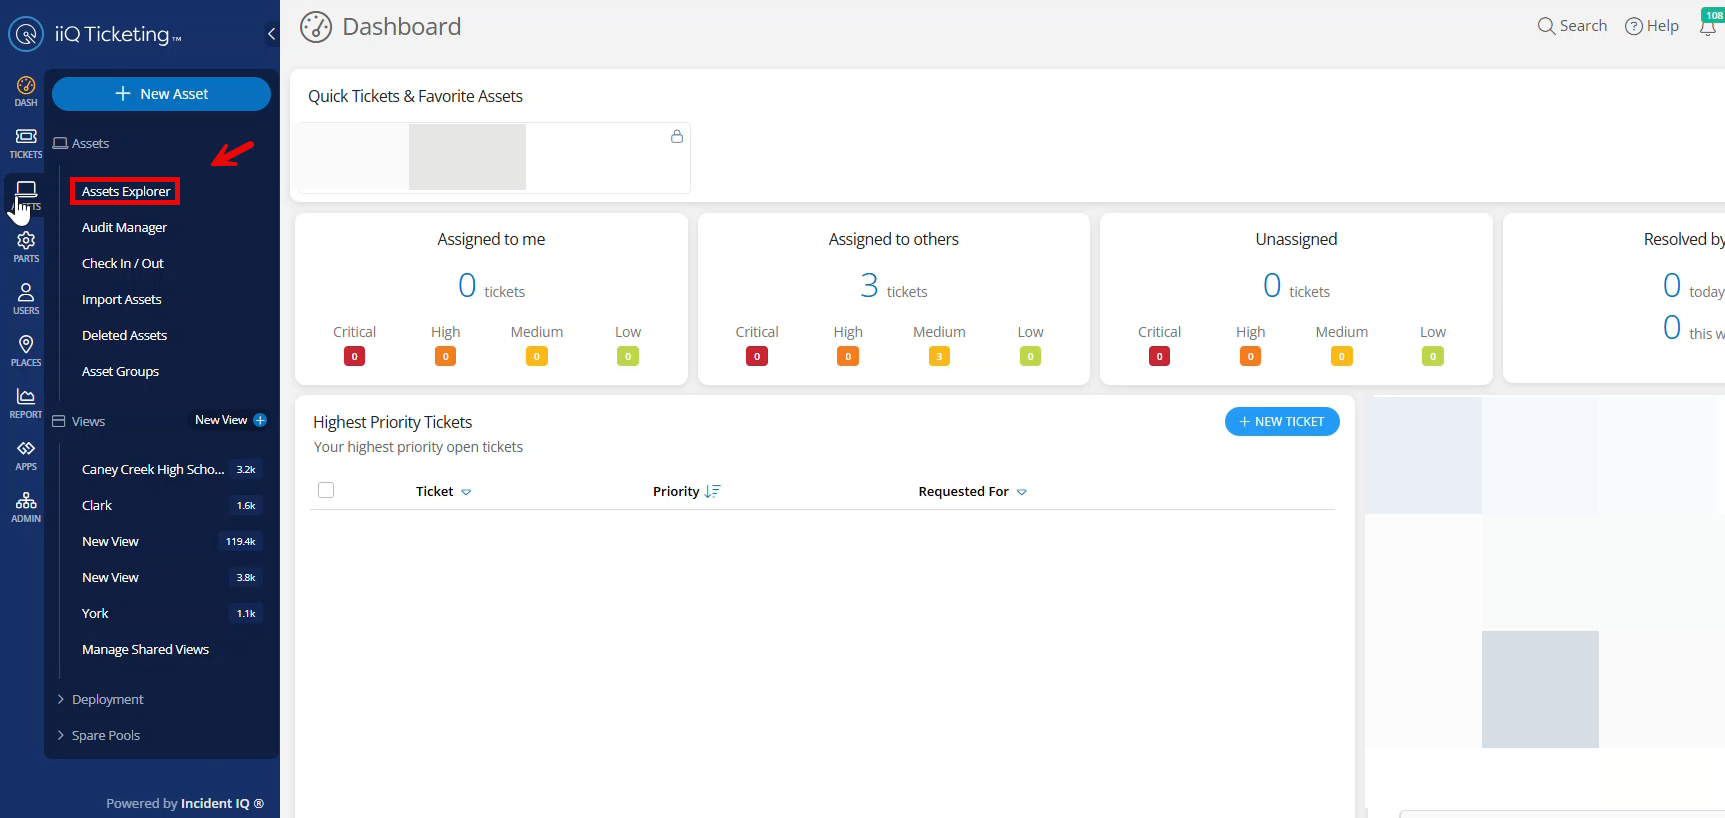
From the drop-down menu that appears, click on Asset Explorer.
Step 3: Search for the Asset
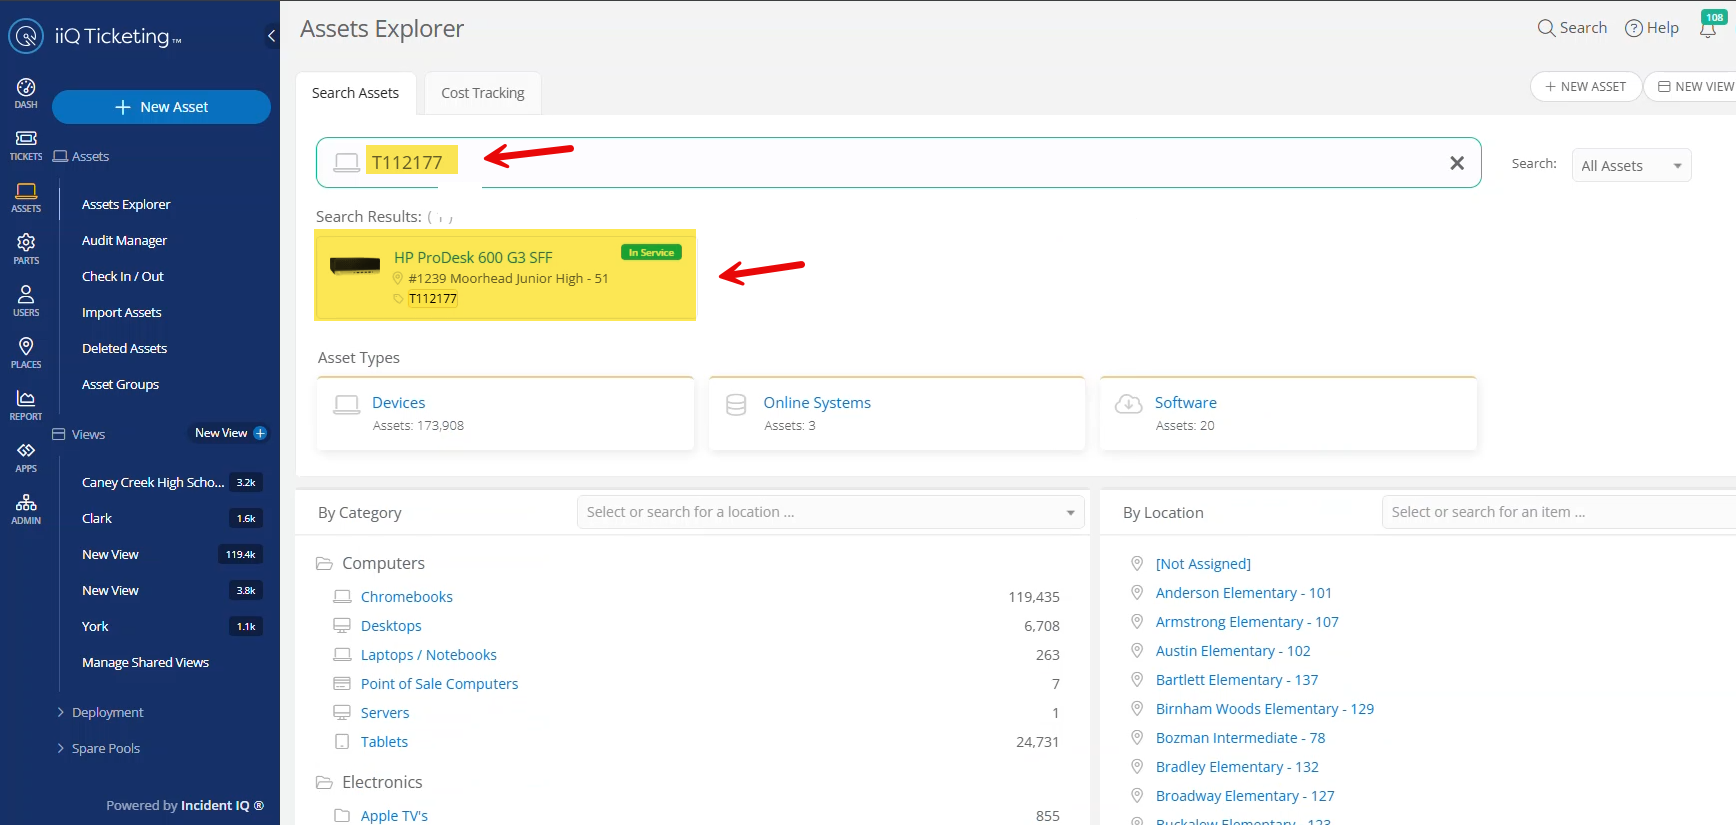
Locate the search bar at the top of the Asset Explorer page. Type the Asset Tag # into the search bar to locate and pull up the specific asset.
Step 4: View Asset Details
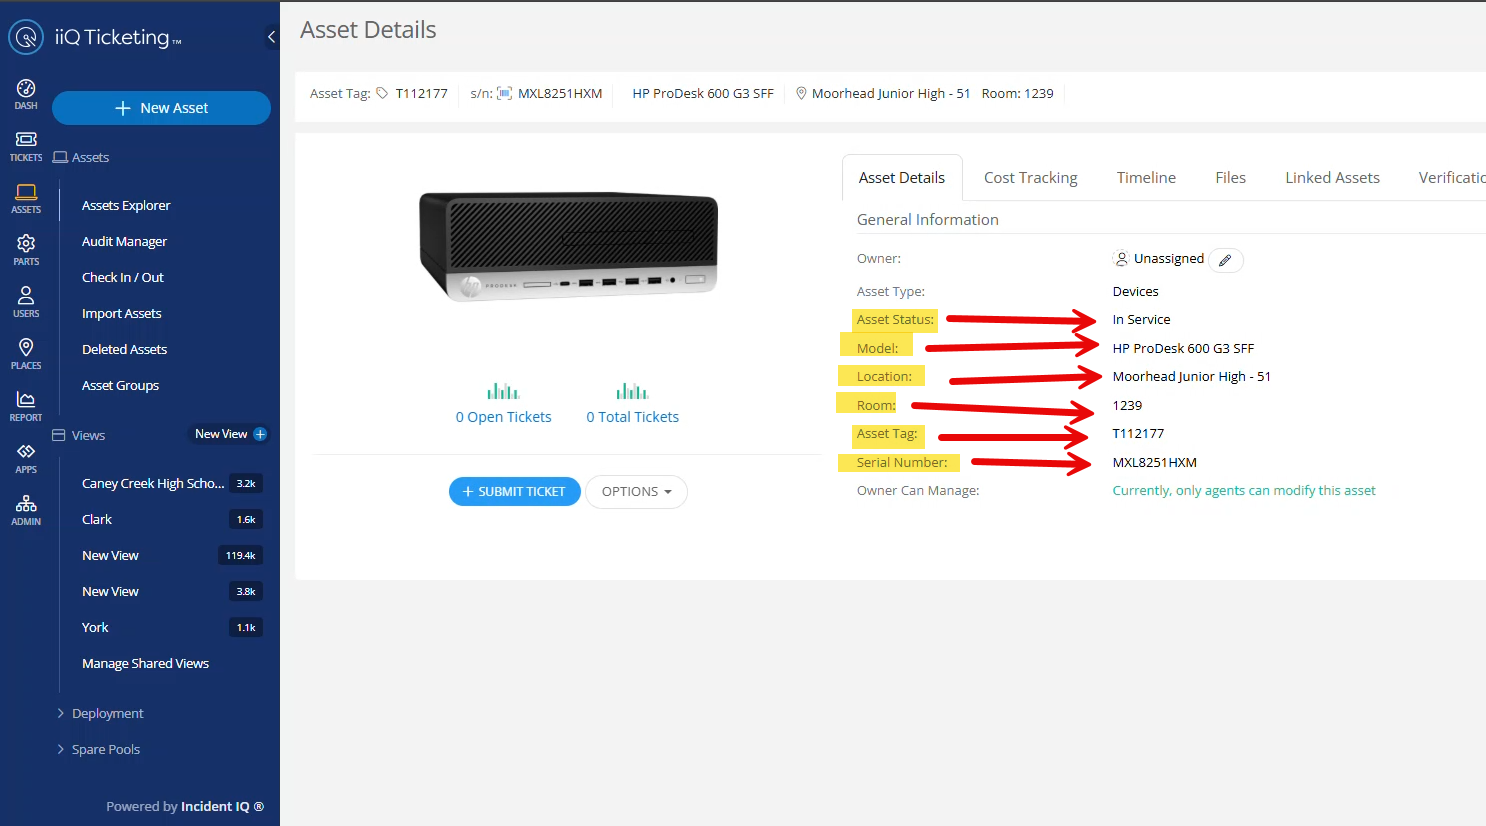
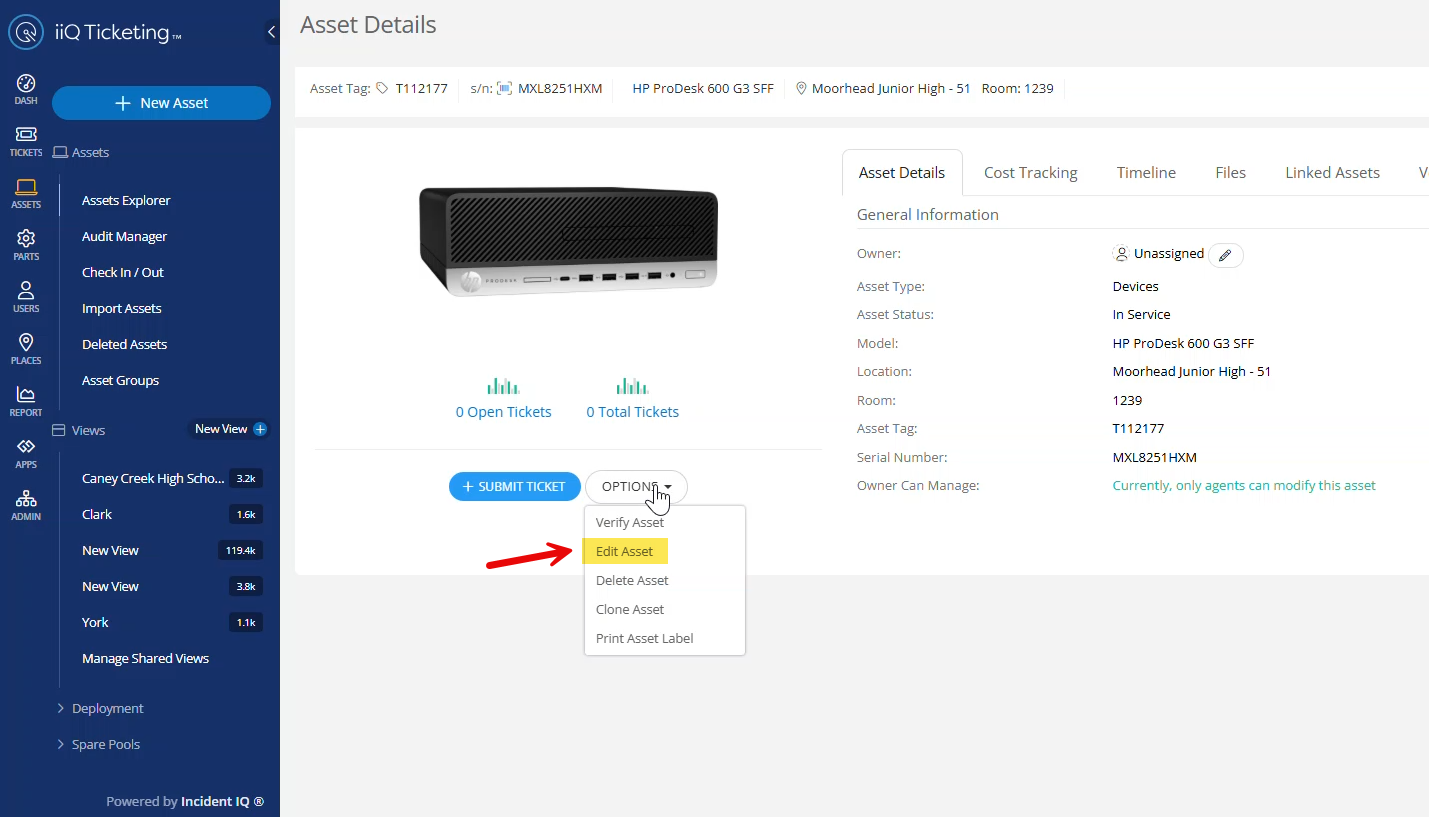
The Asset Details window will open. Here, you can review all the current information recorded for the asset.
Step 5: Edit the Asset
If you review the information and determine that details need to be updated:
Click the Options button.
Select Edit Asset from the menu.
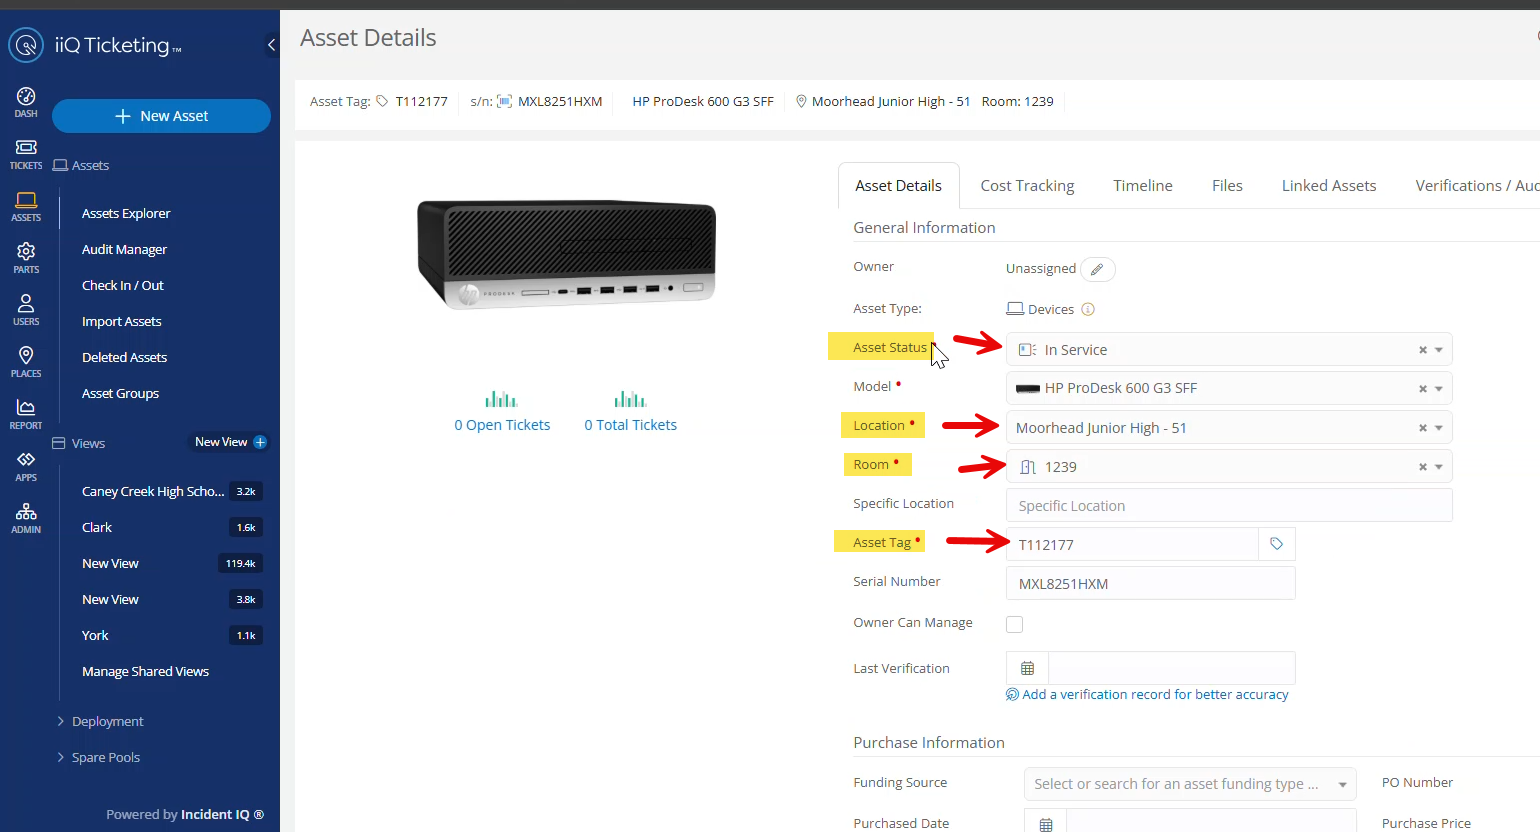
Step 6: Save Changes
Make the necessary changes or corrections to the asset's information fields. Once your updates are complete, click Save at the bottom right.
Still have questions? Visit the Additional Help section for further assistance.