
This guide explains how to change the keyboard input language for a specific user on a Chromebook.
Common Uses:
-
Fixing Issues: Teachers can use this to revert a student's keyboard back to English if it was accidentally changed (e.g., if keys are typing wrong characters).
-
ESL Support: Teachers can add specific language keyboards to support ESL students who need to type in their native language.
Note: These settings are specific to the user profile. You must be logged in as the student to make these changes.
Step 1: Access Keyboard Settings
-
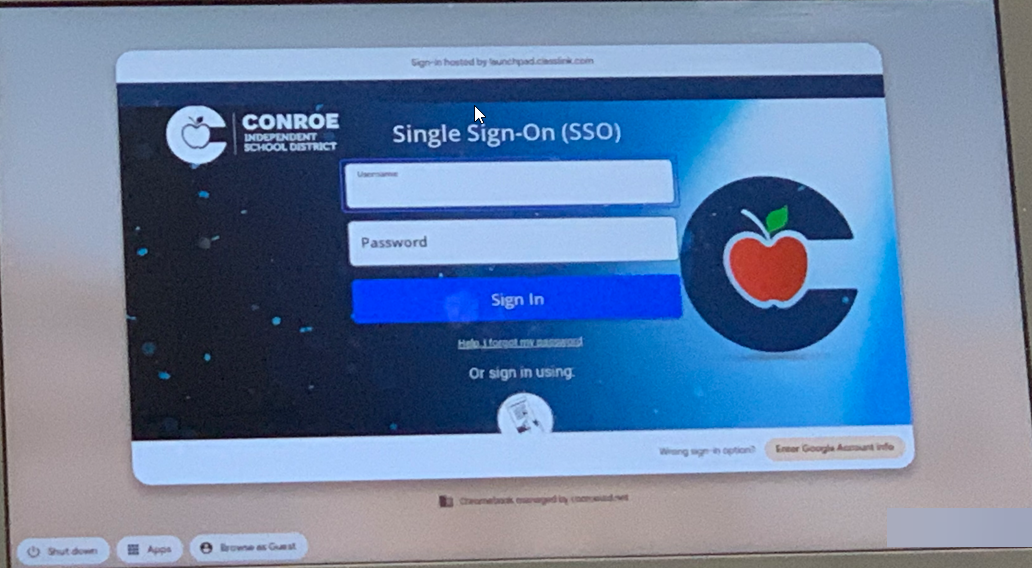
Have the student log in to their Single Sign-On (SSO) on the Chromebook.
-
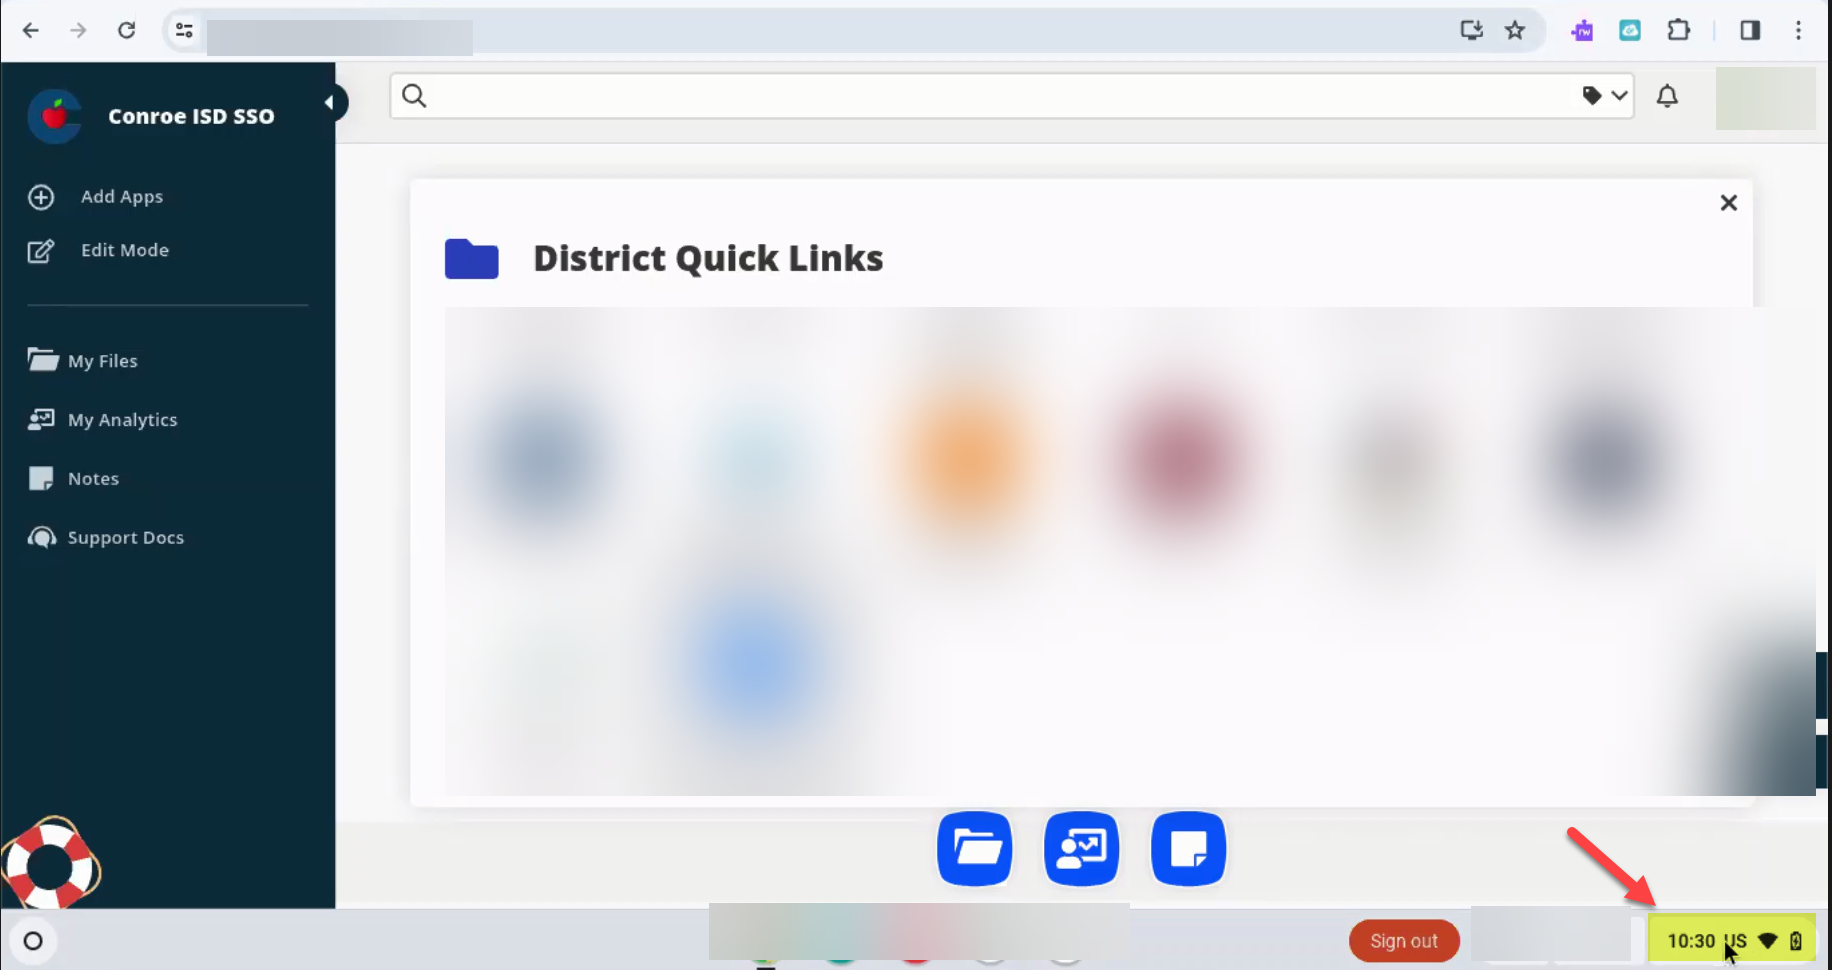
Once logged in, click on the Time in the bottom right corner of the screen.
-
Click the Settings Wheel (gear icon).

-
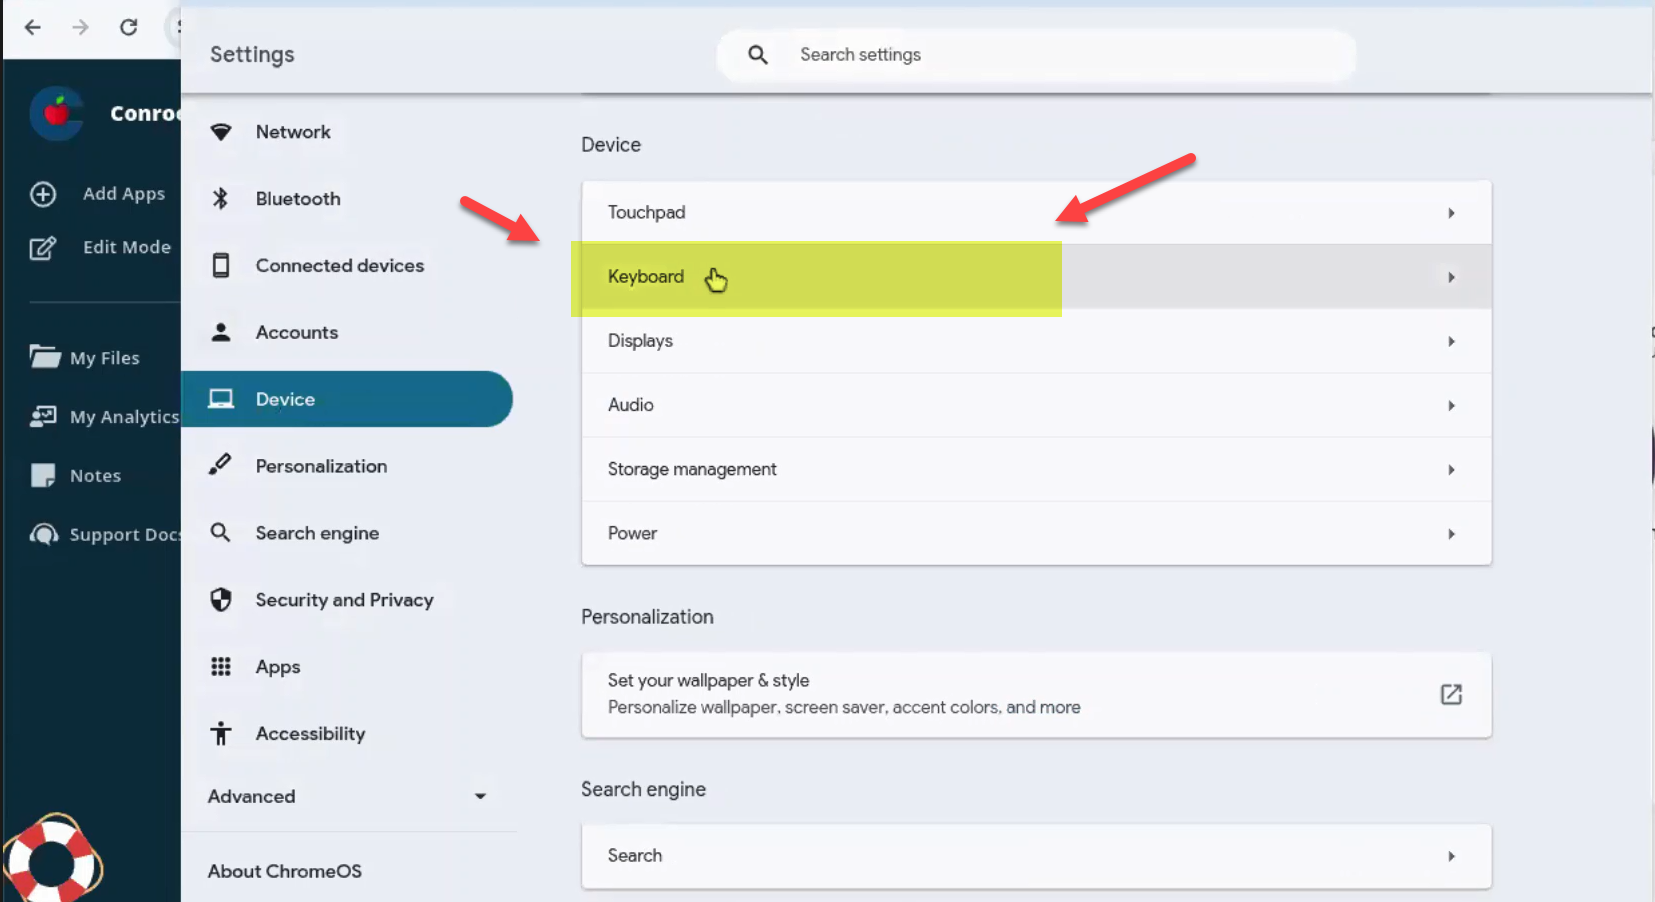
In the settings menu, select Device.

-
Select Keyboard.
-
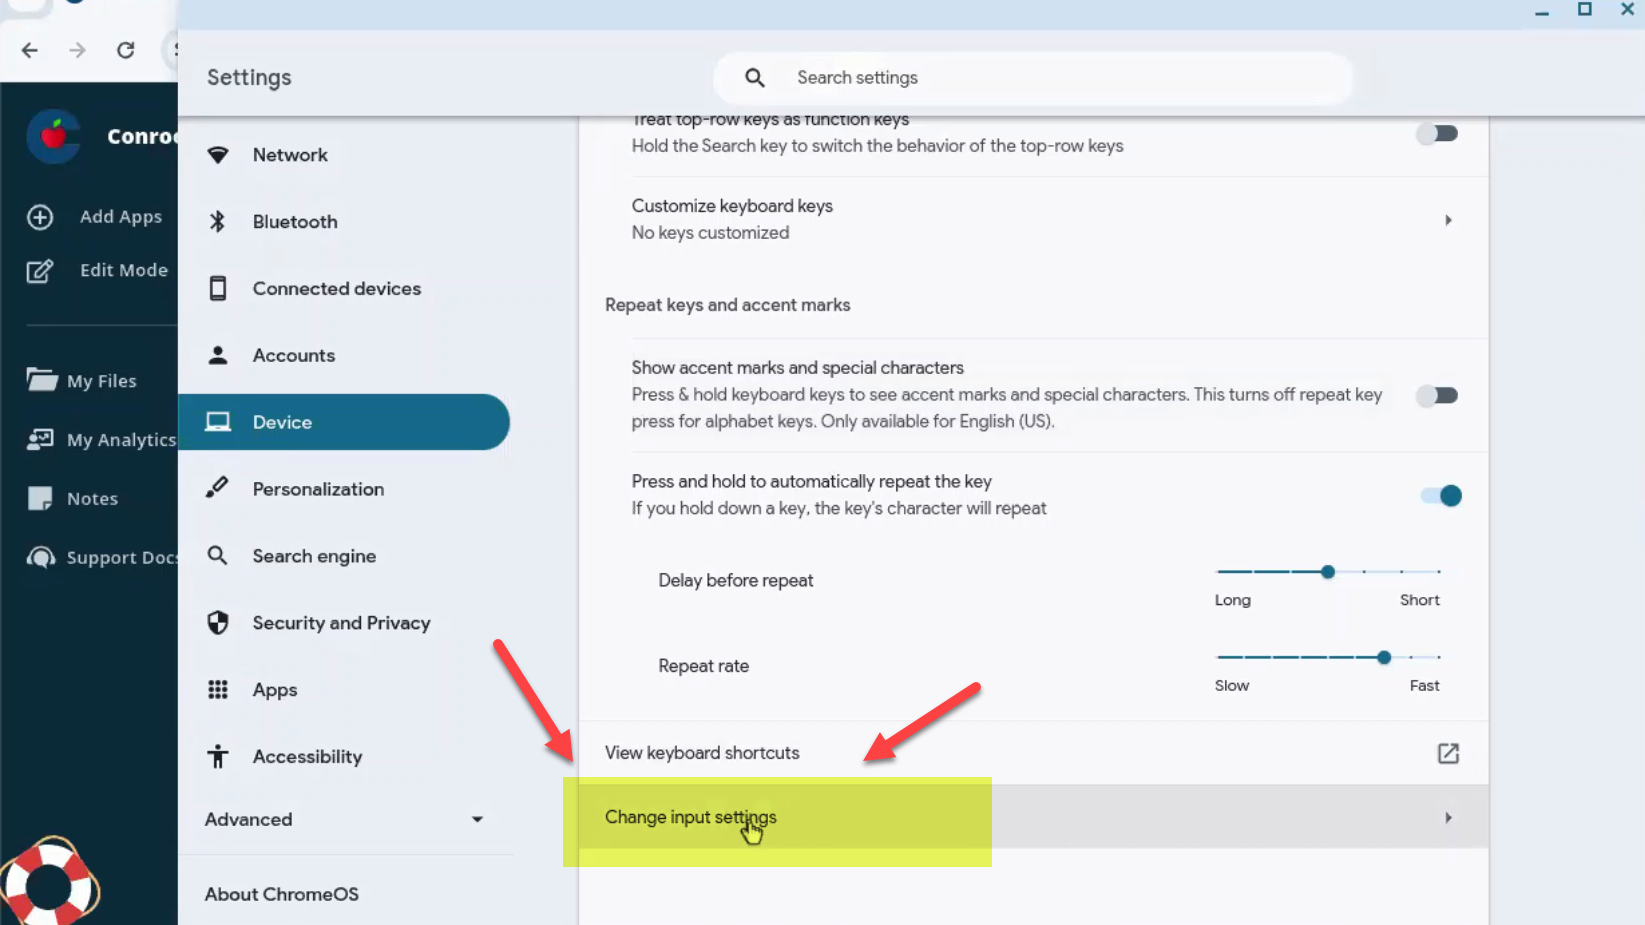
Scroll down and select Change Input Settings.
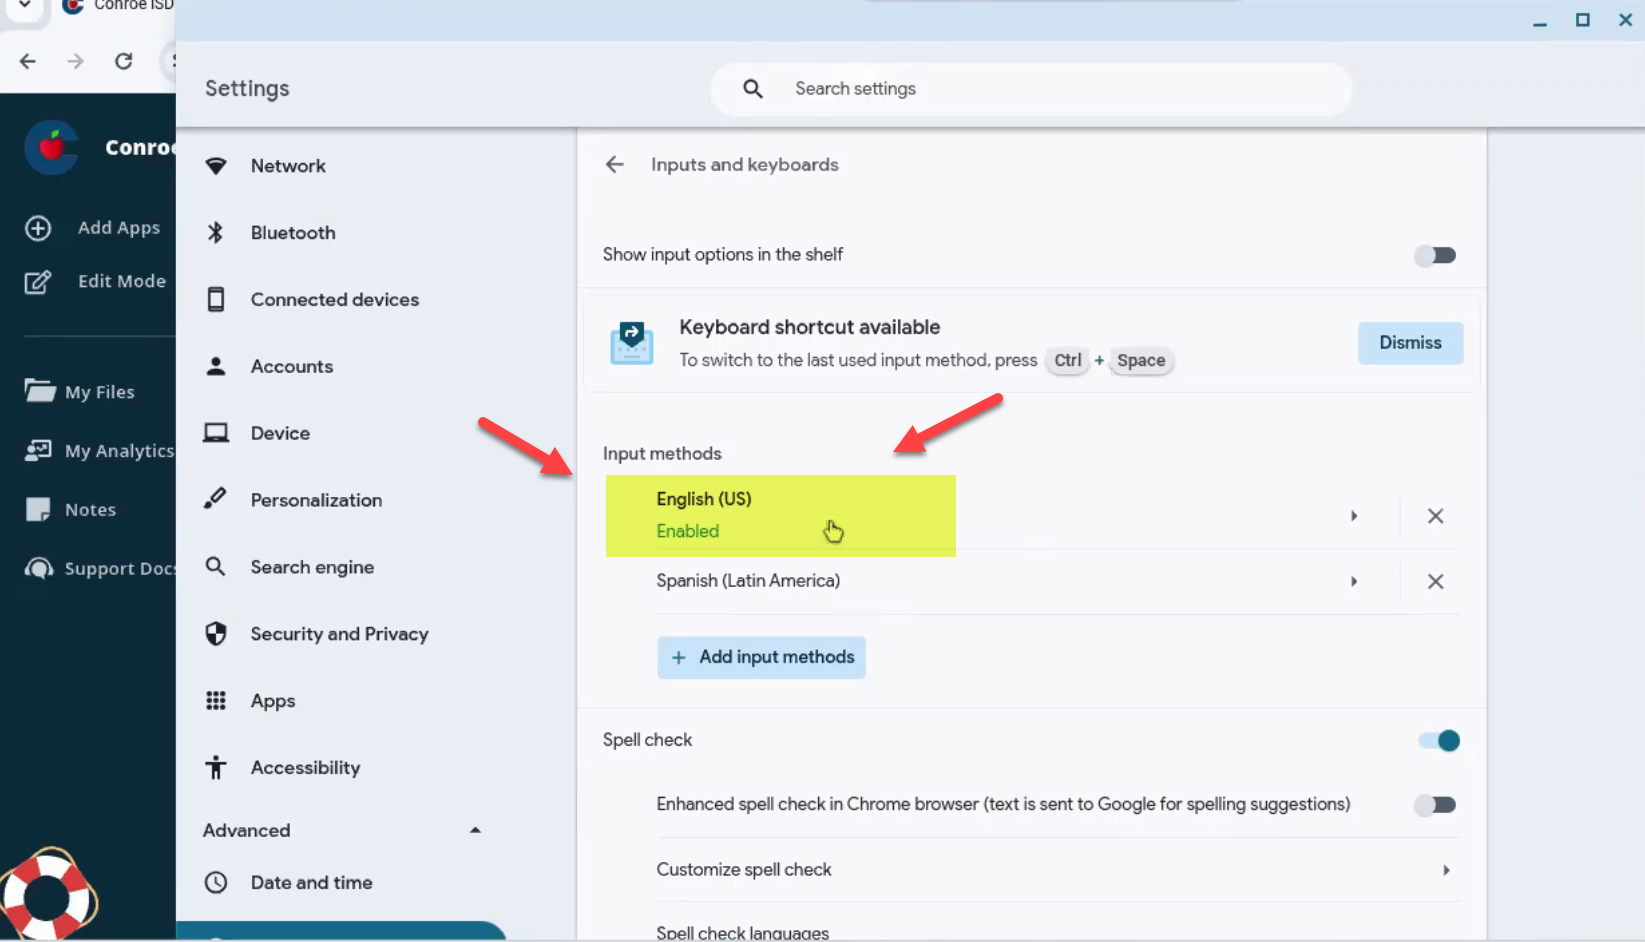
Step 2: Manage Languages
The "Input methods" list shows all keyboard languages currently added to the profile. The one marked Enabled is the active keyboard.
How to Switch Back to English
If a student accidentally switched to Spanish or another layout: 1. Locate English (US) in the list. 2. Click on it. 3. Verify that the green "Enabled" tag now appears next to English (US).
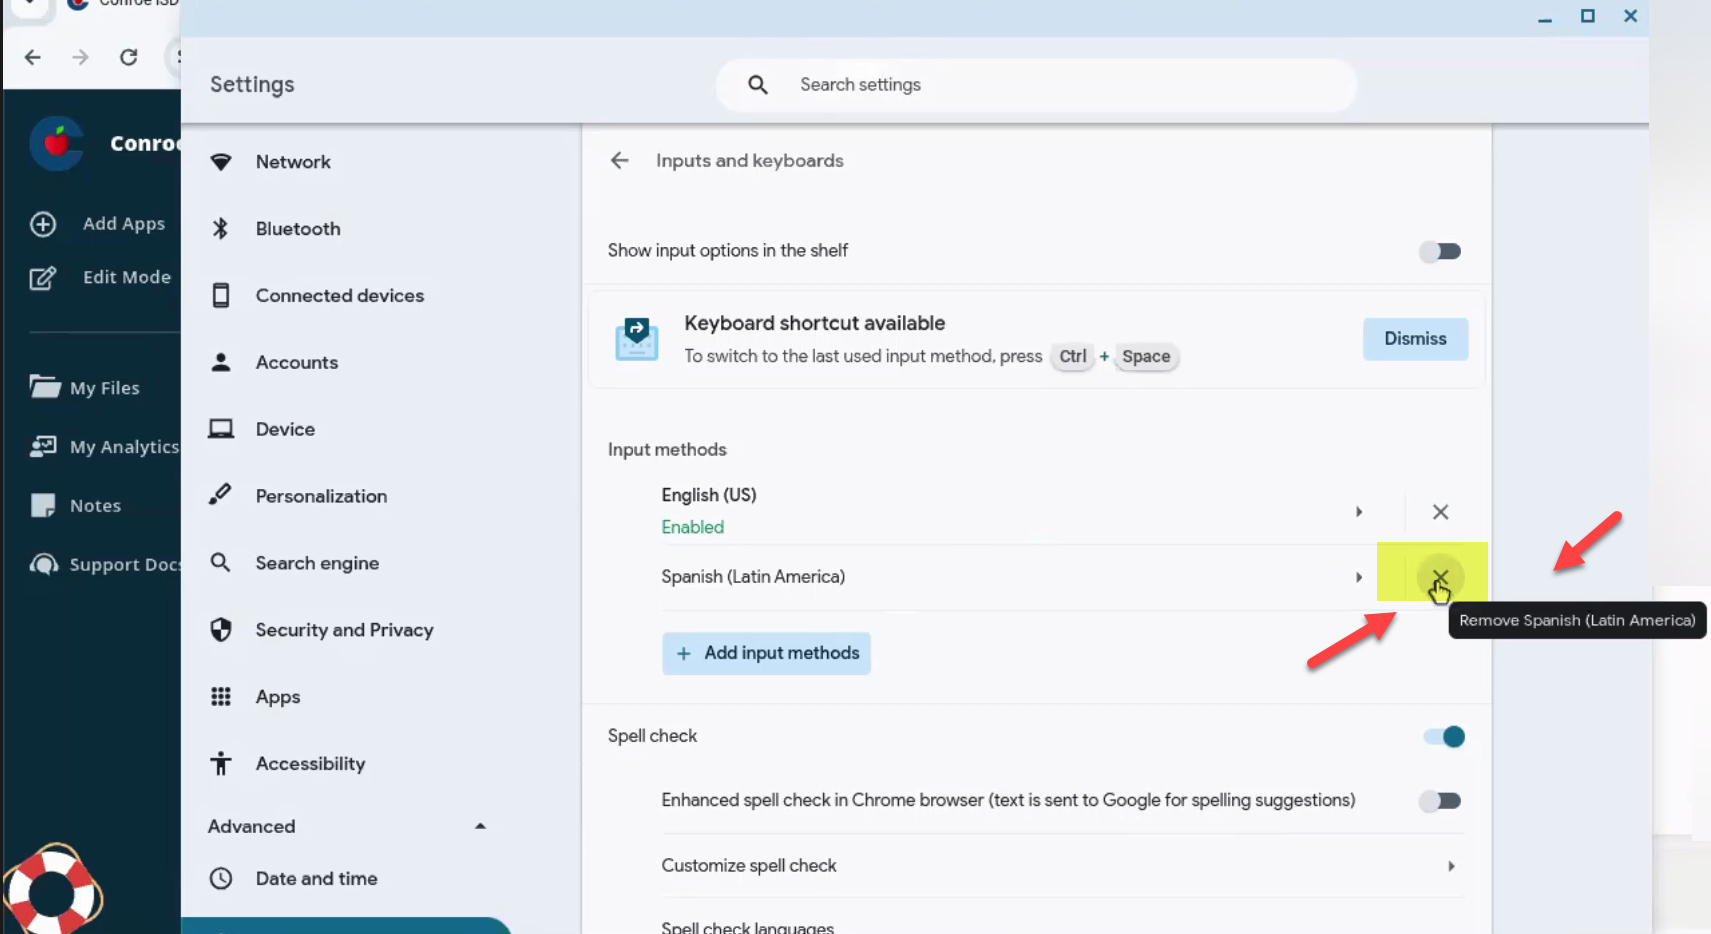
How to Remove Unwanted Languages
If a student has added multiple unnecessary keyboards: 1. Locate the language you want to remove. 2. Click the "X" icon next to that language.
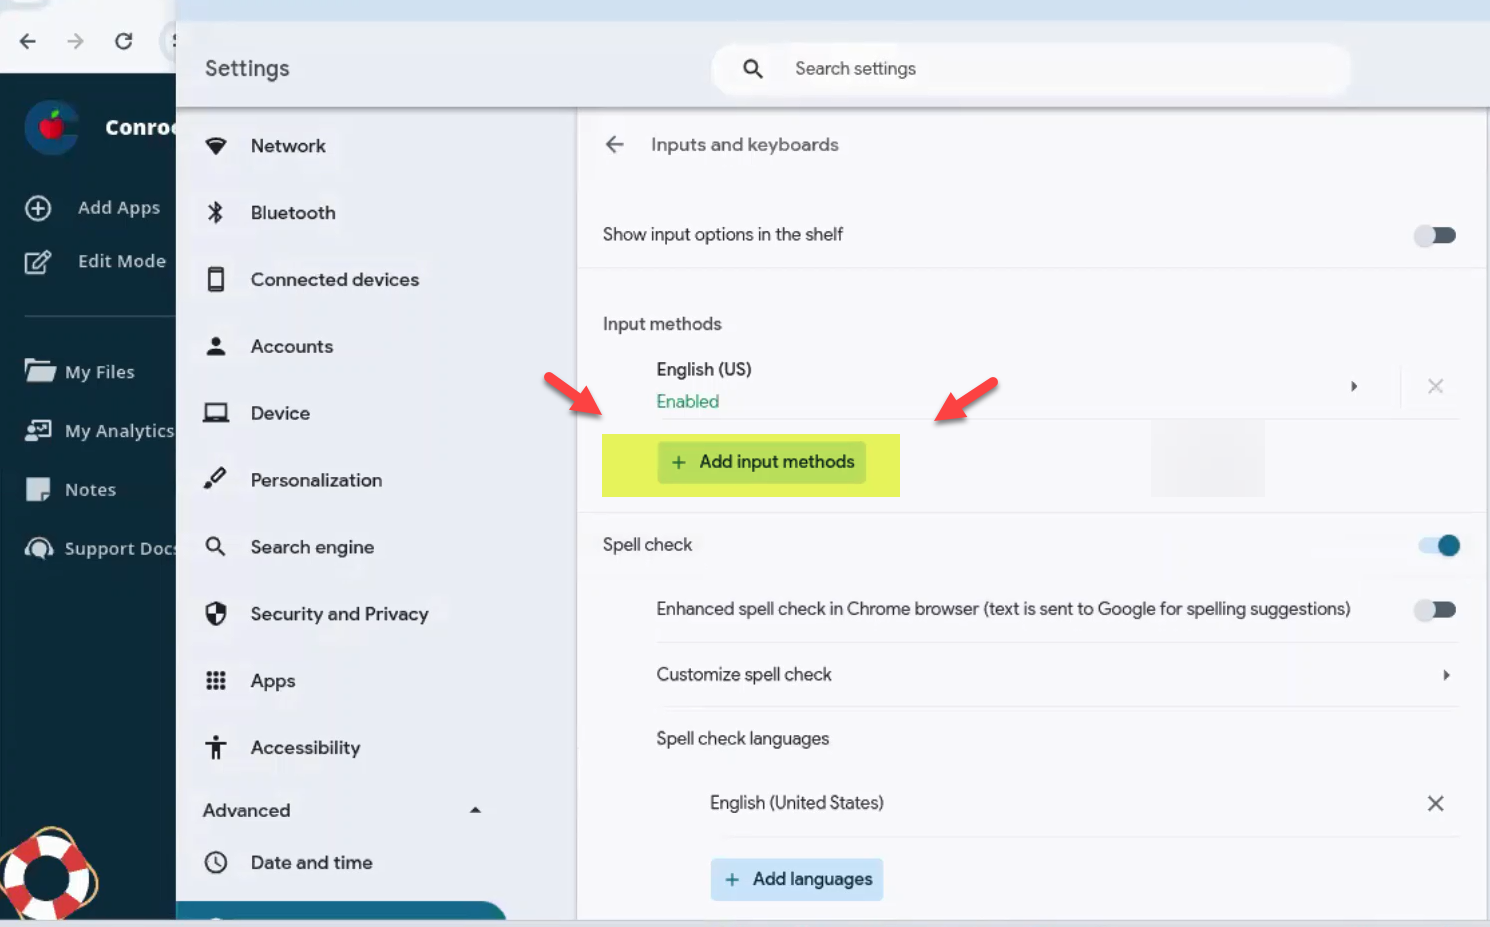
How to Add a New Language (for ESL)
If a student needs a specific language layout not currently listed: 1. Click the + Add input methods button. 2. Search for and select the required language. 3. Click Add.
Need additional help? Click here for further assistance.