
This guide explains how Campus Technology contacts and some users with Agent access can submit a bulk request to add new equipment or update existing hardware records in Incident IQ. Following this process helps ensure asset records are imported accurately and prevents delays in updating district inventory.
Before Submitting This Request
This form is only for requesting that a new asset be added to Incident IQ when the asset does not currently exist in the system.
Before submitting this request, please verify that the asset cannot be located by searching both:
-
The asset tag
-
The serial number
If the asset already exists in Incident IQ but needs to be updated (for example, the asset is assigned to the wrong location, room, user, or contains incorrect information), do not submit this request. Instead, follow the instructions below to update an existing asset: How to Look Up and Edit an Asset in Incident IQ
Data Requirements
To ensure requests can be processed accurately, all submitted templates must contain complete and correct information. Requests may be rejected if the template includes:
-
Missing required fields
-
Incorrect model or device information
-
Formatting errors
-
Incomplete or inaccurate asset details
If additional information or corrections are needed, your ticket will be placed in Waiting on Requestor status. You will have 3 calendar days to upload a corrected template or provide the requested information.
If a corrected template is not received within 3 days, the ticket will automatically close. A new request will need to be submitted if assistance is still required.
Steps to Submit a Bulk Asset Request
1. Navigate to the Request Form
-
Log in to Incident IQ through your Single Sign-On (SSO) portal.
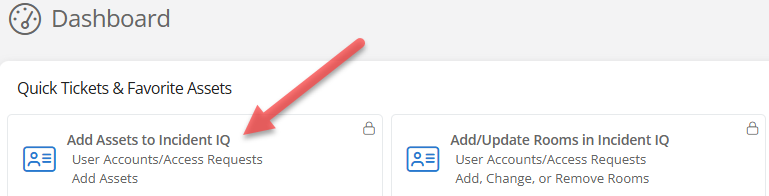
Some users can see this ticket option on your Incident IQ dashboard. Select Add Assets to Incident IQ.
-
Select + New Ticket.
-
Select the User Accounts/Access Request category.
-
Select Incident IQ Database Updates.
-
Select Add Assets.
2. Download the Master Template
In the ticket form, select the link to Download the Master Template.
Note: Row 1 of the Excel template contains a complete placeholder example to guide your data entry. Remove or overwrite the example row before uploading your completed file.
3. Complete the Template Using the Color Guide
Complete the spreadsheet according to the color-coding rules below:
-
Red fields — strictly required: Complete these fields for every asset, including the Asset Tag, Serial Number, and Device Model. Missing any red field will result in ticket rejection.
-
Orange fields — situationally required: These fields are optional for general inventory but are required when applicable to your deployment. For example, enter Asset Managed By for Special Education hardware.
-
Please note: The Asset Managed By field is specifically used to identify assets that are managed by a designated department or group, such as CTE, Portable, or Special Education devices. This field is not intended to indicate whether an asset is managed by a campus or other general location.
-
-
Green fields — optional: These fields provide helpful tracking information but may be left blank without preventing the system import.
4. Upload and Submit the Request
-
Review the spreadsheet for missing required fields and formatting errors.
-
Attach the completed template under Upload your completed Asset Excel Template.
-
Select Submit Ticket.
Before You Submit
Please note: The Asset Managed By field is specifically used to identify assets that are managed by a designated department or group, such as CTE, Portable, or Special Education devices. This field is not intended to indicate whether an asset is managed by a campus or other general location.
-
Confirm that the placeholder example in Row 1 has been removed or overwritten.
-
Verify that all red fields are completed for every asset.
-
Check orange fields for information required by your specific deployment.
-
Review the file for incorrect model information or formatting errors.
Submitting a complete and accurate template the first time helps the reviewing team process your request without delay.
How to Upload a Corrected File if Your Ticket is Rejected
If your ticket is rejected because the uploaded file needs a correction, follow these steps to provide the updated version:
-
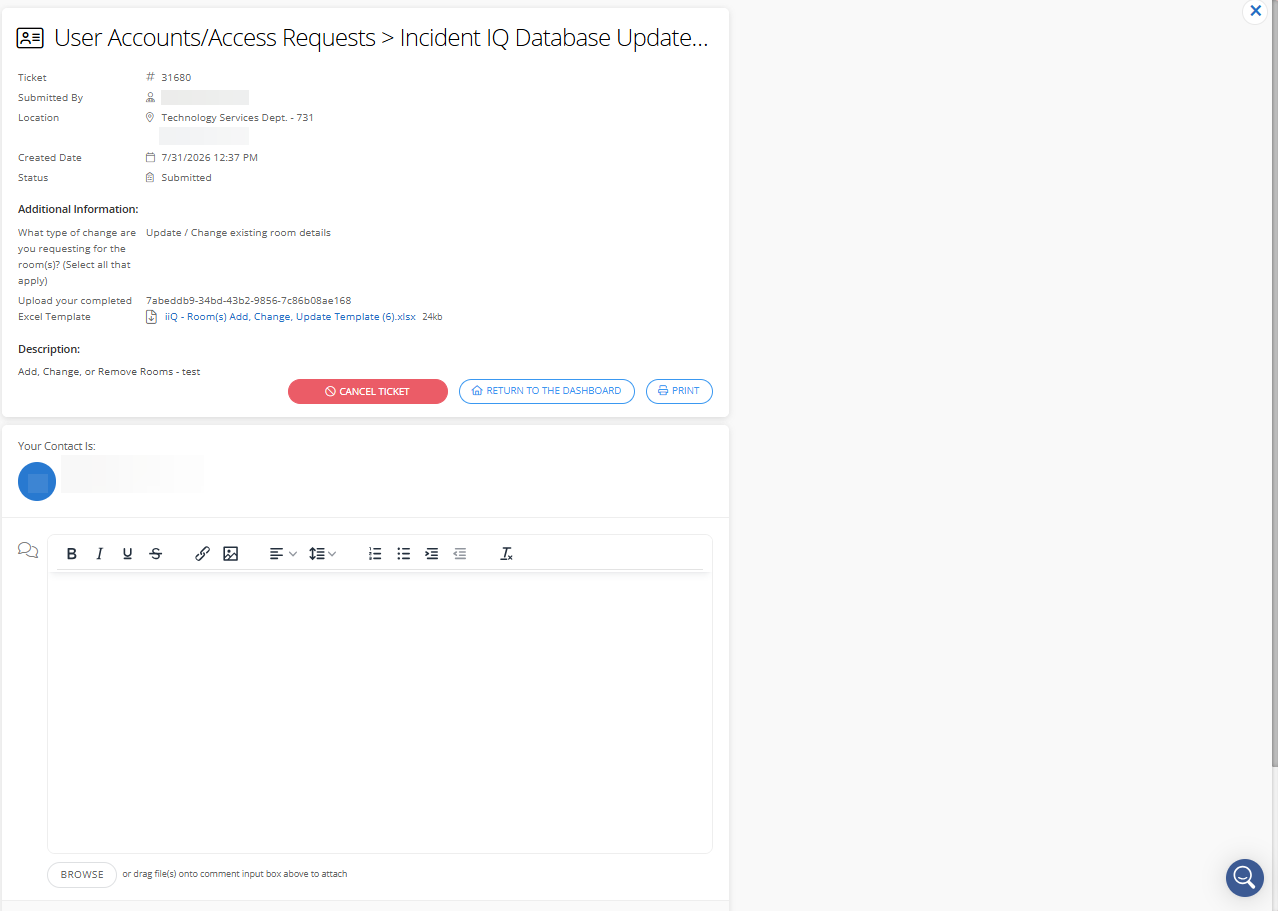
Open your ticket: Navigate to the existing ticket in Incident IQ.
-
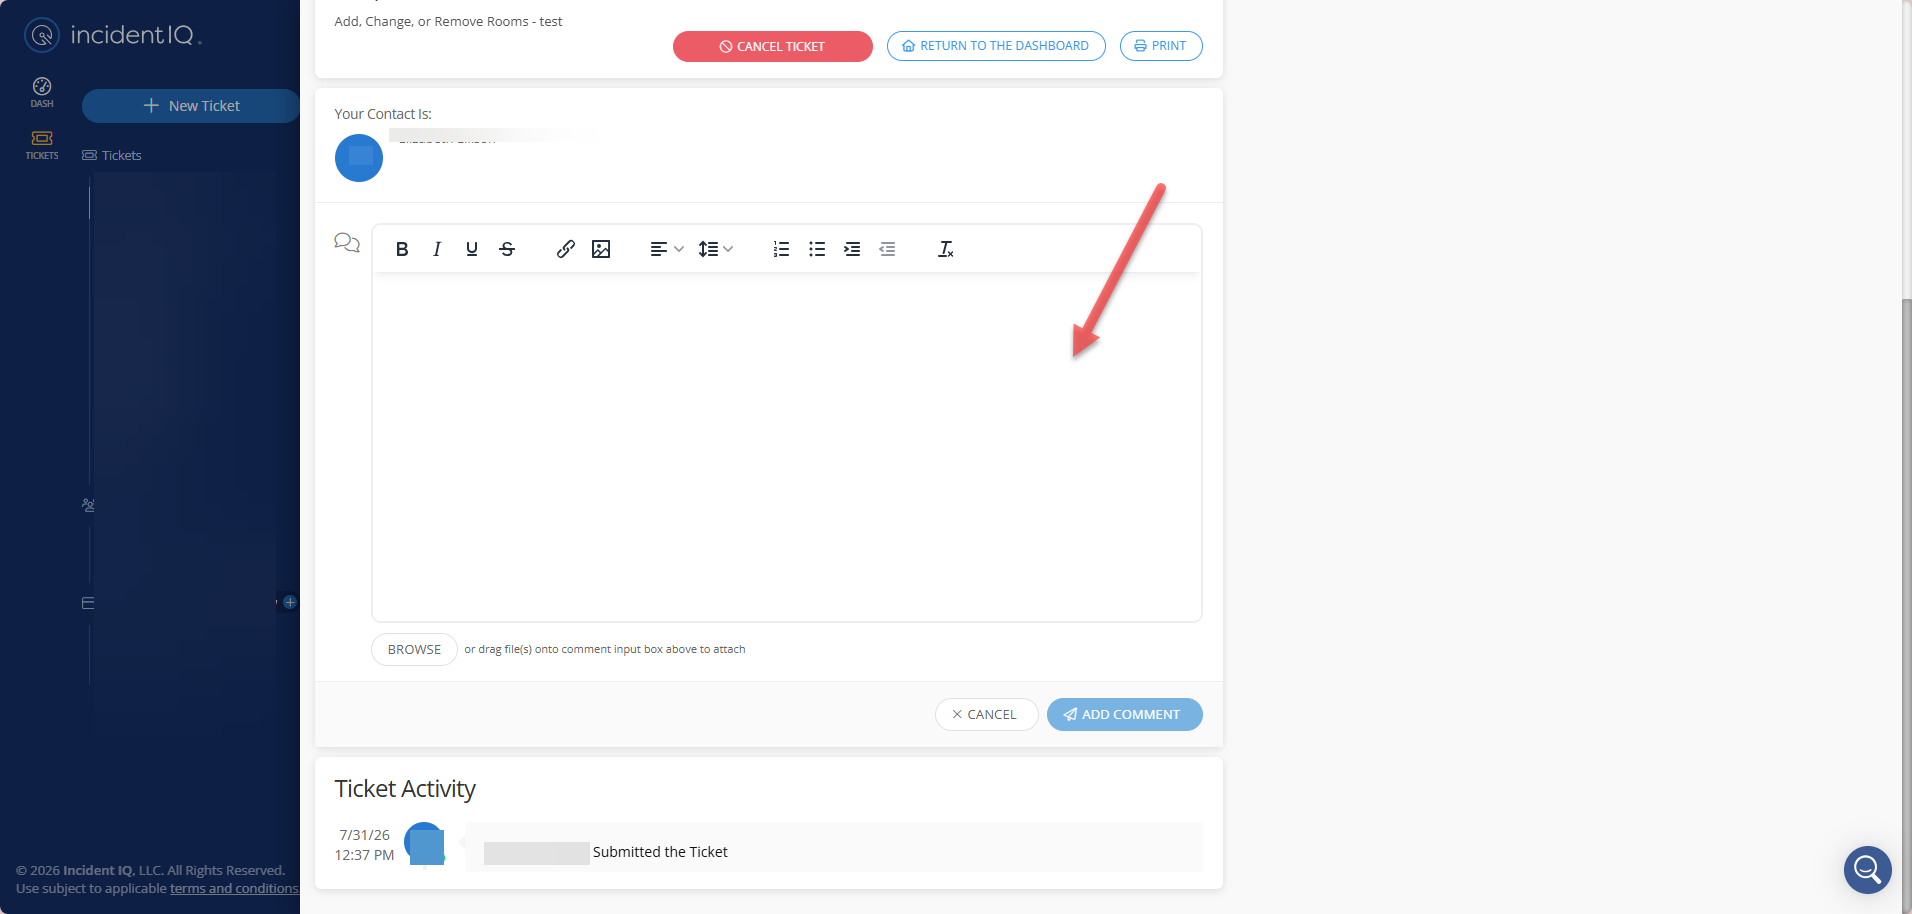
Locate the Comment Box: Find the comment section on the ticket screen.
-
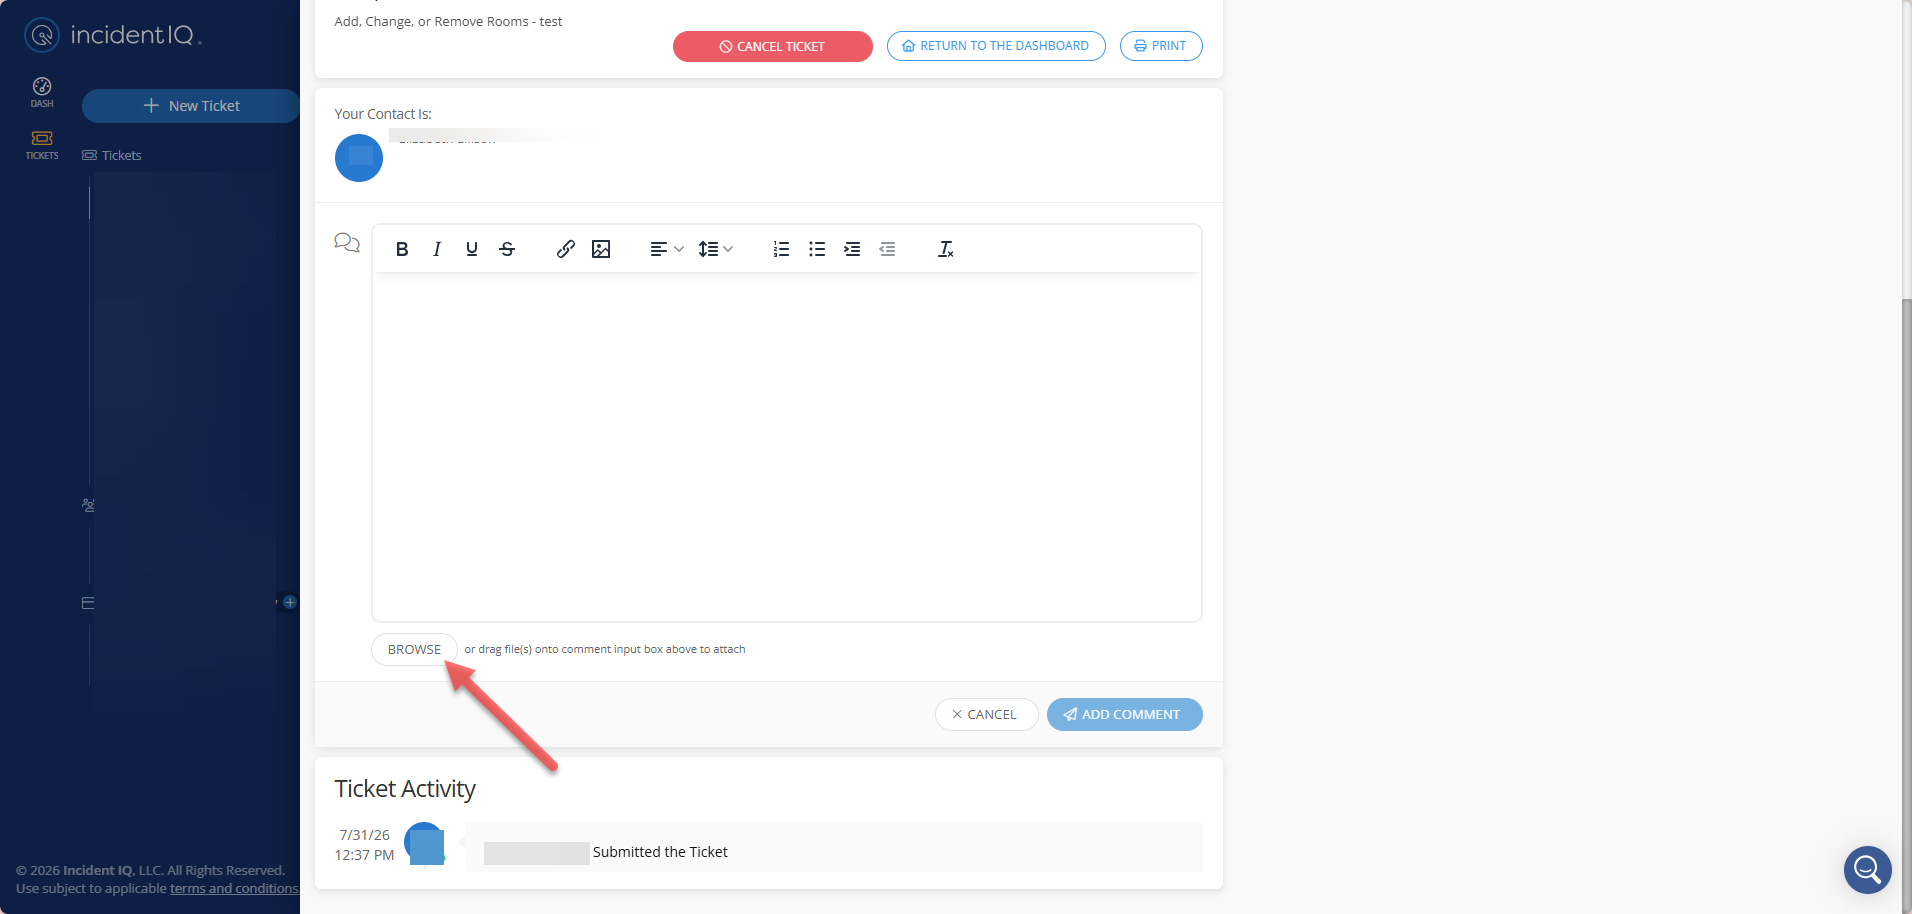
Select Browse: Click the Browse option located under the comment box to select and upload your corrected Excel file.
-
Add a Comment: You must type a brief note in the comment box (for example: "Uploaded corrected room file") and then select Add Comment.
The system will not allow you to upload the file if the comment box is left empty.
Need additional help? Click here for further assistance.