
This guide explains how to submit what is known as a generic ticket for hardware devices. This workflow is specifically for instances where you have not yet claimed your room or when a basic device is not automatically appearing under your account.
⚠️ Important Note: Asset-Based Tickets Are Always Preferred: Submitting a generic ticket is heavily restricted. Whenever possible, you should claim your room, favorite your assets, and submit a ticket directly against the specific asset. This ensures your request is routed instantly to the right technician.
The generic ticket option should only be used as a last resort and is strictly limited to system-approved generic categories.
Steps to Submit a Generic Ticket
1. Start a New Ticket
-
From your Dashboard, click + New Ticket.
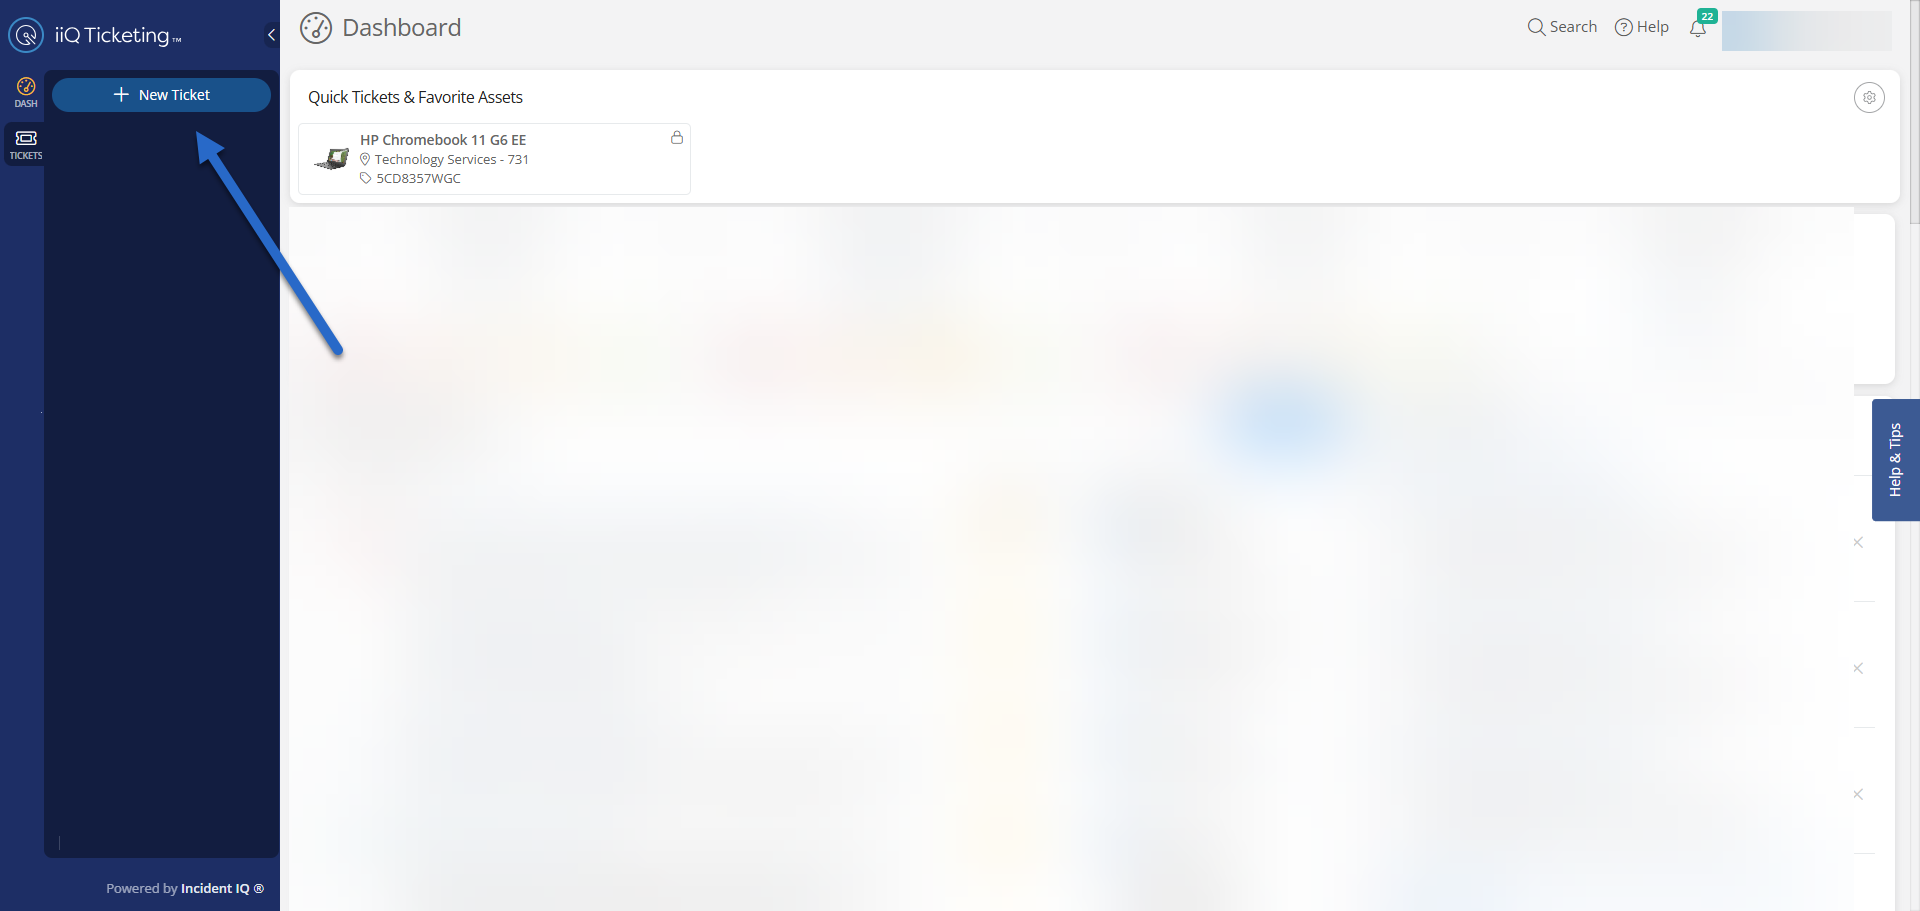
2. Select the Asset Category
-
Select Devices/Hardware category.
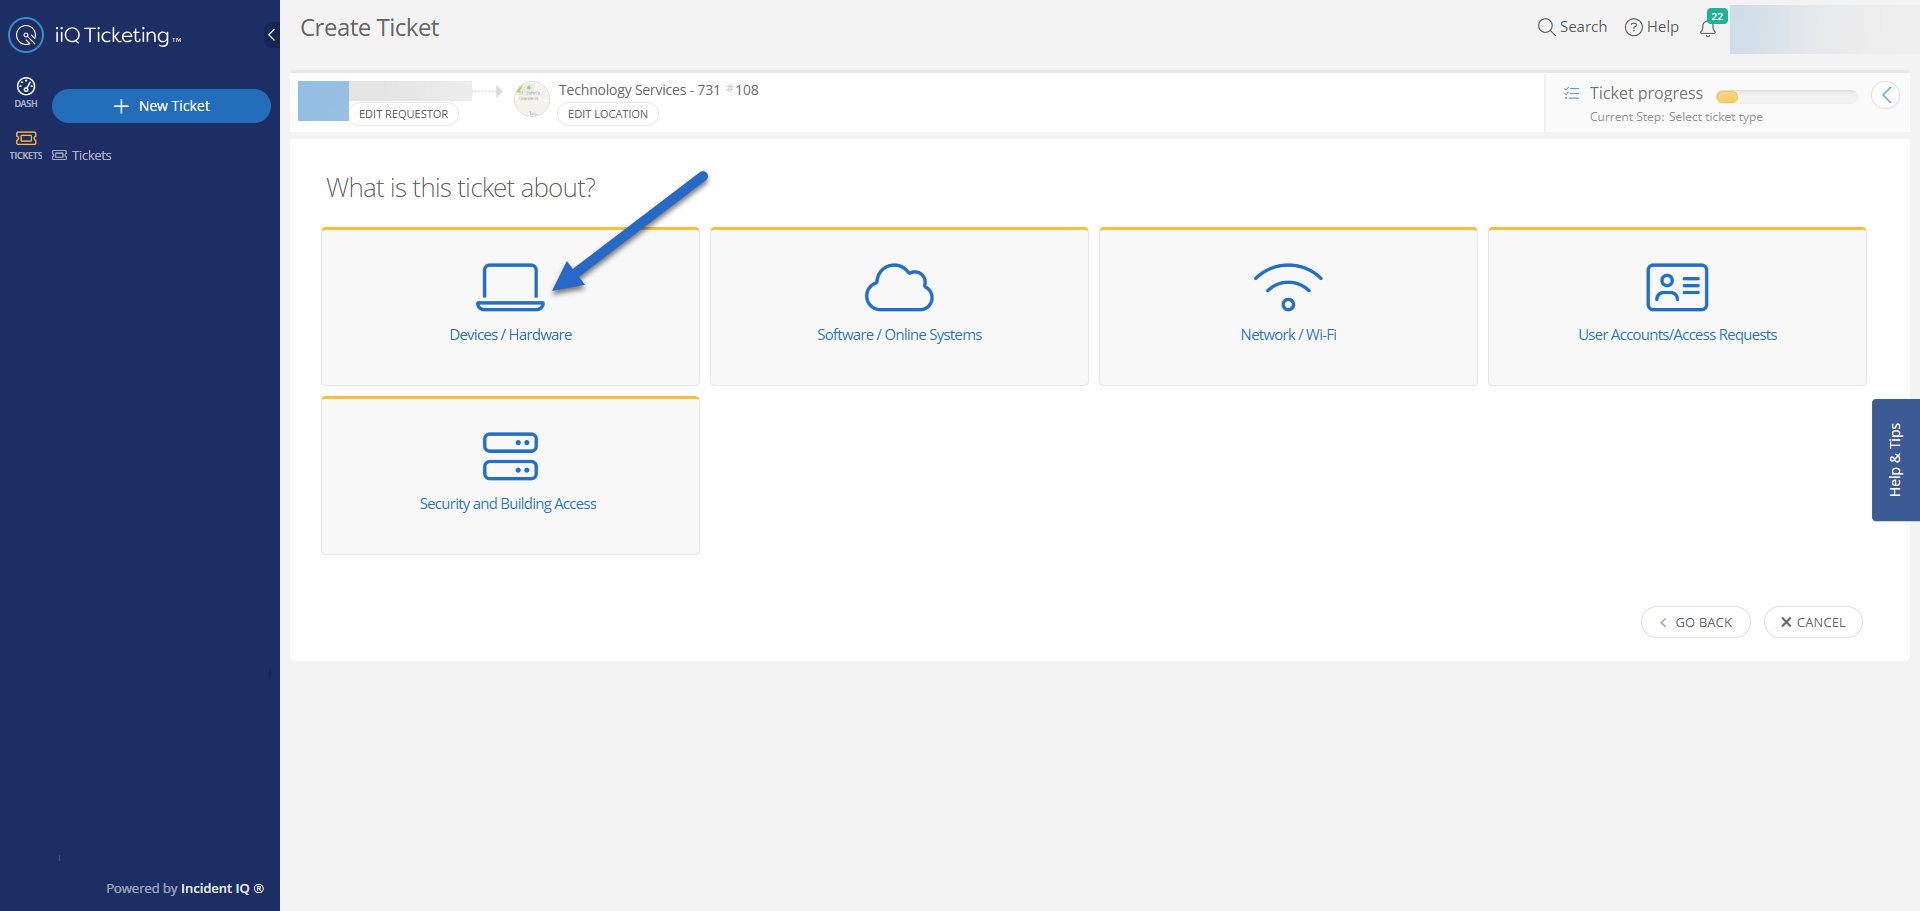
3. Select an Approved Device Category
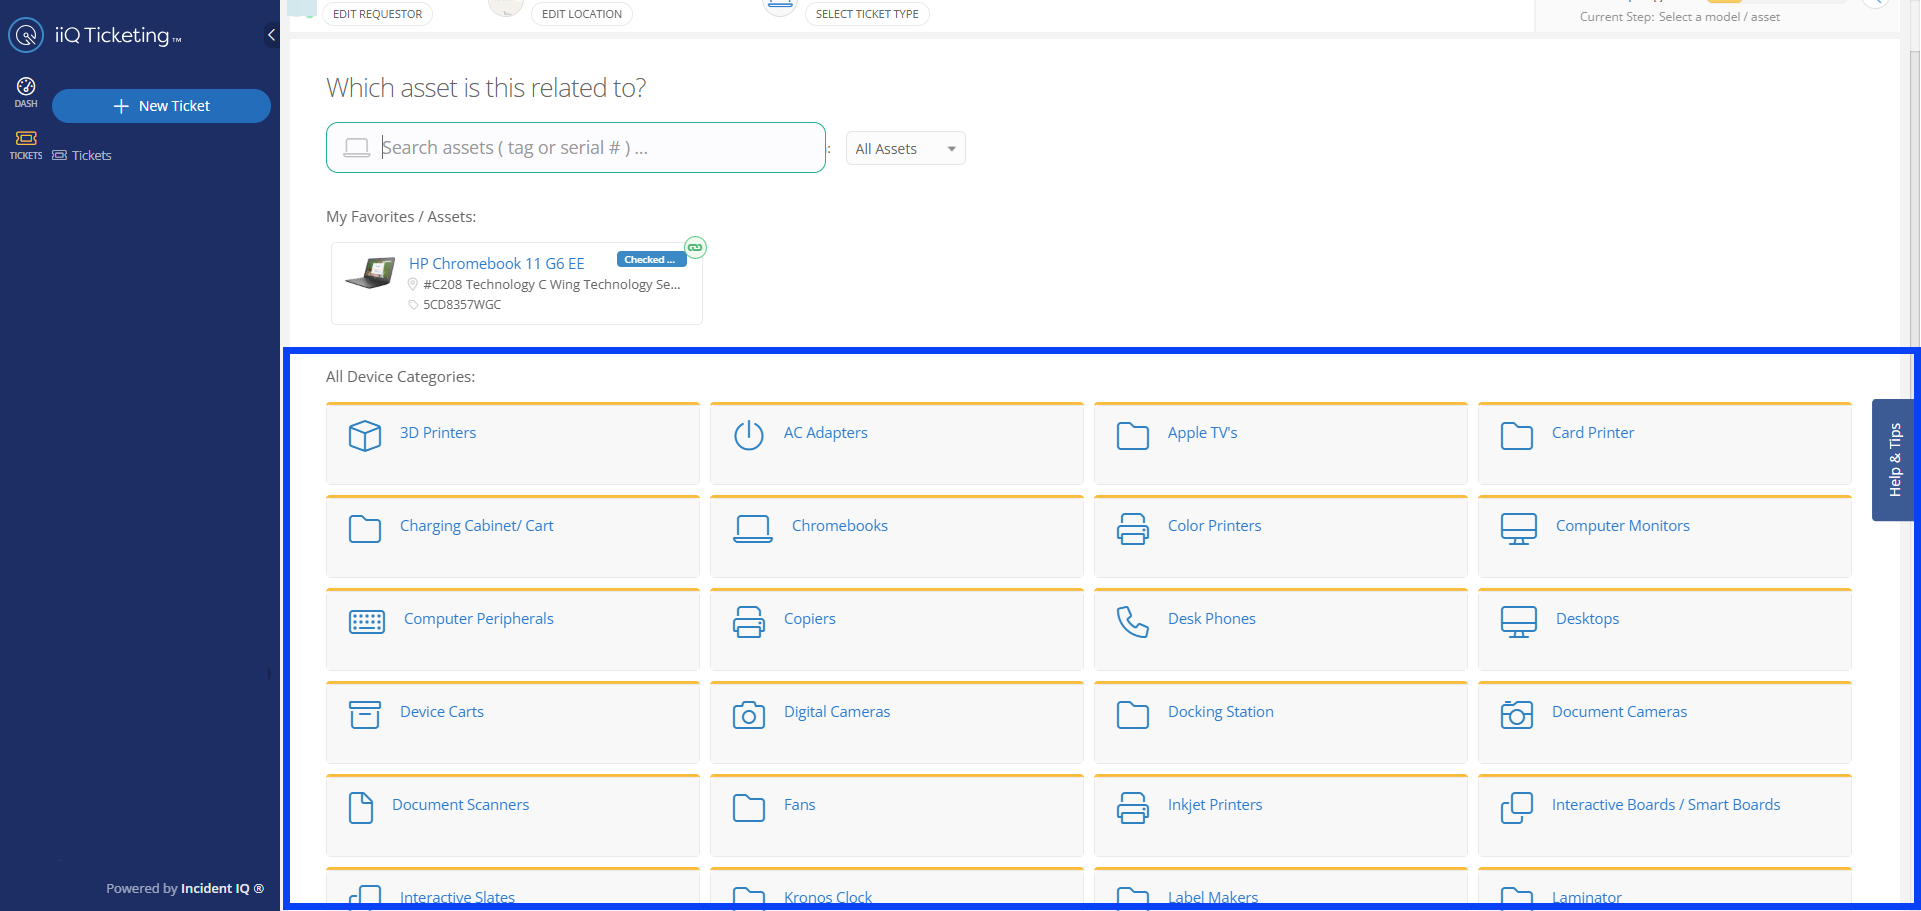
Choose the device category that matches the equipment experiencing an issue.
Note: Only specific, approved campus generic categories will be available to select here, and these allowed categories are subject to change over time.
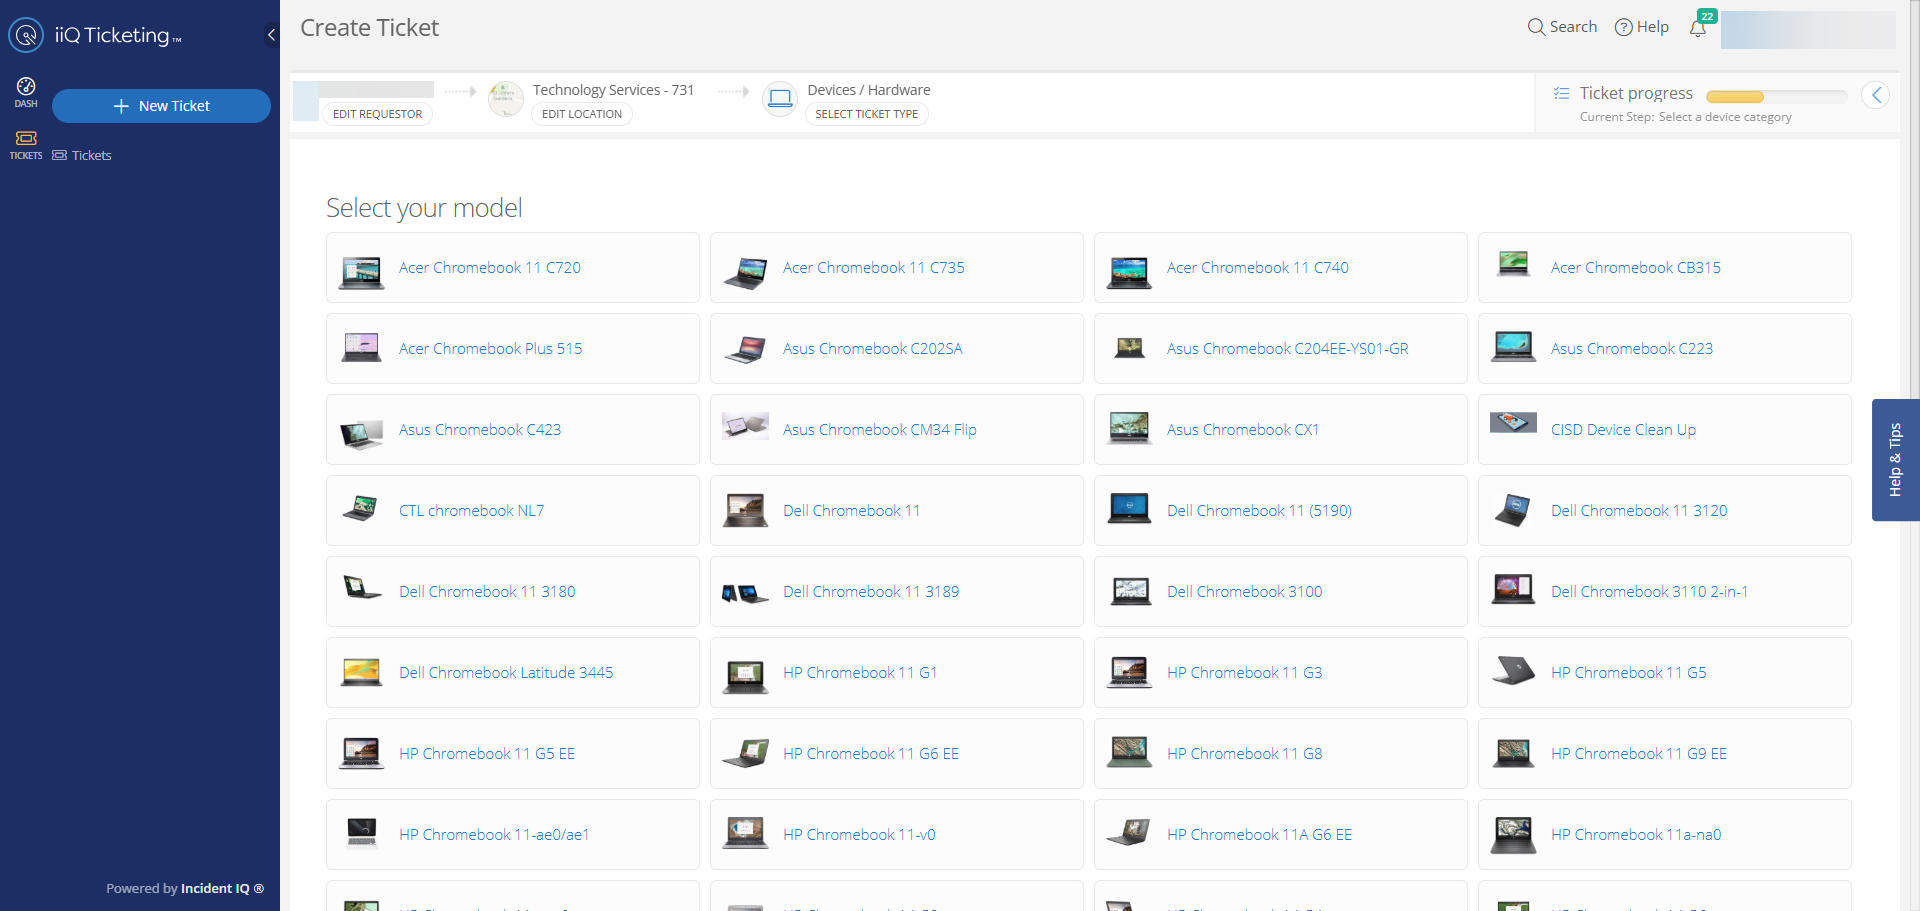
4. Select the Model
-
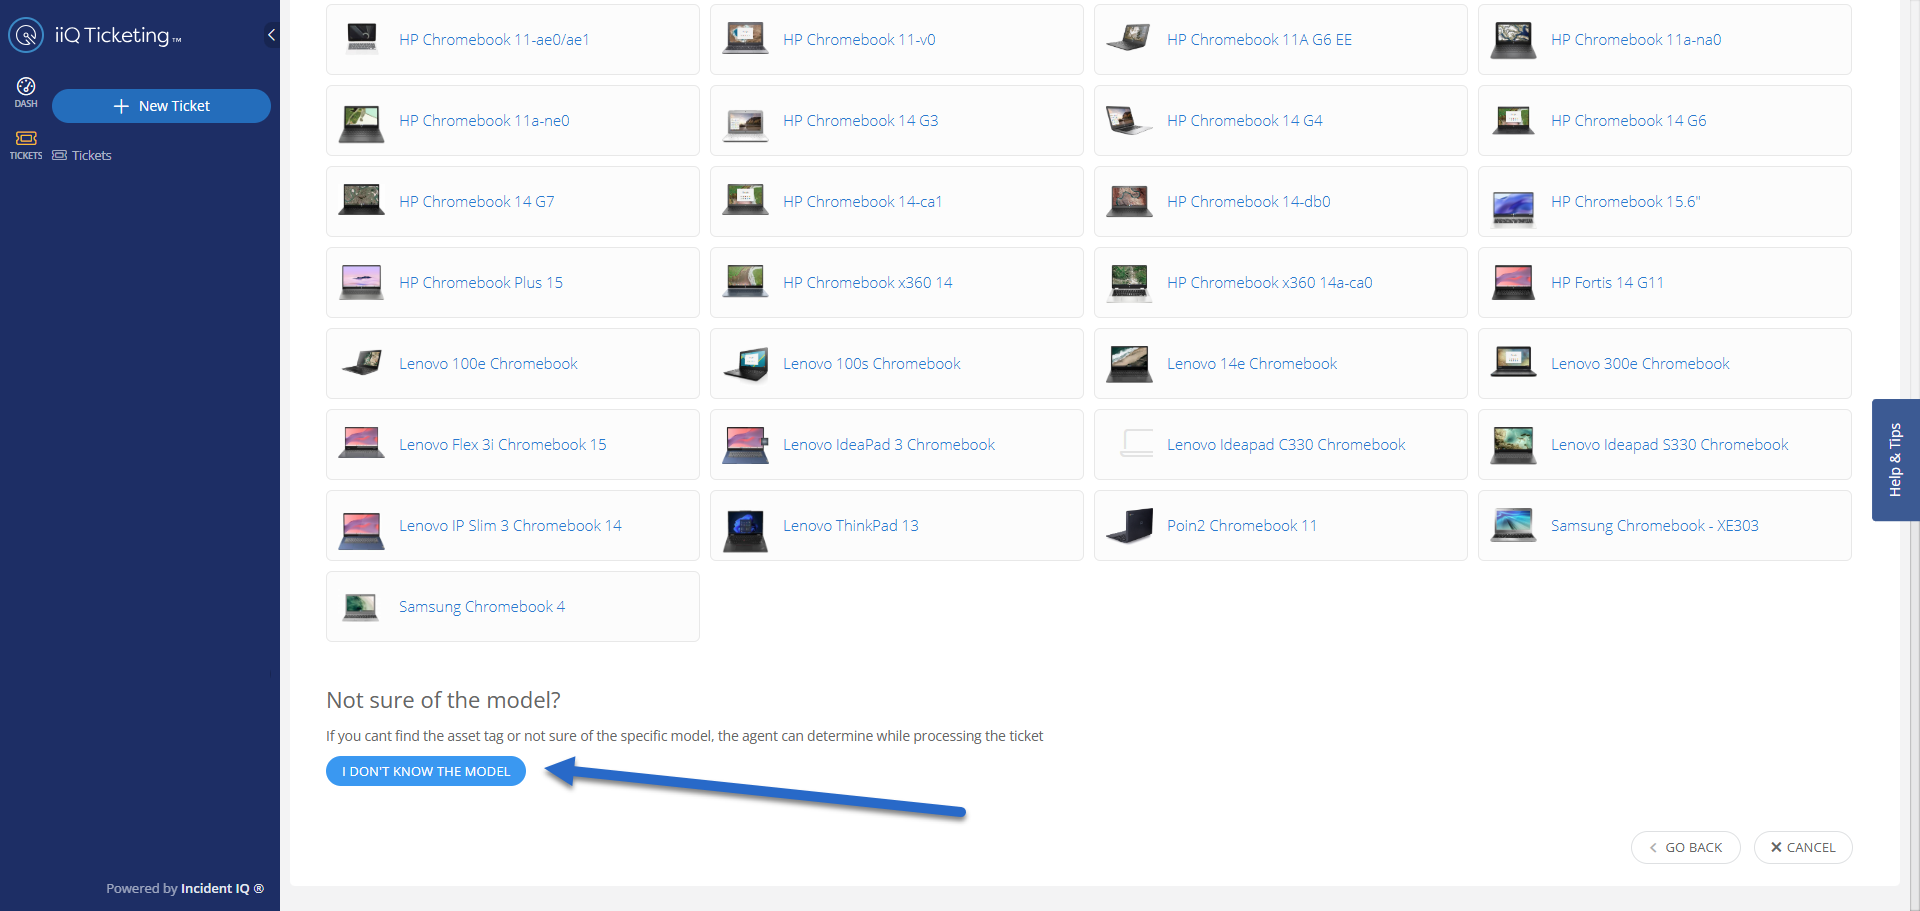
Choose the specific model of the device that needs attention.
If you don’t know the model of the device you can select “I don’t know the model” this option is available towards the bottom of most pages.
5. Select the Issue Category
-
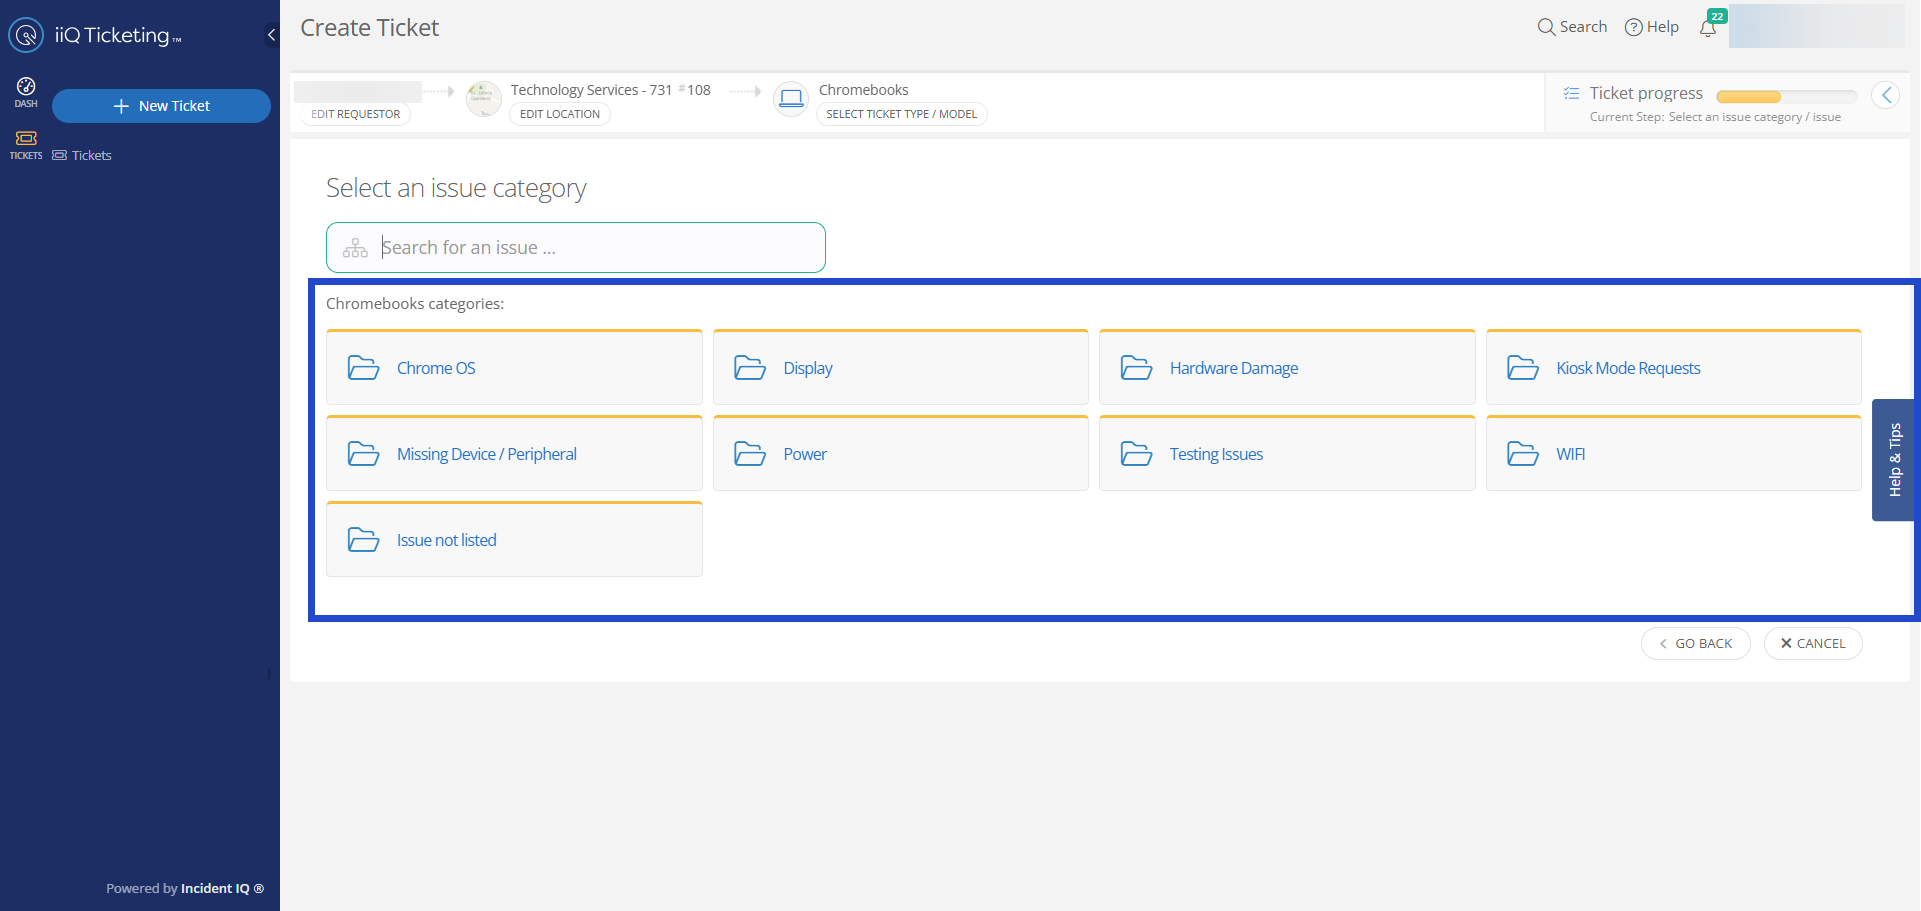
Choose the issue that most closely matches the problem.
-
If no listed option applies, select Issue Not Listed.
6. Add Details
-
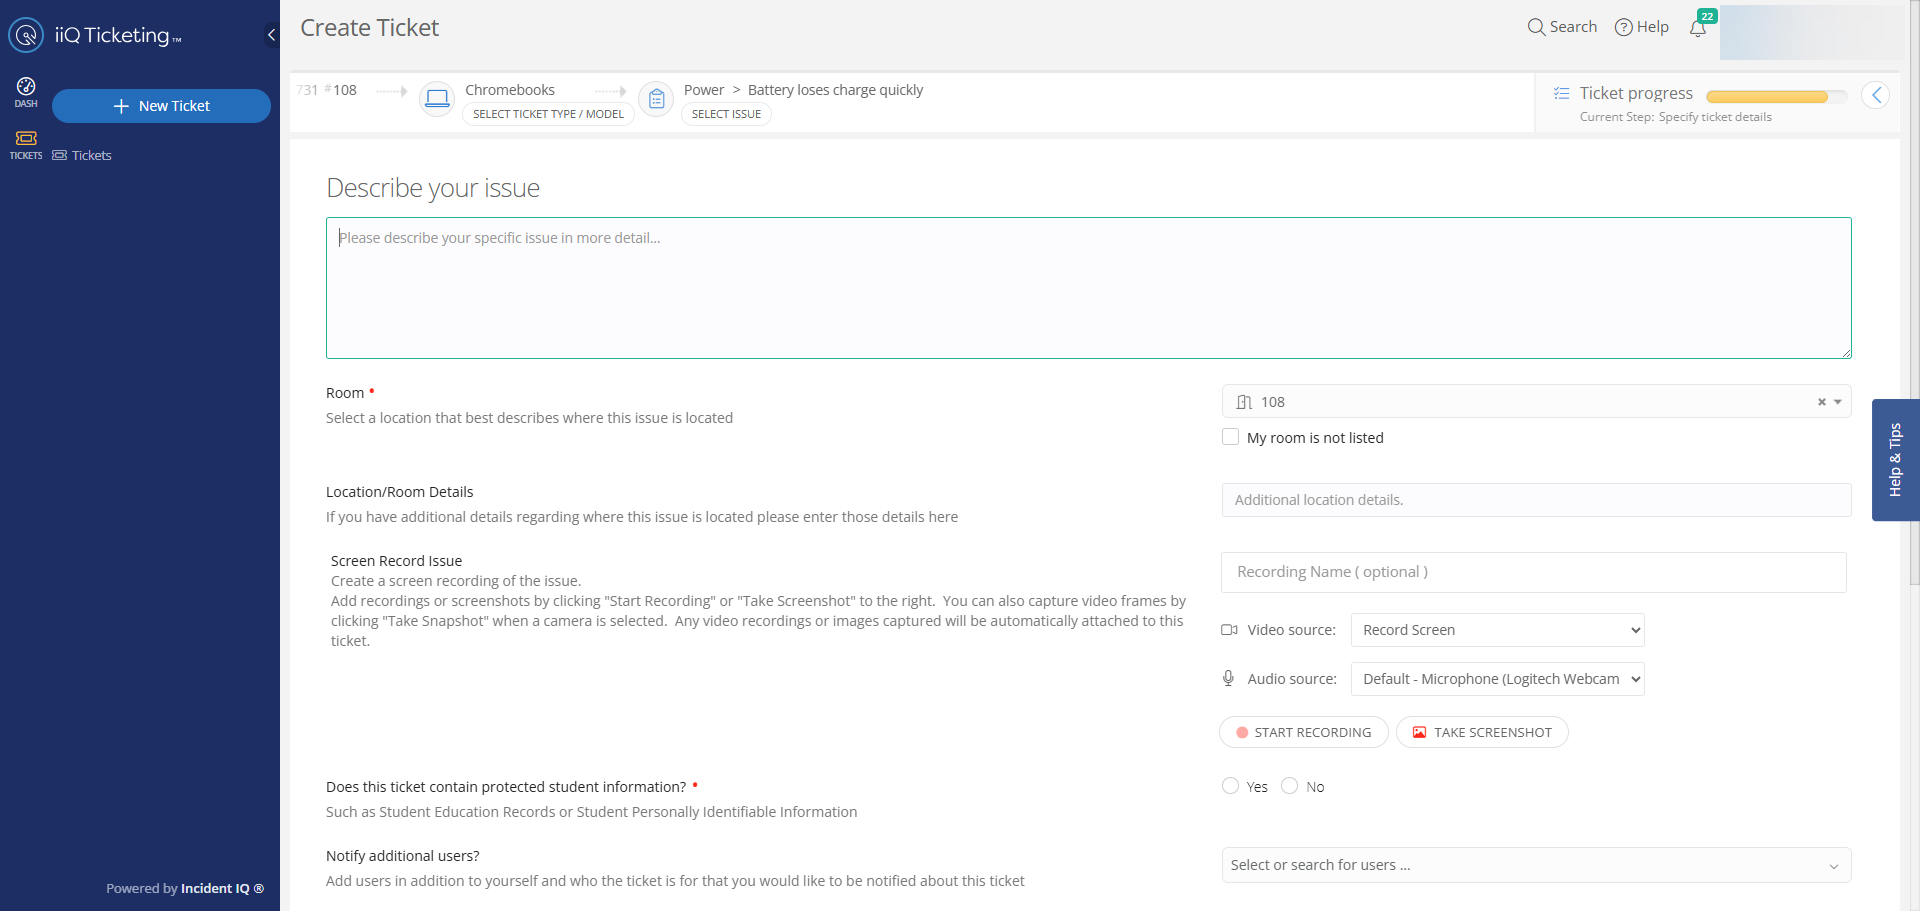
Provide a clear description of the problem and any location details.
-
Optionally attach images, audio, or video to support your request.
-
Notify other users (team members or supervisors) if needed.
-
Complete all required fields marked with a red asterisk (*) before submitting.

7. Review and Submit
-
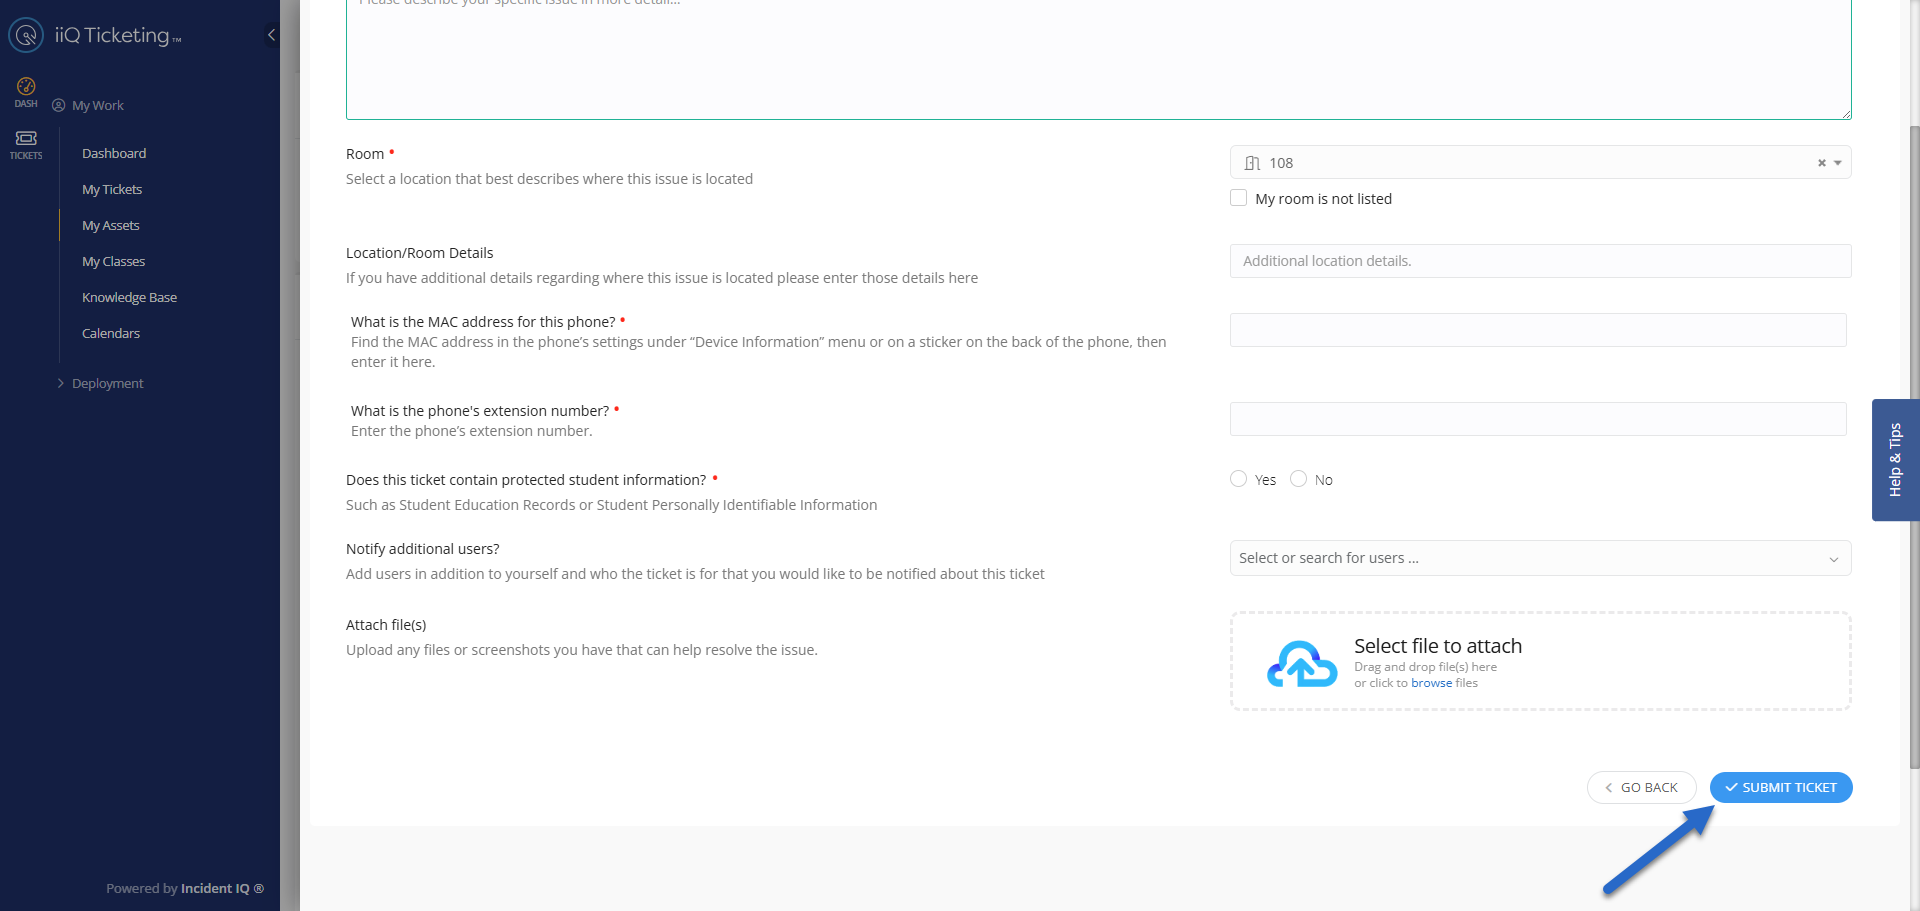
Double-check your information, then click Submit Ticket.
Click here to go to the next page: Submitting Tickets for Other Users or Locations
Still have questions? Visit the Additional Help section for further assistance.