
This guide provides instructions on how to reprint asset tags for district devices in Incident IQ using your printer.
Required Supplies
Before printing, please confirm that your campus has the necessary supplies. Below are a few recommended items you can use to complete these tasks, along with links to purchase them. You may also use equivalent supplies you already have on hand.
If you are needing a new asset tag for a device that is not currently in Incident IQ (i.e., it has never been asset tagged), and you have already searched for it using both the serial number and any existing asset tag in Incident IQ, please reach out to rcrain@conroeisd.net.
Step 1: Accessing Incident IQ
-
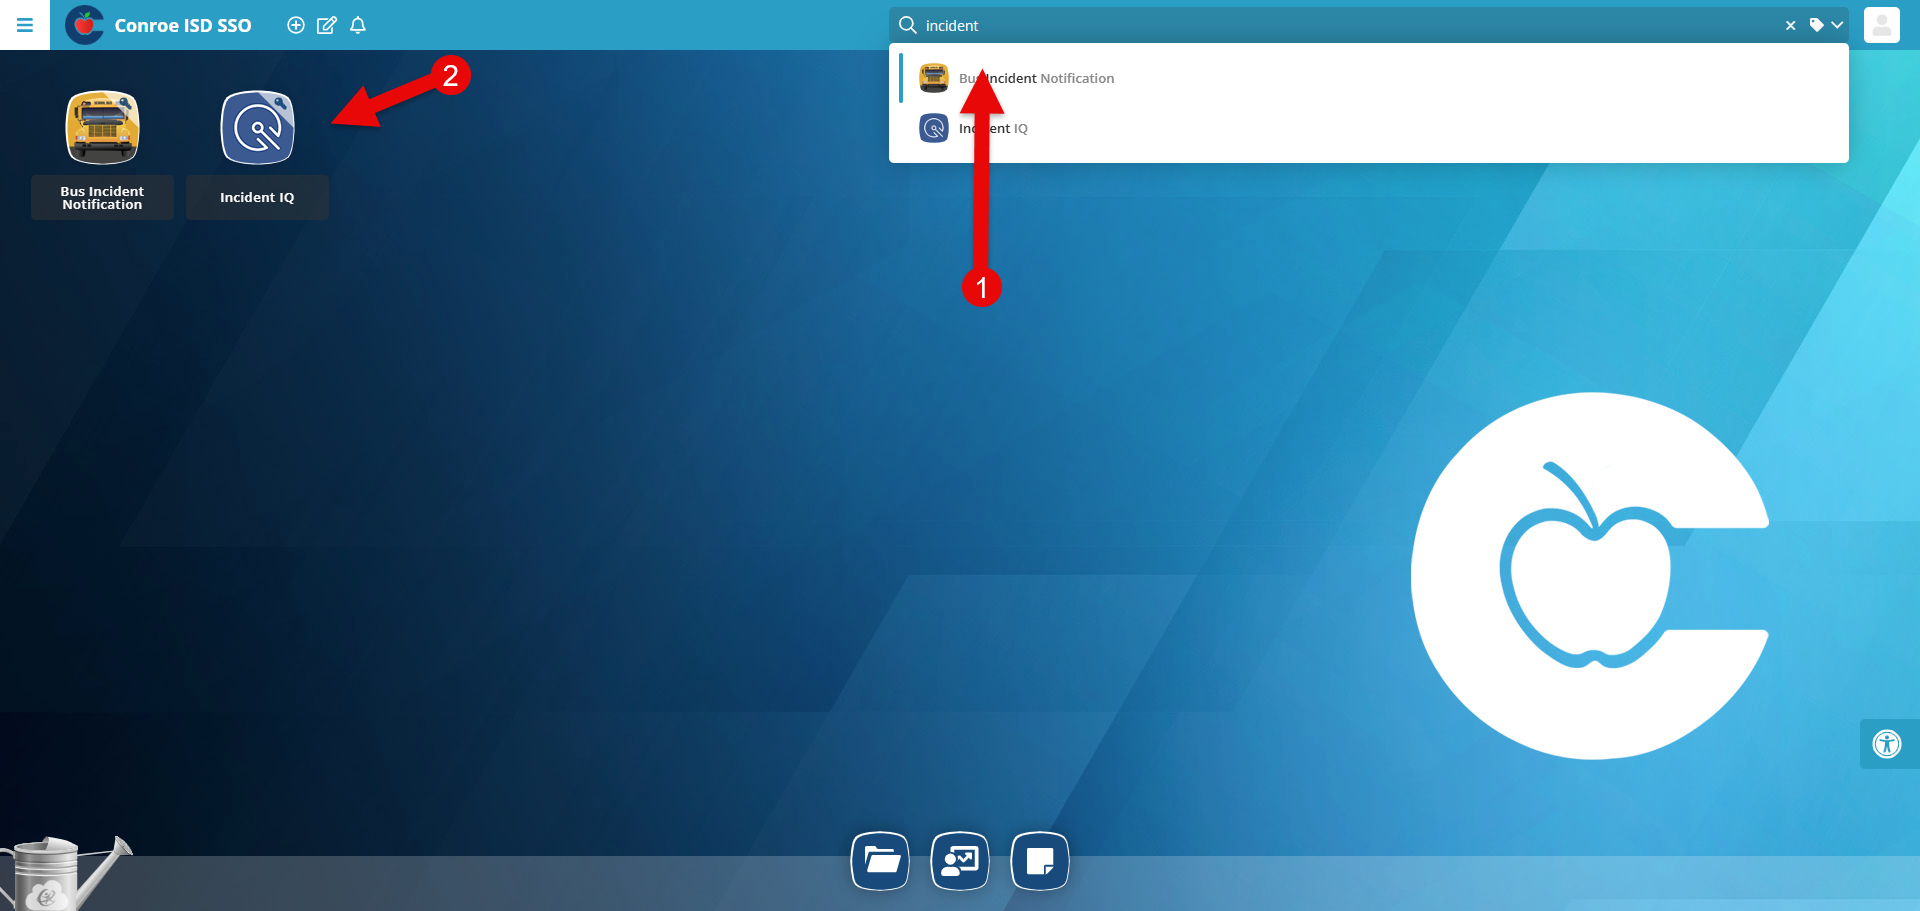
Log in to the Conroe ISD SSO Portal.
-
Locate and select the Incident IQ application.
Method 1: Printing a Single Asset Tag
Use this method to replace a damaged or missing tag for a specific device.
-
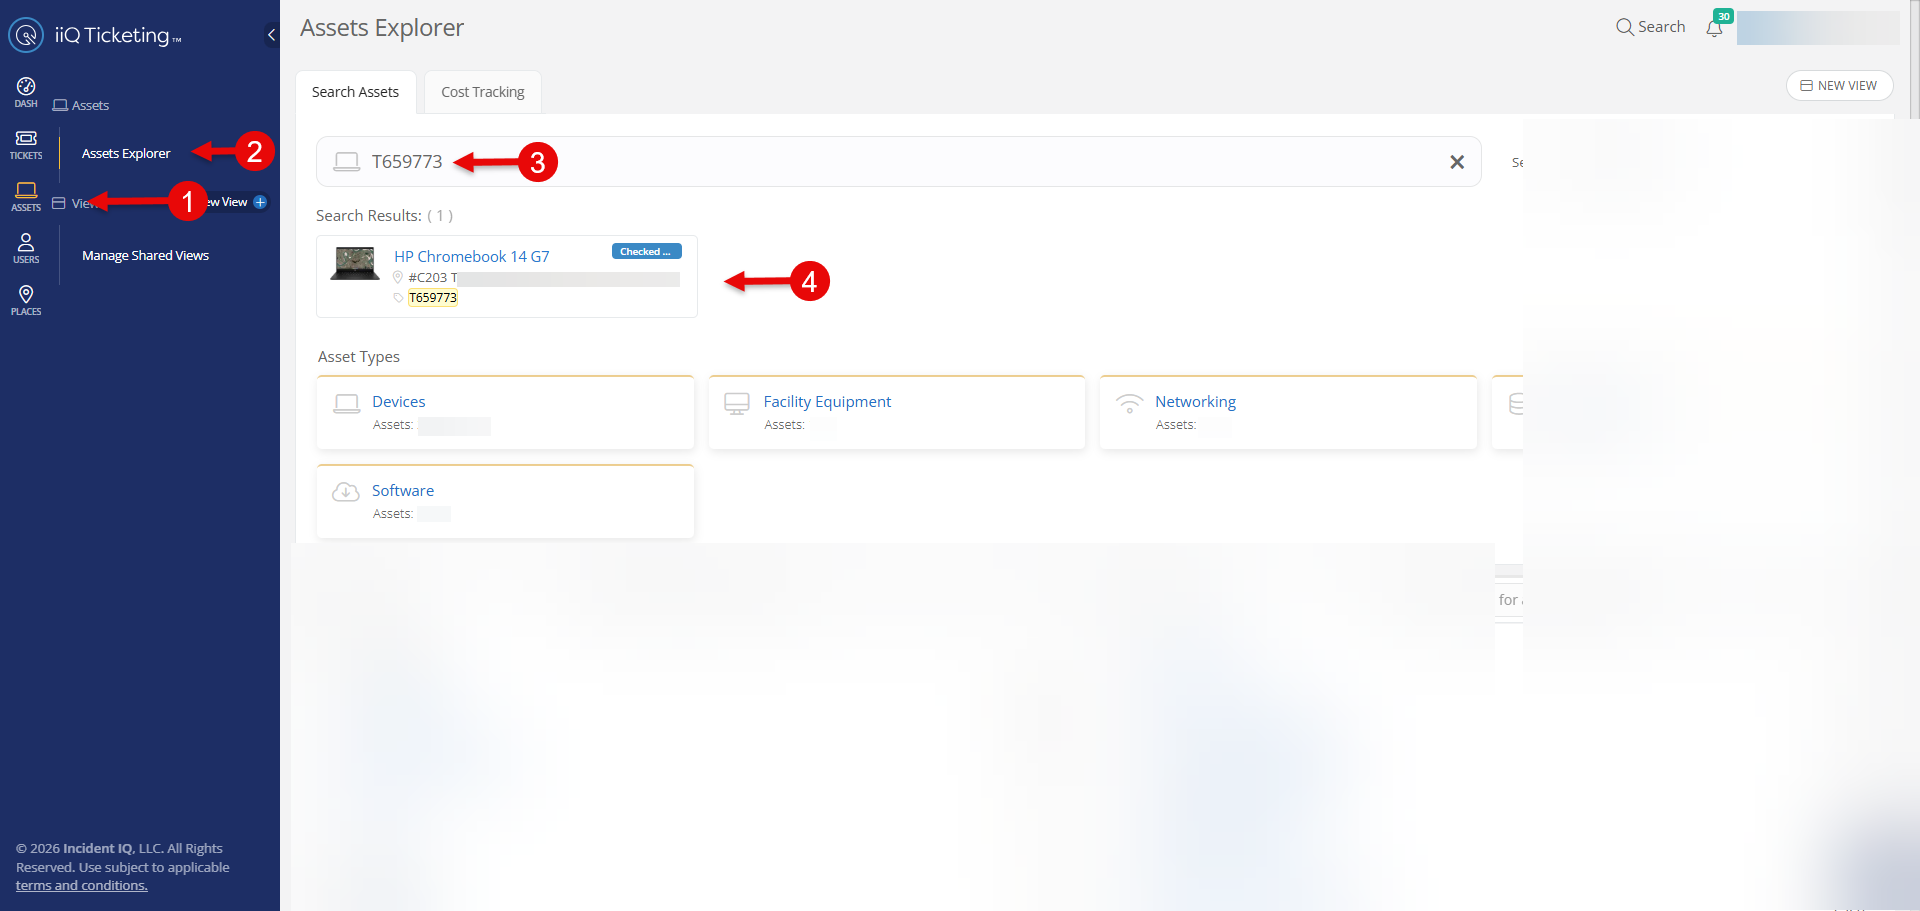
Search for the Asset: In the left-hand navigation bar, click on Asset then Asset Explorer.
-
Enter Tag Number: Type the specific asset tag number into the search bar.
-
Open Details: Click on the asset from the results to open its detailed record.
-
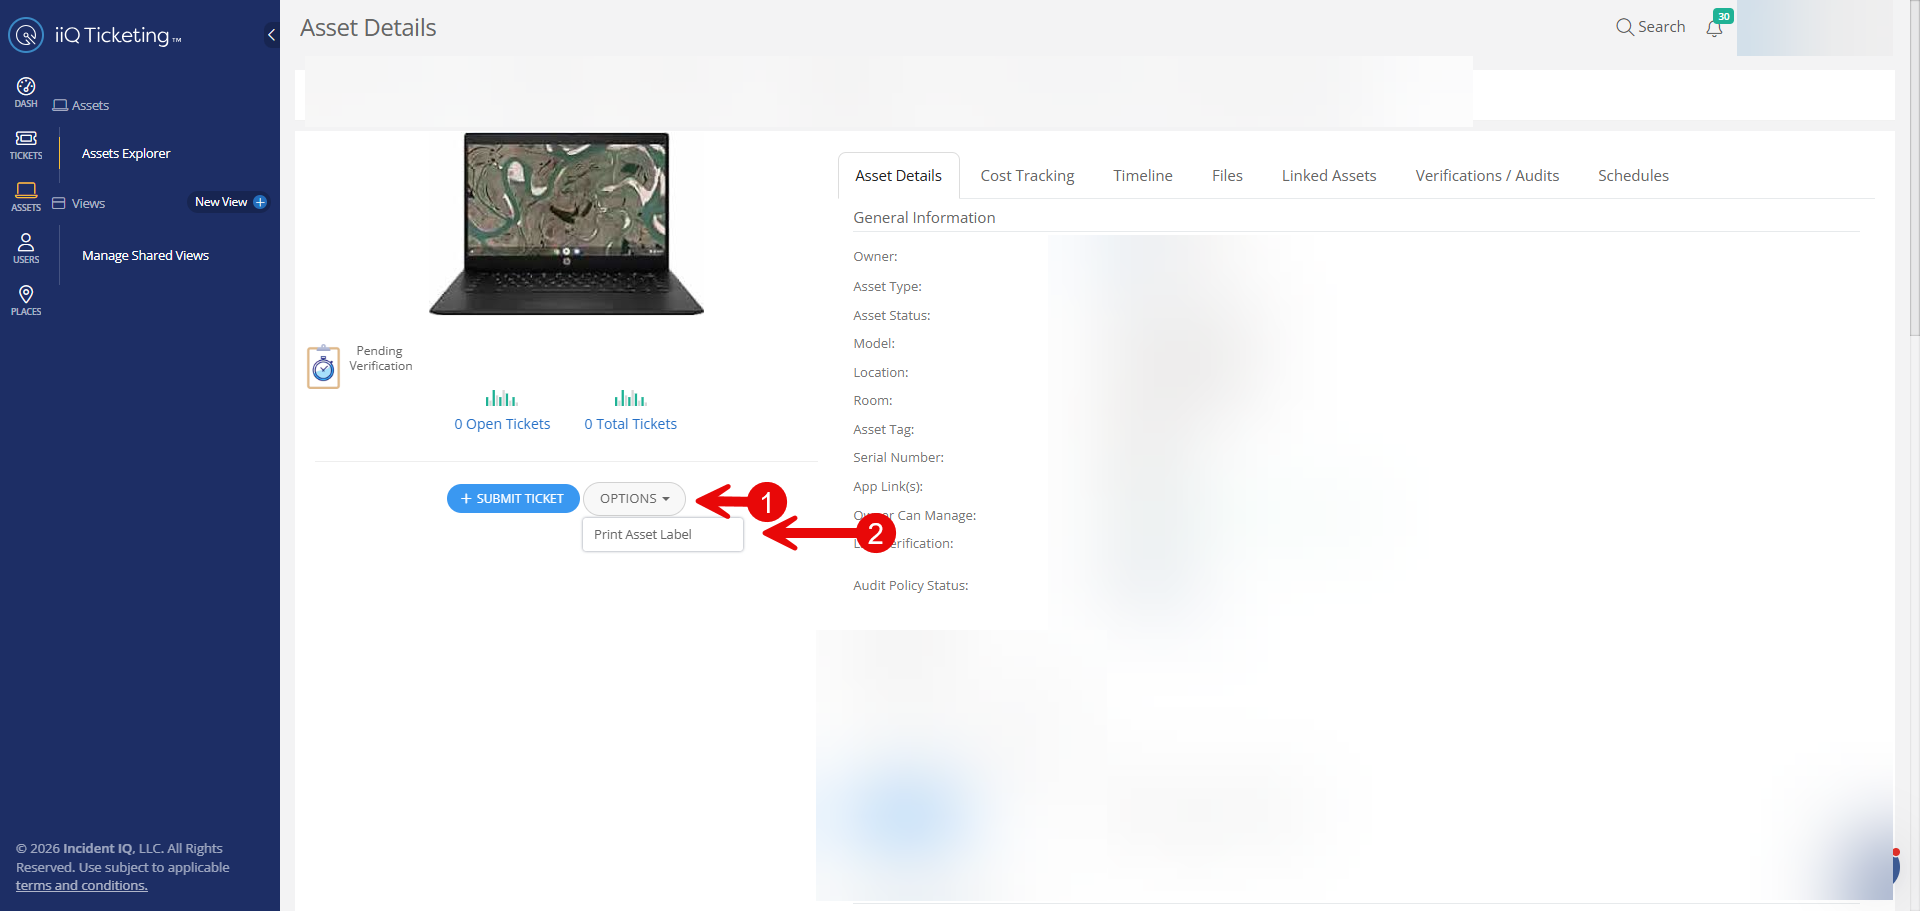
Select Print: Click the Options menu
-
Select Print Asset Label.
-
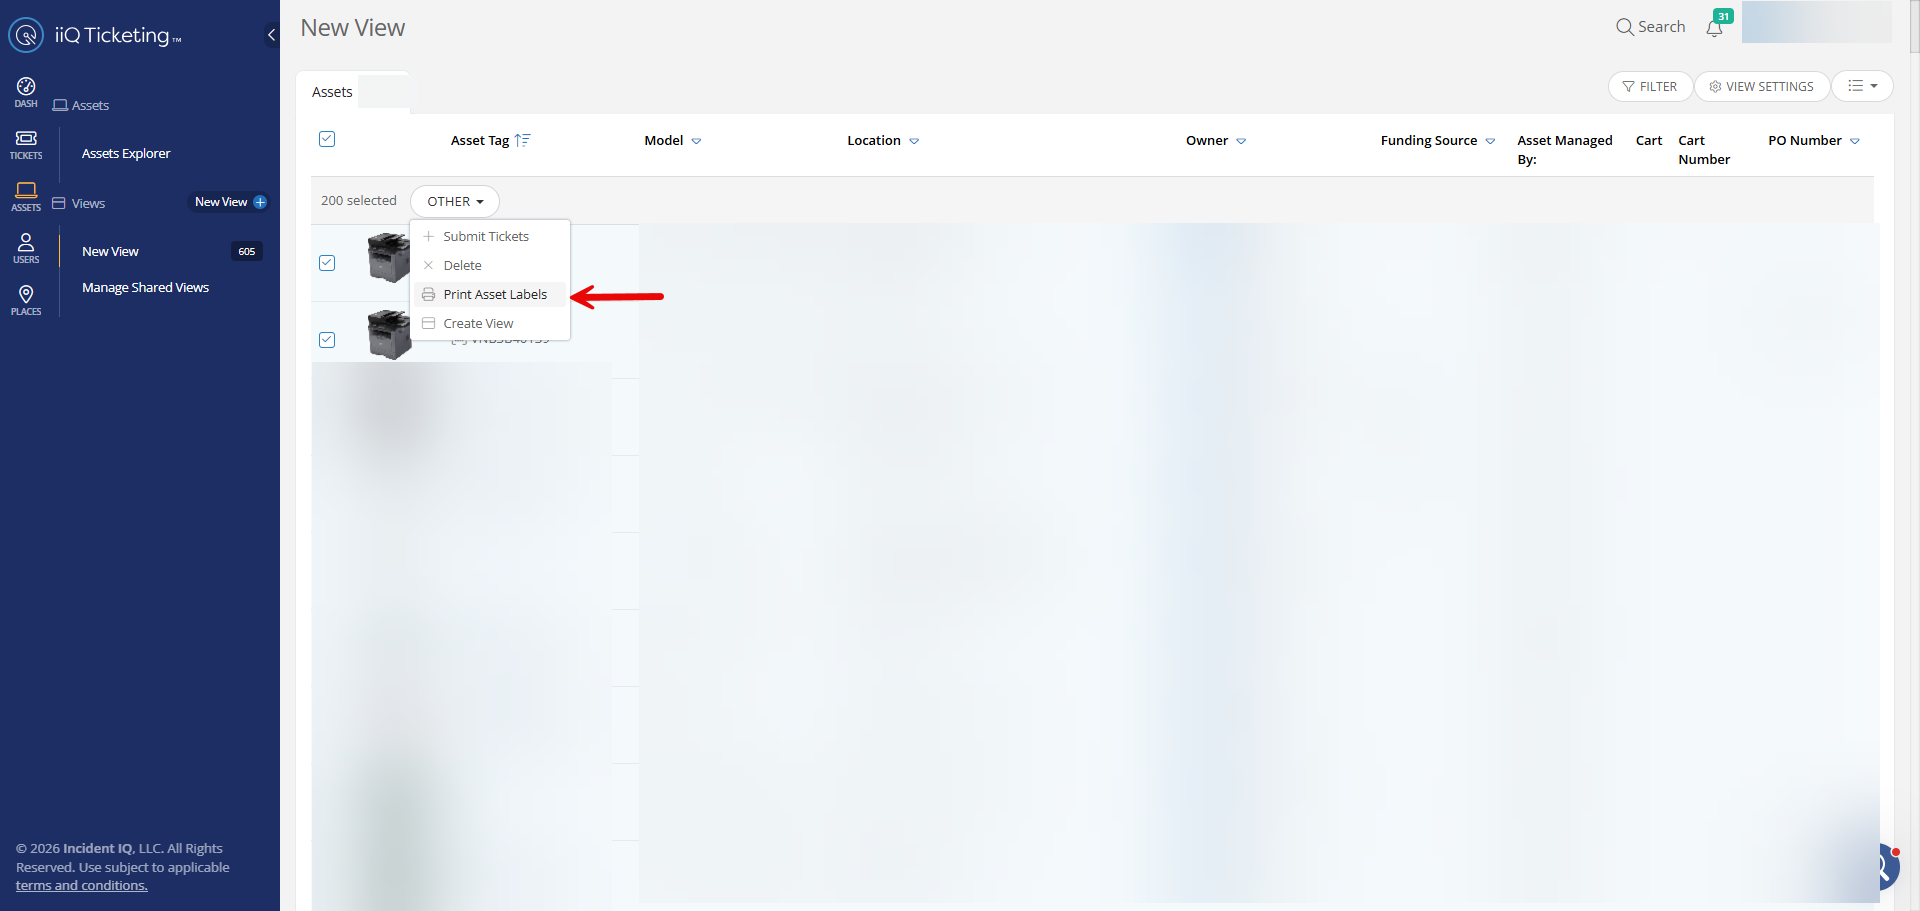
Method 2: Bulk Printing from a Custom View
Use this method to print labels for a pre-defined group of assets.
-
Open Custom View: Select your saved Custom View from the sidebar.
-
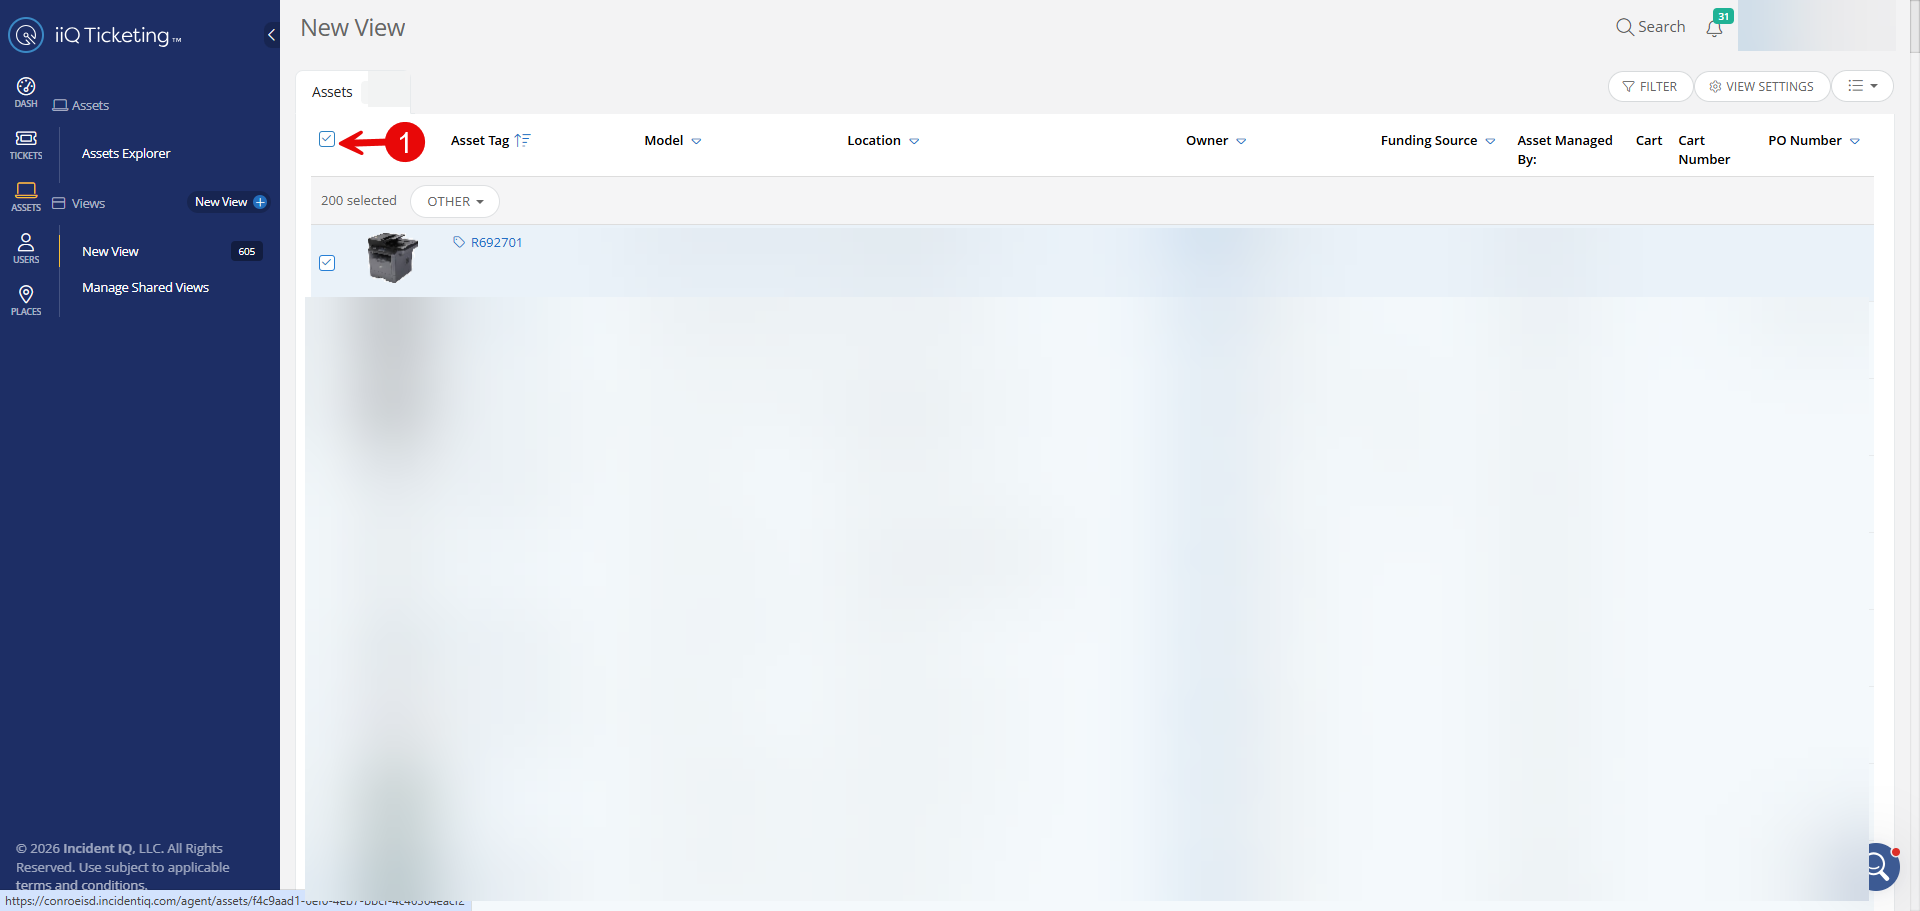
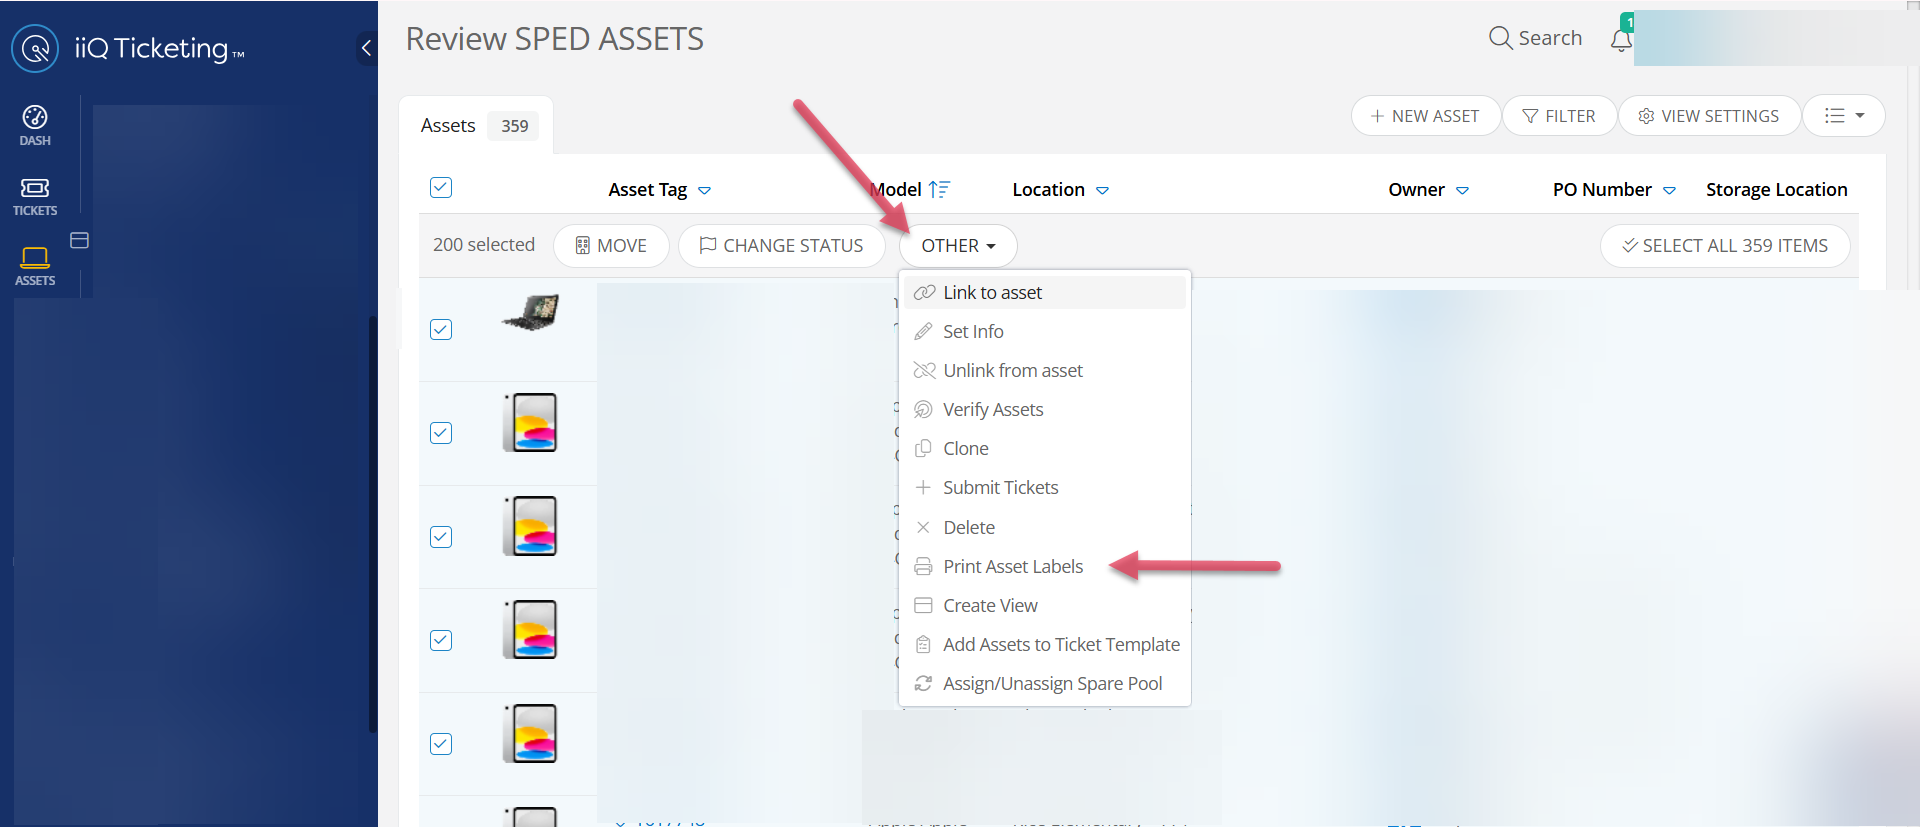
Select All: Click the checkbox at the top of the list to select all assets in the view.
-
Initiate Bulk Print:
-
Click the Other button at the top of the list.
-
Select Print Asset Labels.
-
Method 3: Bulk Printing using an Excel or CSV List
Use this method if you have a list of asset tag numbers in a spreadsheet.
-
Copy Numbers: Open your spreadsheet and copy the column containing the asset tag numbers.
-
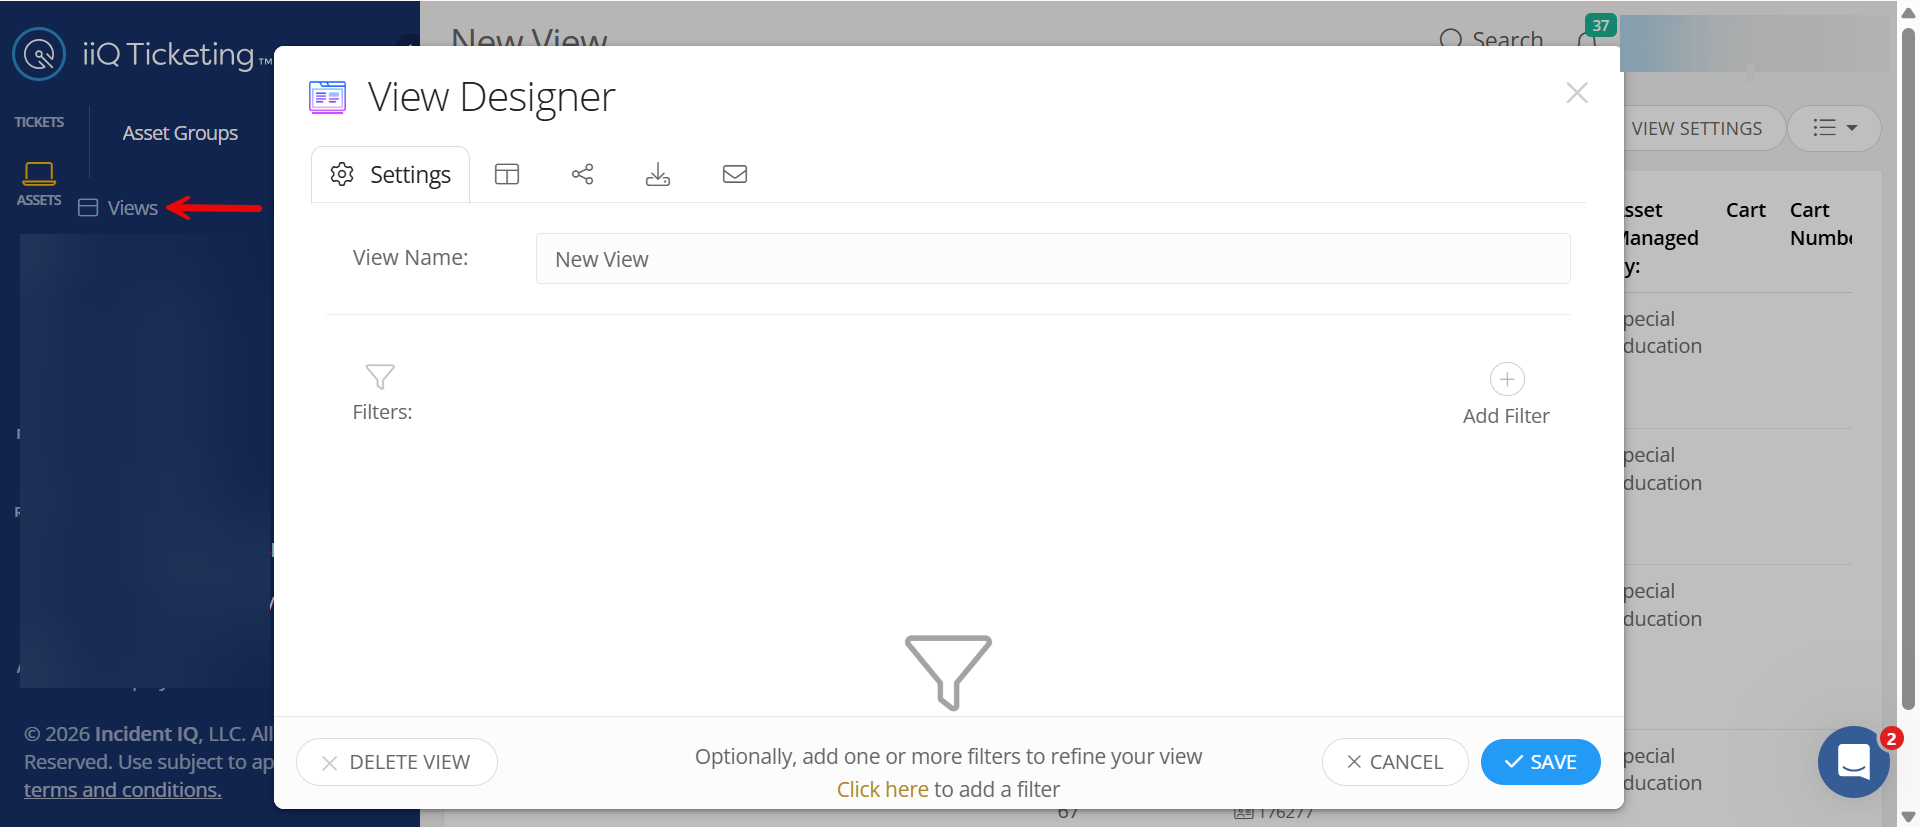
Filter in Incident IQ: Go to any Asset Custom View.
-
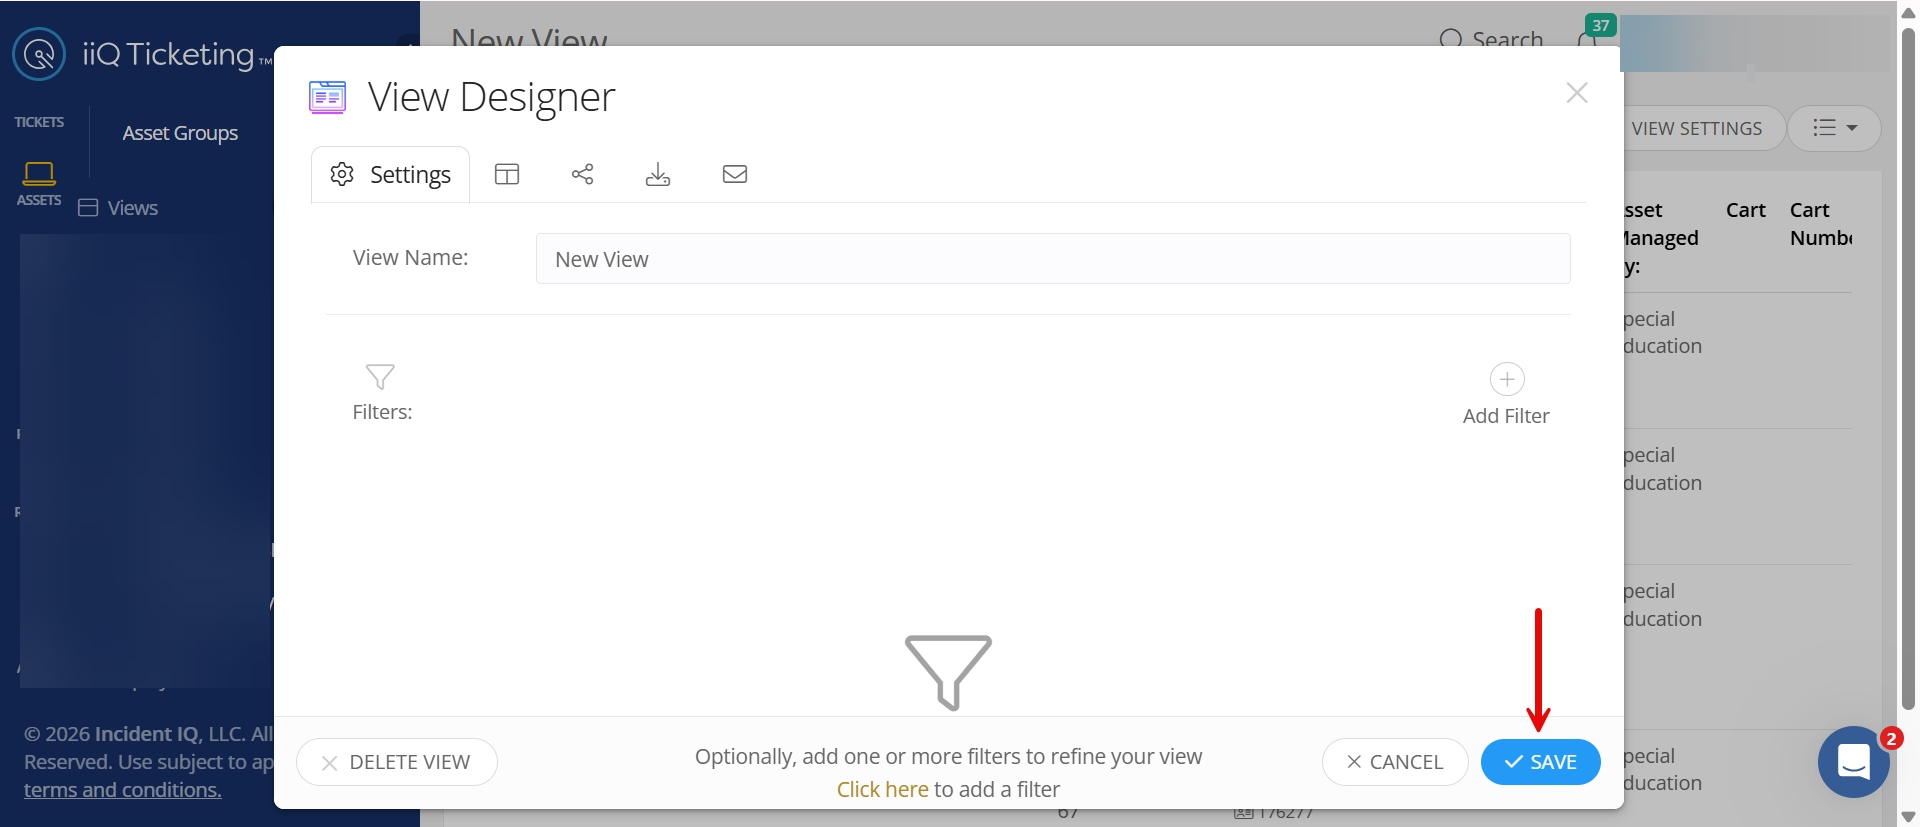
Open View Settings.
-
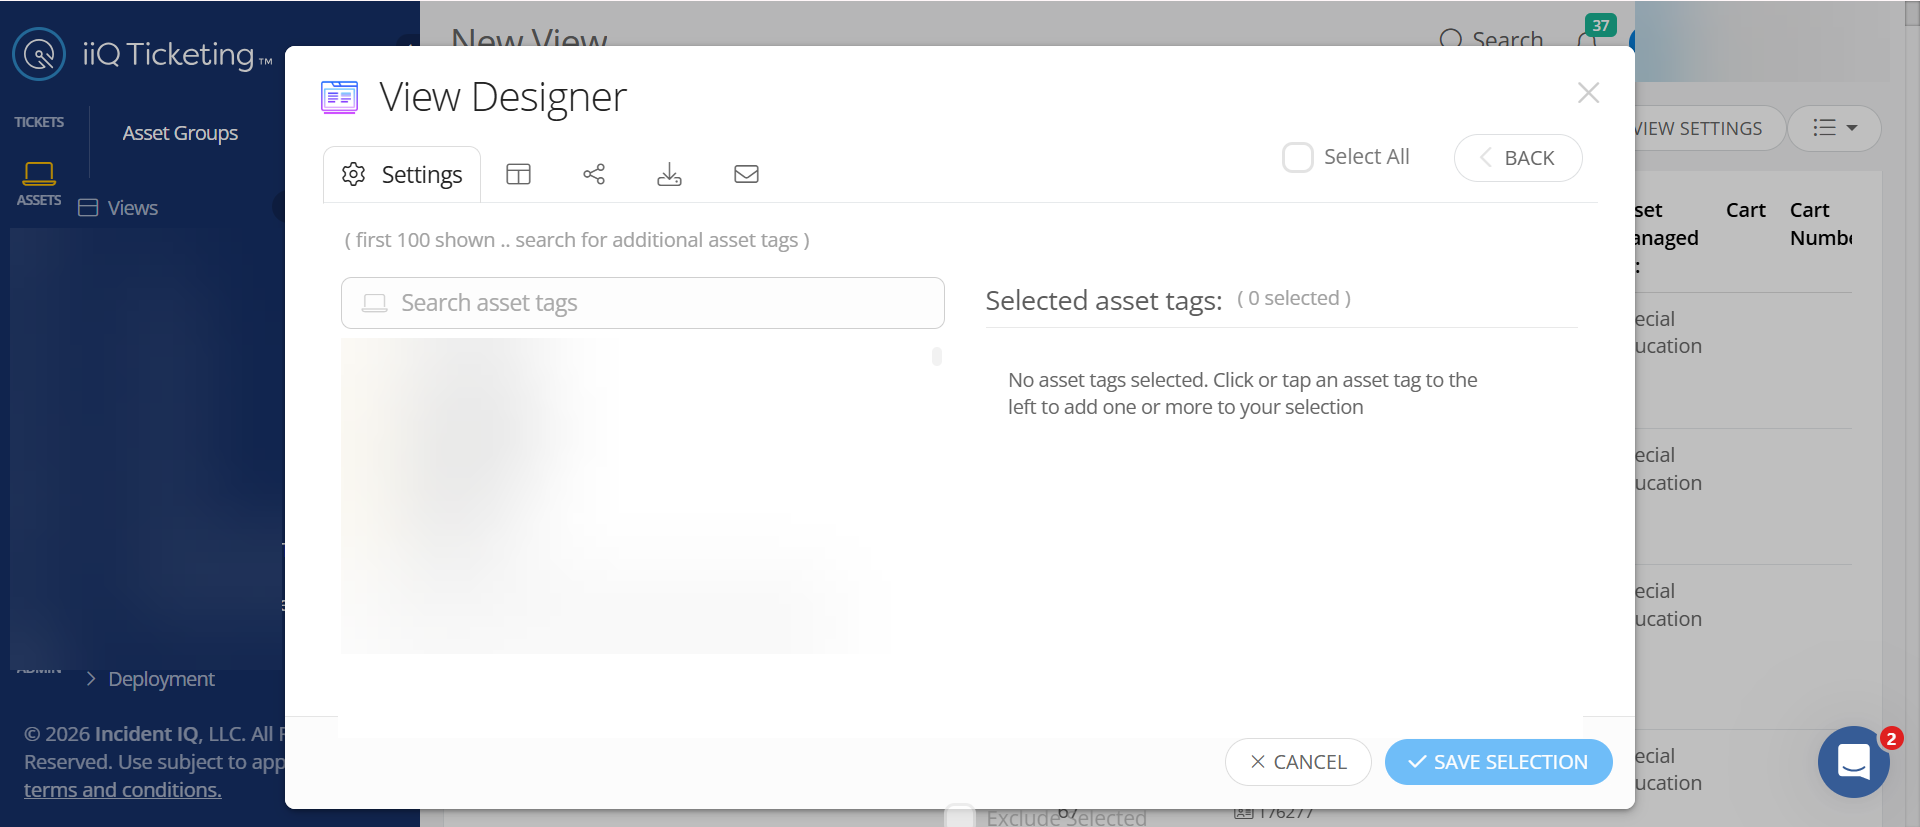
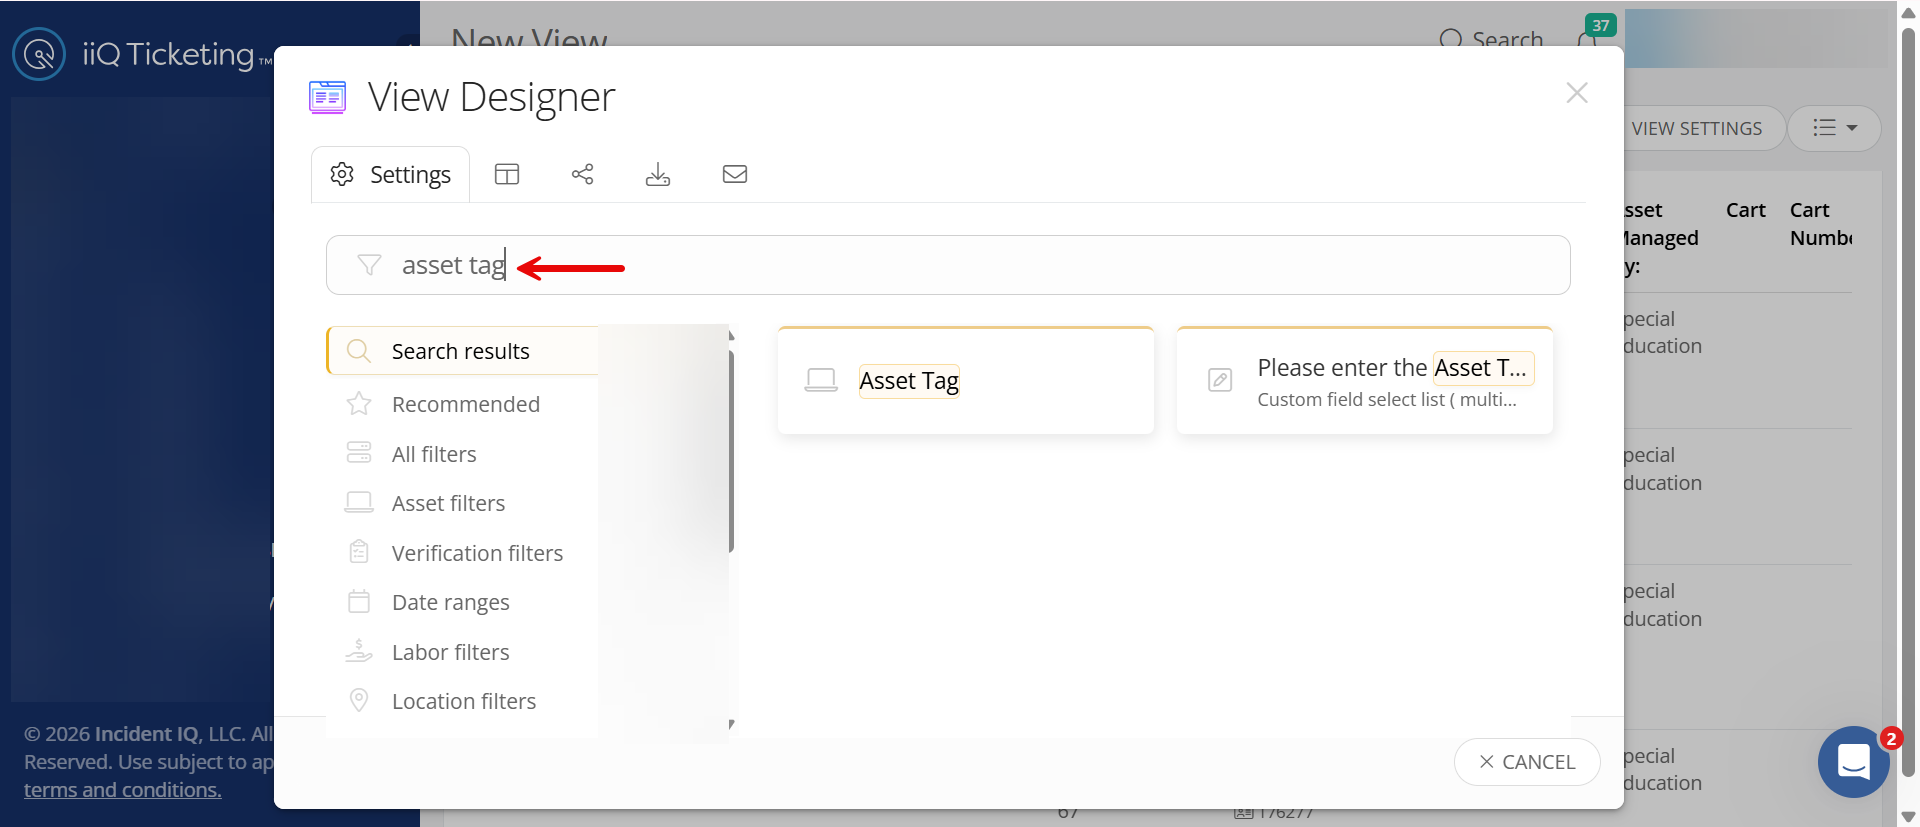
Search and select the Asset Tag filter.
-
-
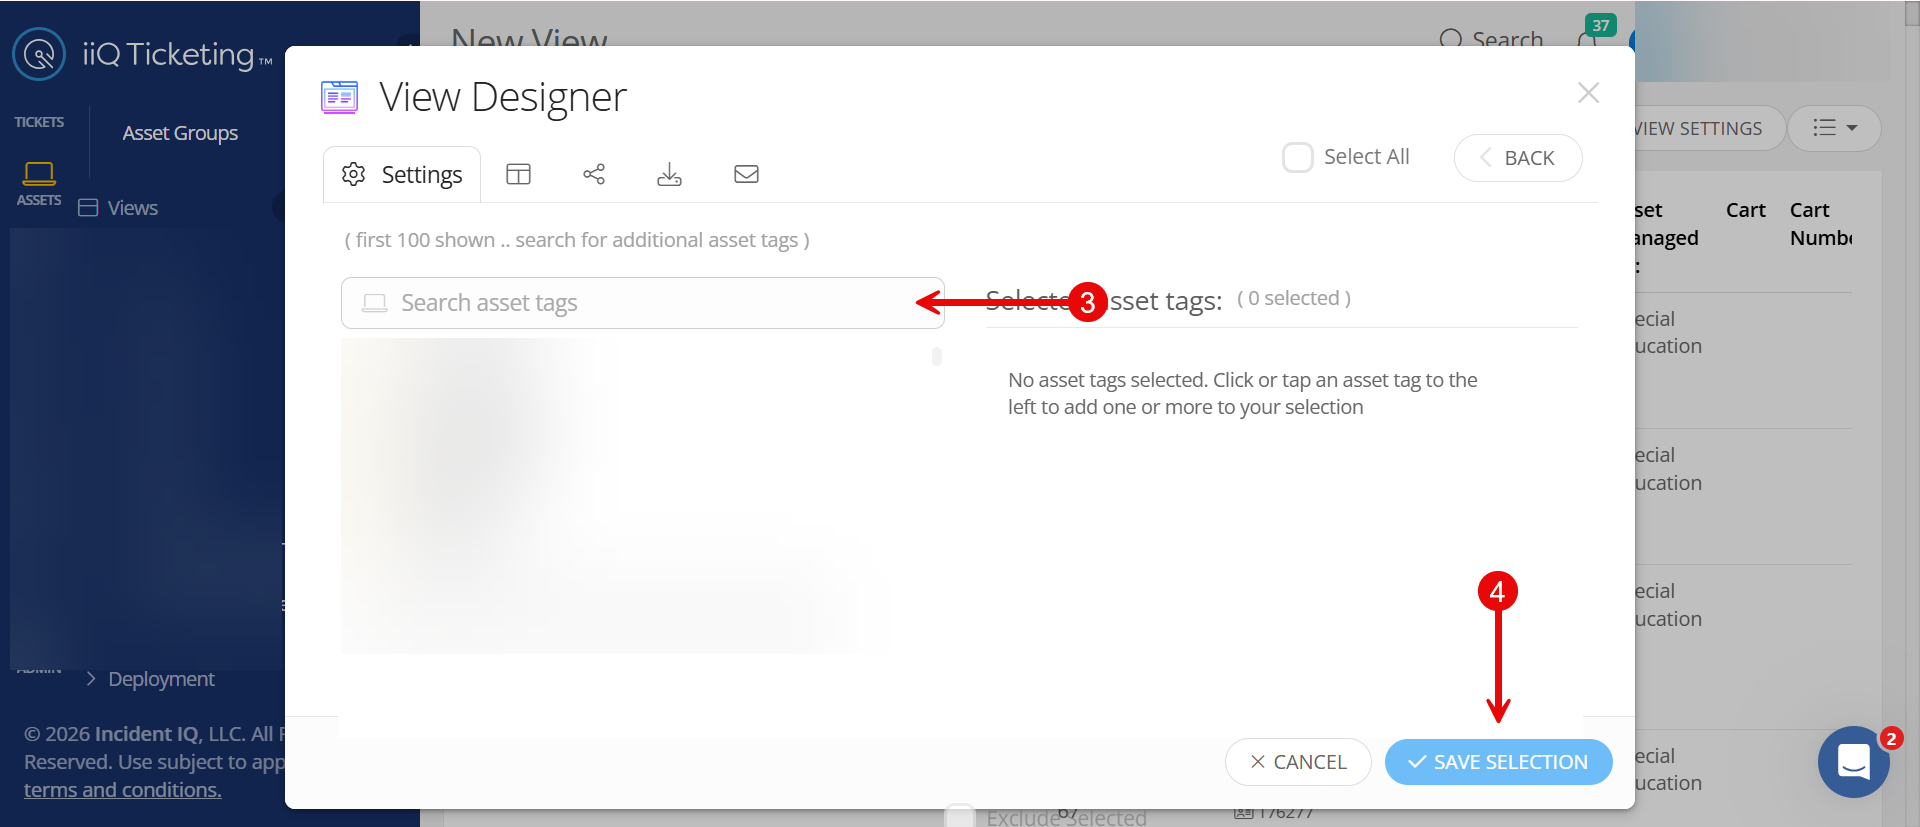
Paste List: Paste the copied numbers into the filter field. Incident IQ will pull all matching assets into the view.
-
Save view: Click on Save Selection, then select Save.
-
Mass Print: Select all results, click Other, and select Print Asset Labels.
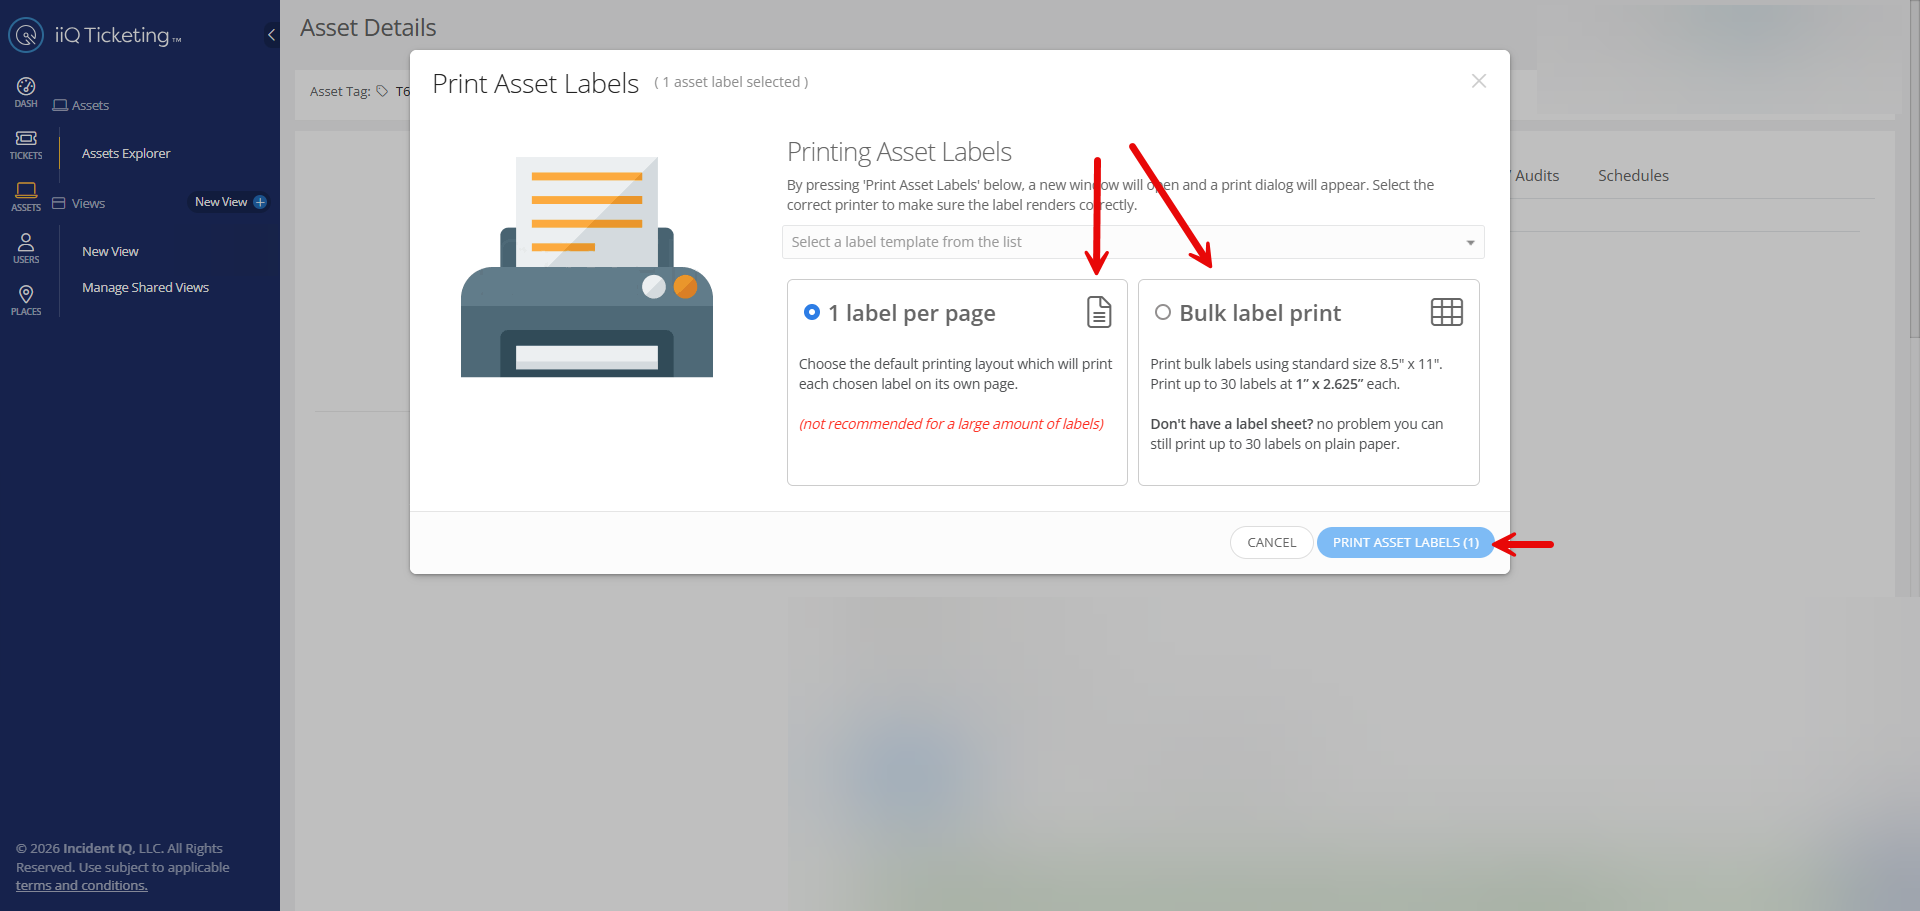
Step 2: Print Settings & Template Selection
Once you have selected your assets for printing, follow these steps to print the labels.
-
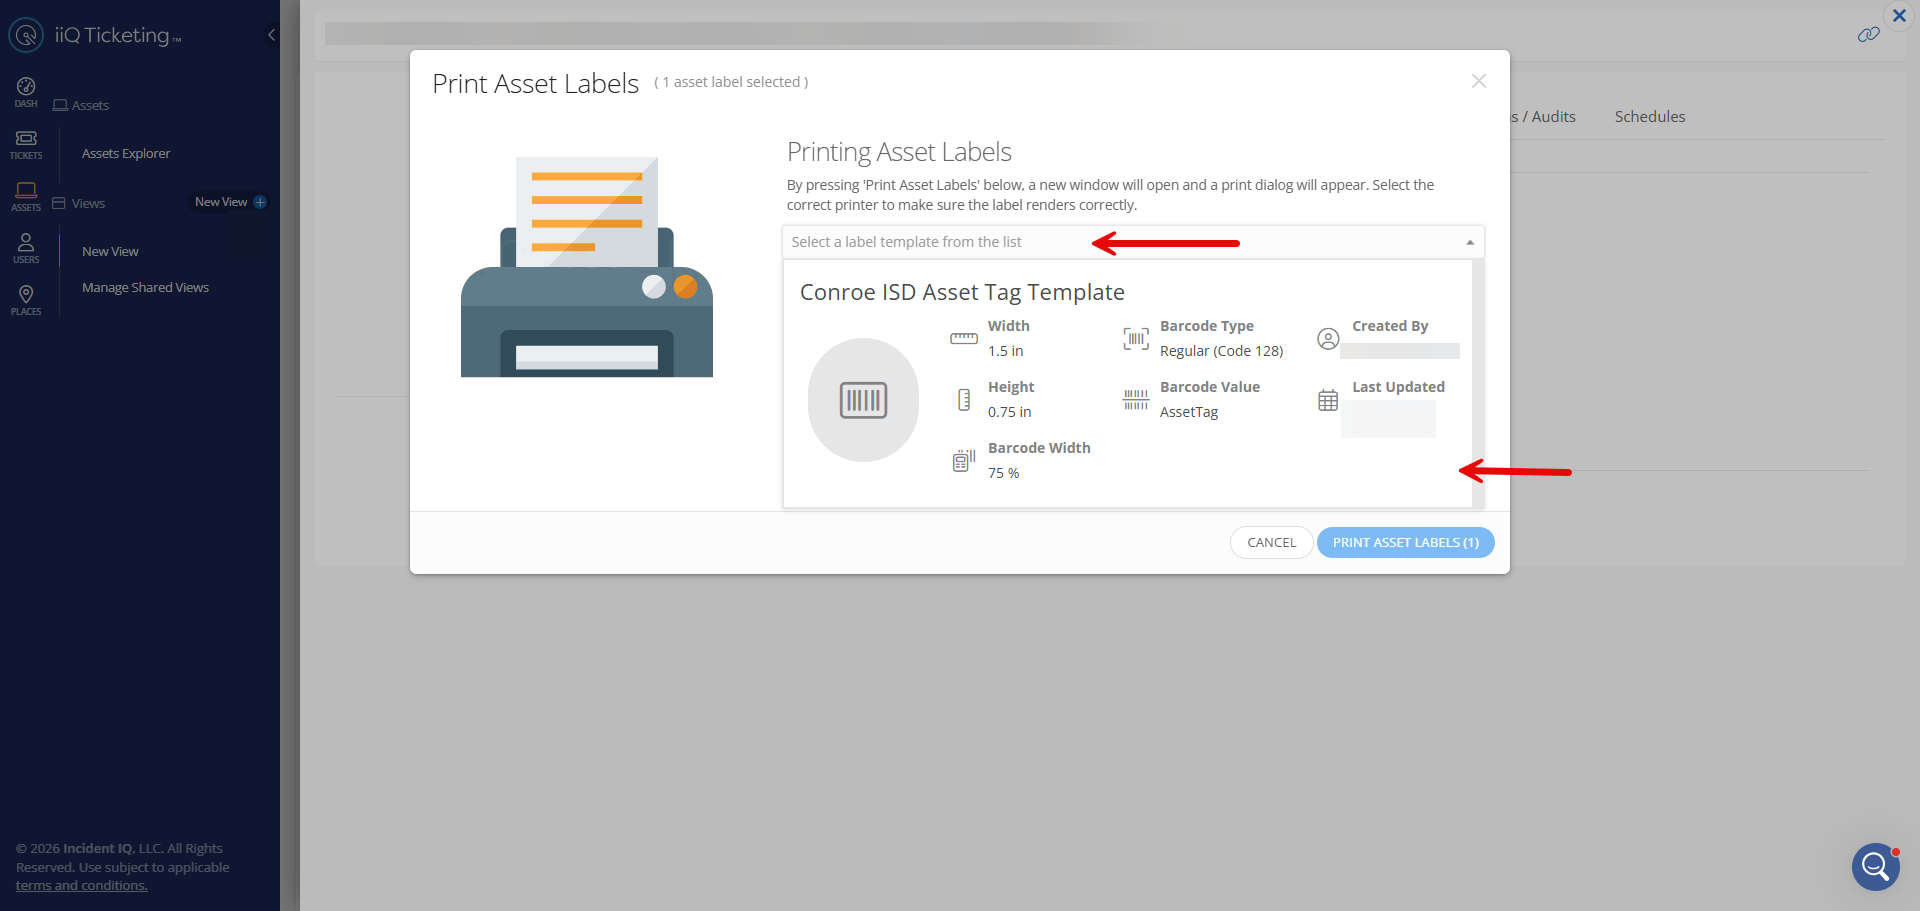
Select Template: When the print window appears, select the Conroe ISD Asset Tag Template from the dropdown list.
-
Choose Layout:
-
Select 1 label per page for individual replacements.
-
Select Bulk label print to print multiple tags on a single sheet.
-
Then select Print Asset Labels.
-
-
Printer Configuration:
-
Ensure your Regular Printer is selected.
-
Also ensure page format is correct.
-
-
Print: Click the Print button.
Tip: After printing the label, it is recommended to apply a Demco Clear Protector over the asset tag to prevent smudging and ensure the barcode remains scannable.
Still have questions? Visit the Additional Help section for further assistance.